Overview
This article explains how to use the Mapping module, which adds maps to Omeka S, with a particular focus on batch registration using the CSV Import module.
Module Installation
First, install the Mapping module.
Also, for batch data registration, install the CSV Import module.
https://omeka.org/s/modules/CSVImport/
If the Bulk Import module is already installed, you need to disable it. Alternatively, consider applying a patch as described at the following link.
https://github.com/Daniel-KM/Omeka-S-module-BulkImport#installation
Data Preparation
Prepare a CSV file like the following.
https://github.com/omeka-j/Omeka-S-sampledata/blob/main/mapping.csv
Latitude and longitude data are entered in the "Resource location" column. There are several ways to enter data, but in the example above, two latitude/longitude data points are entered in a single cell. The delimiter used in this example is "|". This symbol can be selected in the settings screen described later.
Latitude and longitude are separated by "/".
Data Registration
Here is how to register the prepared data.
First, click "CSV Import" > "Import" from the left menu, and select the prepared file.

On the next screen, map the data. For the "Resource location" column, open the additional options using the plus button and select "Latitude/Longitude" from the "Resource location" item.

Next, open the additional options using the wrench button and check "Use multivalue separator." This option is not needed if you have only one data point per cell.
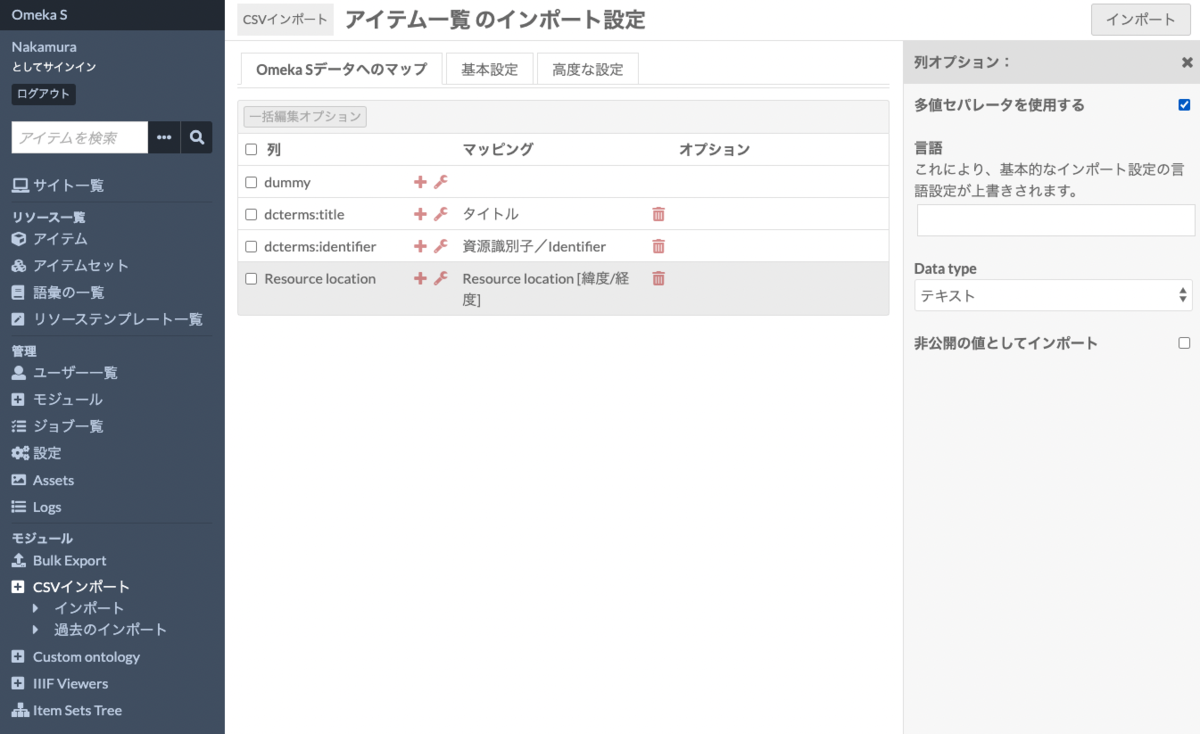
Then, move to the "Basic Settings" tab and enter "|" as the "Multivalue separator" value. If you are using a different delimiter, change it here.

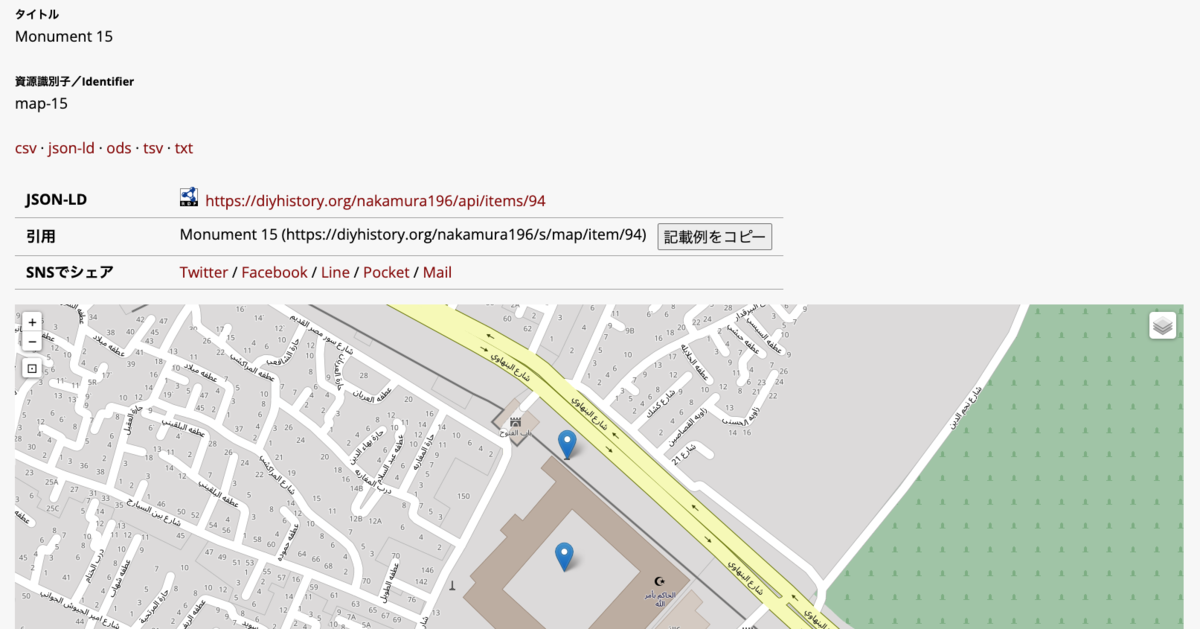
After completing the above settings, click the "Import" button at the top right to register items with latitude and longitude information, as shown below.

Summary
This article explained how to perform batch registration using the CSV Import module when using the Mapping module.
The CSV Import module, like the Bulk Import module, has various options. I plan to cover these in a separate article.