Overview
Amazon Lightsail is described as follows:
Amazon Lightsail is an easy-to-use virtual private server (VPS) that makes it simple to manage cloud resources such as containers at predictable low prices.
This article introduces how to set up Omeka S using Amazon Lightsail. It also covers "custom domain" and "SSL" configuration, which are generally required when publishing a database.
Amazon Lightsail
Creating an Instance
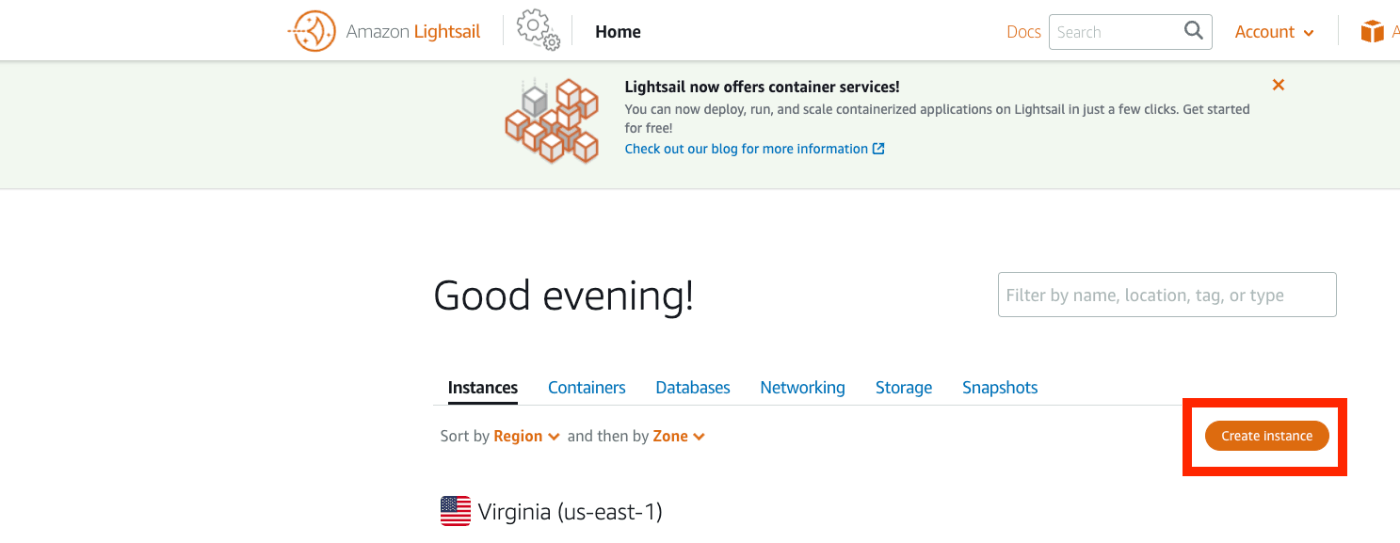
Navigate to the following page:
https://lightsail.aws.amazon.com/ls/webapp/home/instances
Then, click the "Create Instance" button:
Under "Select a blueprint," choose "LAMP (PHP 7)":

Under "Choose your instance plan," select an instance plan. In this case, I chose the lowest-cost plan:

Once launched, navigate to the instance page and click the "Connect using SSH" button:
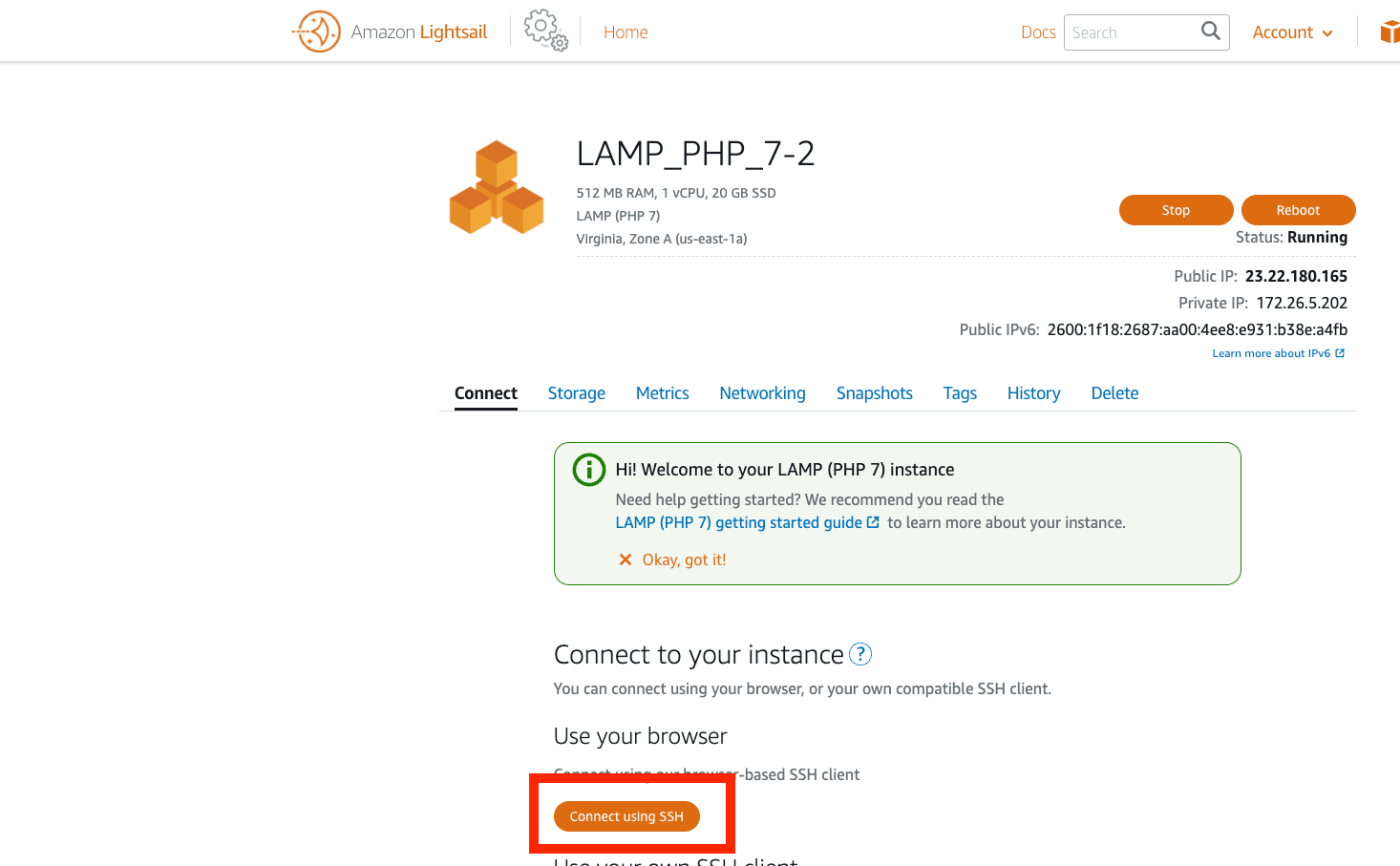
The following screen will appear:
Linux ip-172-26-5-202 4.19.0-19-cloud-amd64 #1 SMP Debian 4.19.232-1 (2022-03-07) x86_64

The programs included with the Debian GNU/Linux system are free software;
the exact distribution terms for each program are described in the
individual files in /usr/share/doc/*/copyright.

Debian GNU/Linux comes with ABSOLUTELY NO WARRANTY, to the extent
permitted by applicable law.
       ___ _ _                   _
      | _ |_) |_ _ _  __ _ _ __ (_)
      | _ \ |  _| ' \/ _` | '  \| |
      |___/_|\__|_|_|\__,_|_|_|_|_|

  *** Welcome to the LAMP packaged by Bitnami 7.4.28-14                 ***
  *** Documentation:  https://docs.bitnami.com/aws/infrastructure/lamp/ ***
  ***                 https://docs.bitnami.com/aws/                     ***
  *** Bitnami Forums: https://community.bitnami.com/                    ***
bitnami@ip-172-26-5-202:~$
Working Within the Instance
Moving Files
First, download and move the necessary files:
cd .

# Download Omeka
wget https://github.com/omeka/omeka-s/releases/download/v3.2.0/omeka-s-3.2.0.zip
unzip omeka-s-3.2.0.zip

# Move the files
mv omeka-s/* /home/bitnami/htdocs

# Move .htaccess
mv omeka-s/.htaccess /home/bitnami/htdocs

# Delete the existing index.html
rm /home/bitnami/htdocs/index.html
Creating a Database
Next, create a database:
# Check the password (the password will be displayed)
cat /home/bitnami/bitnami_application_password

# Log in to mysql using the password above
mysql -u root -p

# Create a database (the name "omekas" can be anything)
MariaDB [(none)]> create database omekas;
Query OK, 1 row affected (0.002 sec)

MariaDB [(none)]> quit;
Omeka S Configuration
Next, edit the Omeka S configuration file:
vi /home/bitnami/htdocs/config/database.ini
Modify the file contents as follows:
user     = "root"
password = "(the password you checked earlier)"
dbname   = "omekas" # the database name you created earlier
host     = "localhost"
;port     =
;unix_socket =
;log_path =
Also, change the owner of the files folder:
sudo chown -R daemon:daemon /home/bitnami/htdocs/files
Additionally, install imagemagick, which is needed for generating thumbnail images:
sudo apt install imagemagick -y
Browser Configuration
On the Amazon Lightsail instance page, access the IP address shown under "Public IP":

The installation screen will appear as follows:

From here, the process follows standard Omeka S operation procedures. Please refer to articles like the one below for using Omeka S:
https://nakamura196.hatenablog.com/entry/2022/03/01/121931
Assigning a Custom Domain
The following sections describe optional steps, covering "custom domain assignment," "SSL setup," and "Basic authentication."
Assigning a Static IP Address
To assign a custom domain, first assign a static IP address. Click the "+ Create static IP" link from the "Networking" tab:
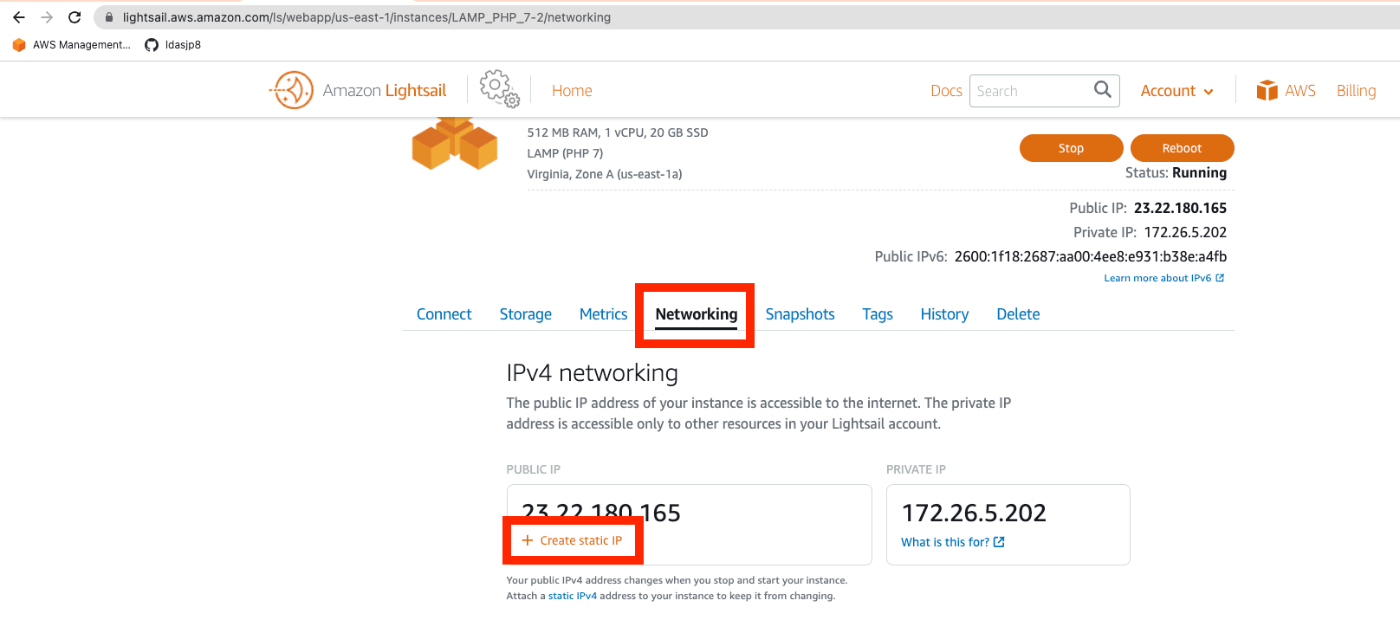
Click the "Create" button on the following screen:

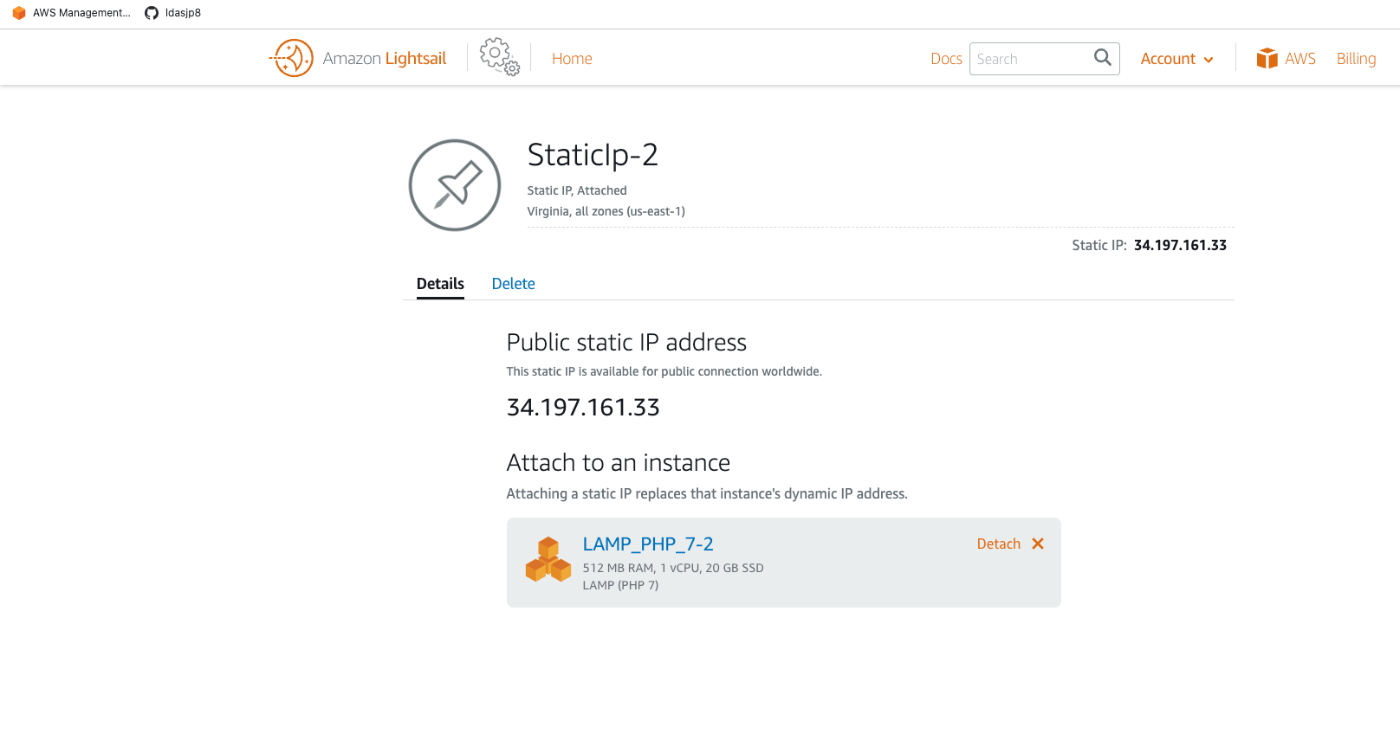
As a result, a static IP address has been assigned:
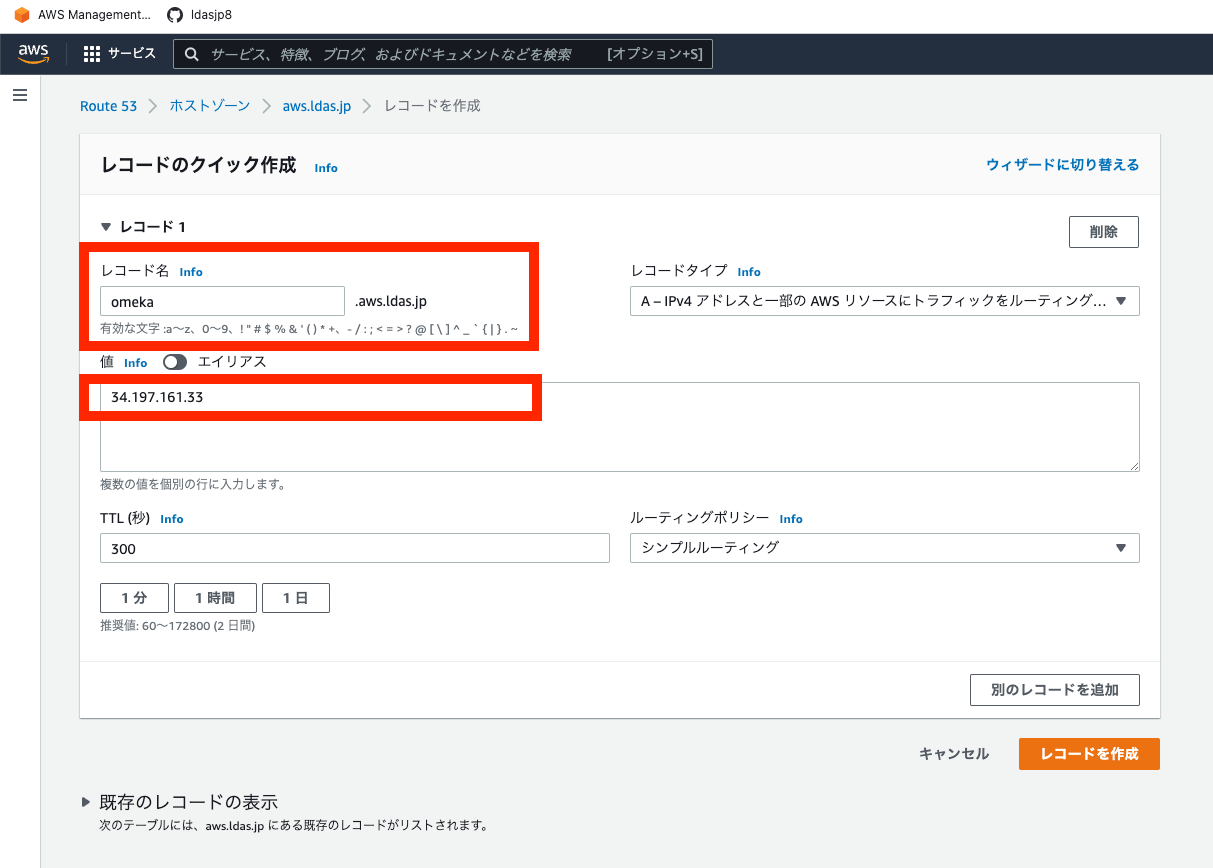
Route 53
Here, we use Route 53 to assign a custom domain. For example, configure it as follows:
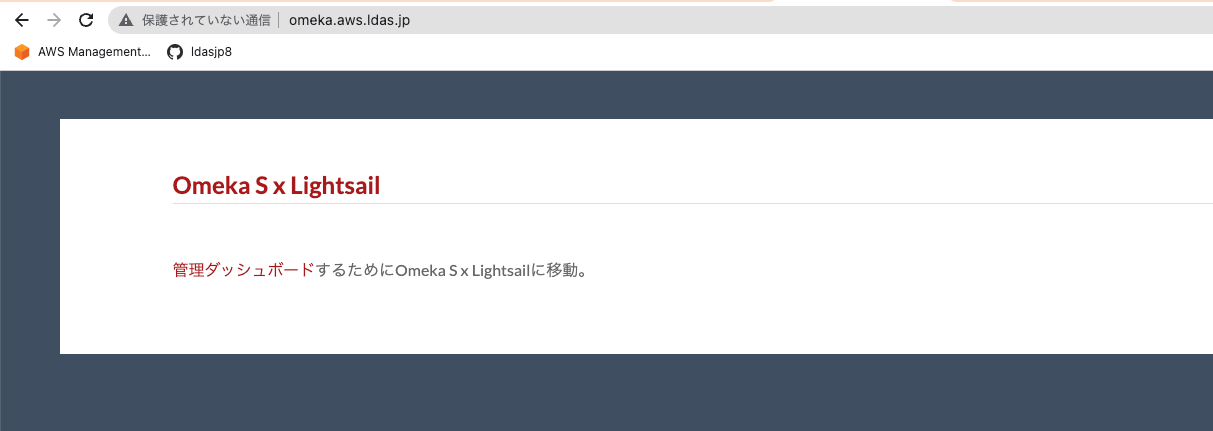
After a while, the site will be accessible at an address like the following:
SSL Setup
Next, set up SSL. Connect to the instance via SSH again and run the following:
bitnami@ip-172-26-5-202:~$ sudo /opt/bitnami/bncert-tool
Answer the prompts as follows (excerpt shown below):
Domain list []: omeka.aws.ldas.jp

The following domains were not included: www.omeka.aws.ldas.jp. Do you want to add them? [Y/n]: n

Warning: No www domains (e.g. www.example.com) or non-www domains (e.g.
www.example.com) have been provided, so the following redirections will be
disabled: non-www to www, www to non-www.
Press [Enter] to continue: [Enter]

Do you agree to these changes? [Y/n]: Y
After this, accessing the URL will redirect to HTTPS.
With this, the minimum publishing environment with a custom domain and SSL is ready.
(Reference) Basic Authentication
In this case, Basic authentication was needed, so here is a note on how to set it up. First, create a user:
sudo htpasswd -c /opt/bitnami/apache2/.htpasswd <username>
New password:
Re-type new password:
Adding password for user <username>
Next, add the authentication configuration at the beginning of .htaccess:
vi /home/bitnami/htdocs/.htaccess
AuthType Basic
AuthName MyAuthName
AuthUserFile "/opt/bitnami/apache2/.htpasswd"
Require valid-user
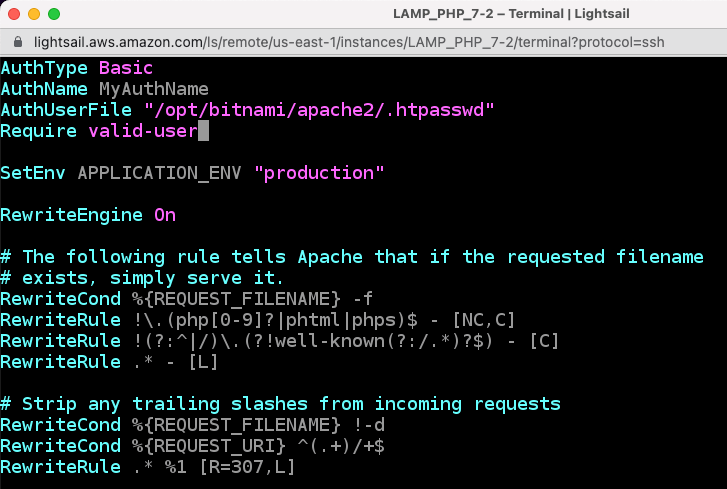
As a result, Basic authentication has been applied:

Summary
This article covered the basic setup of Omeka S using Amazon Lightsail, as well as optional steps such as Basic authentication.
I hope this serves as a useful reference when building a digital archive system with Omeka S.