tech.ldas.jp
記事一覧
ブック
年月別
カテゴリ
About
EN
すべてのタグ
TAG
#
gpt
3
件の記事
🐷
ZoteroのAPIをNext.jsから使う
ZoteroのAPIをNext.jsから使う
2024-11-01
•
nextjs
vercel
tailwind
zotero
📚
RELAX NGとSchematron
RELAX NGとSchematron
2024-05-16
•
xml
rng
gpt
tei
🐈
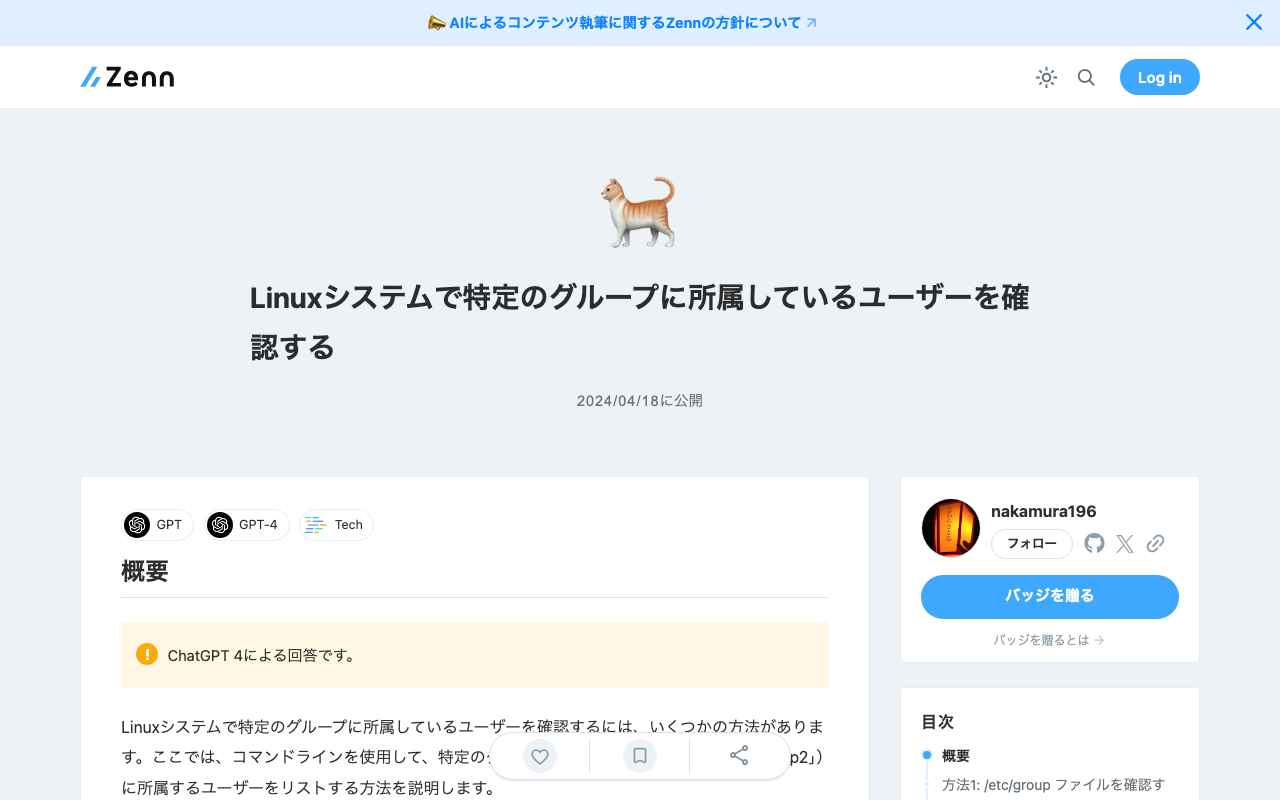
Linuxシステムで特定のグループに所属しているユーザーを確認する
Linuxシステムで特定のグループに所属しているユーザーを確認する
2024-04-18
•
gpt
gpt4