画像ファイルに対してGoogle Cloud Visionを適用して、IIIFマニフェストおよびTEI/XMLファイルを作成する
概要 画像ファイルに対してGoogle Cloud Visionを適用して、IIIFマニフェストおよびTEI/XMLファイルを作成するライブラリを作成しました。
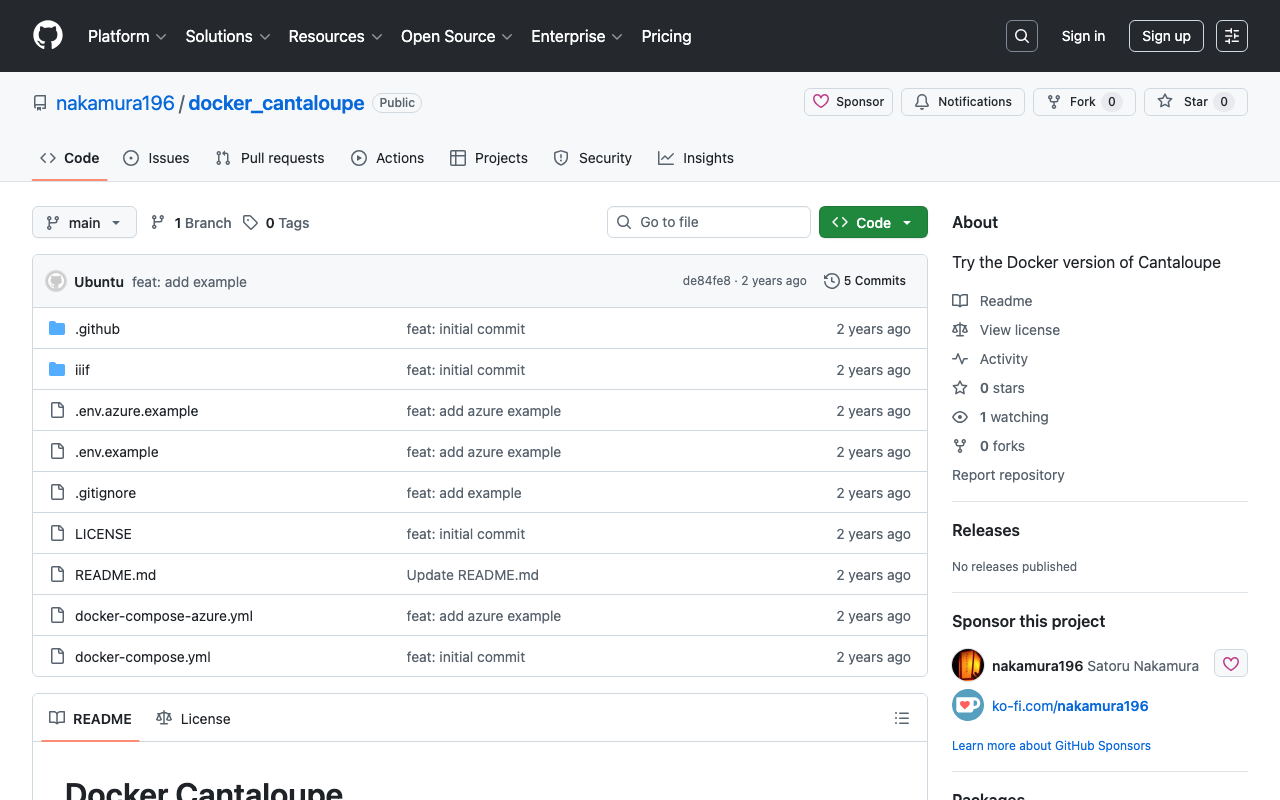
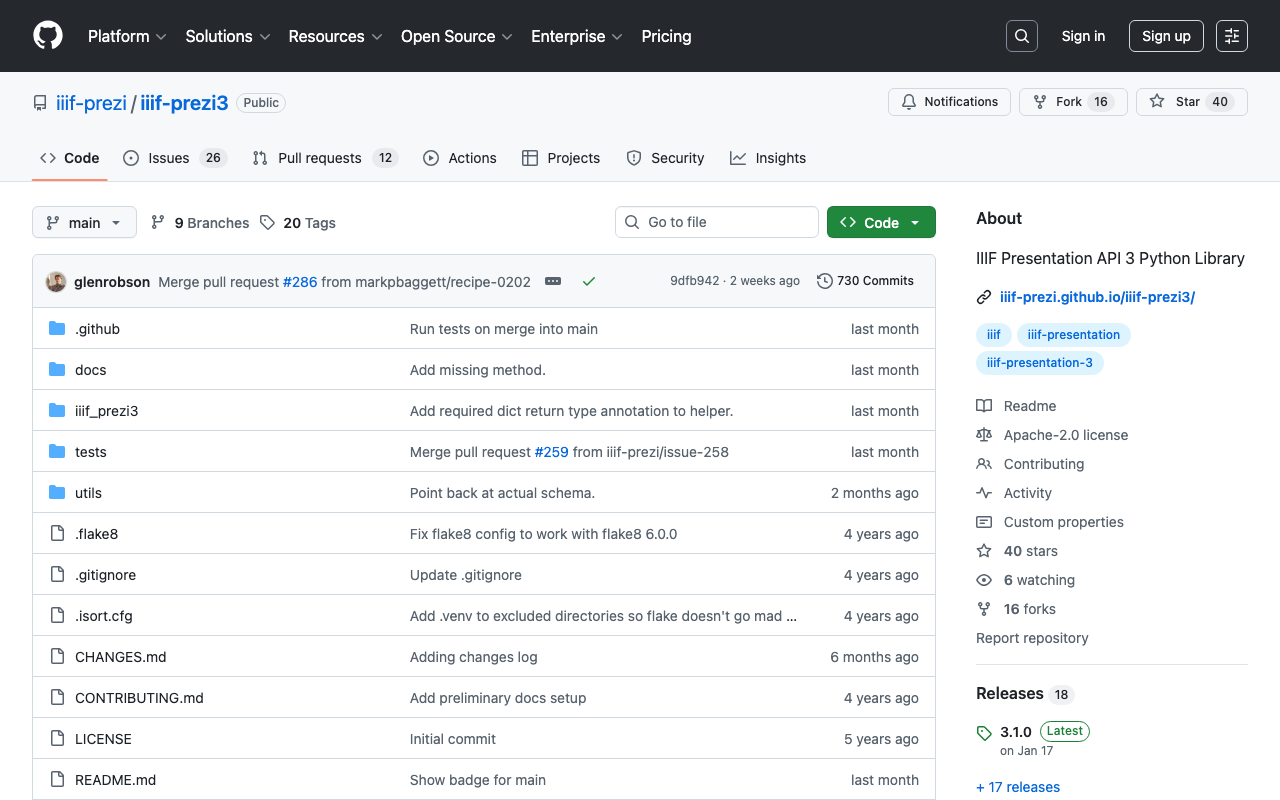
https://github.com/nakamura196/iiif_tei_py
本ライブラリの使用方法を説明します。
使用方法 以下で使い方などを確認できます。
https://nakamura196.github.io/iiif_tei_py/
ライブラリのインストール GitHubのリポジトリから、ライブラリをインストールします。
pip install https://github.com/nakamura196/iiif_tei_py GCのサービスアカウントの作成 以下の記事などを参考に、GC(Google Cloud)のサービスアカウントキー(JSONファイル)をダウンロードします。
https://book.st-hakky.com/data-science/data-science-gcp-vision-api-setting/
そして、以下のような.envファイルを作成します。
GOOGLE_APPLICATION_CREDENTIALS=your-google-credentials.json 実行 入力サンプル画像として、IIIF Cookbookでも使用されている以下の画像を使用します。
https://iiif.io/api/presentation/2.1/example/fixtures/resources/page1-full.png
以下のようなファイルを作成して実行します。
from iiif_tei_py.core import CoreClient cred_path = CoreClient.load_env() url = "https://iiif.io/api/presentation/2.1/example/fixtures/resources/page1-full.png" output_tei_xml_file_path = "./tmp/01/output.xml" CoreClient.create_tei_xml_with_gocr(url, output_tei_xml_file_path, cred_path, title="Sample") 上記の例では、IIIFマニフェストファイルが./tmp/01/output.jsonに、TEI/XMLファイルが./tmp/01/output.xmlに作成されます。
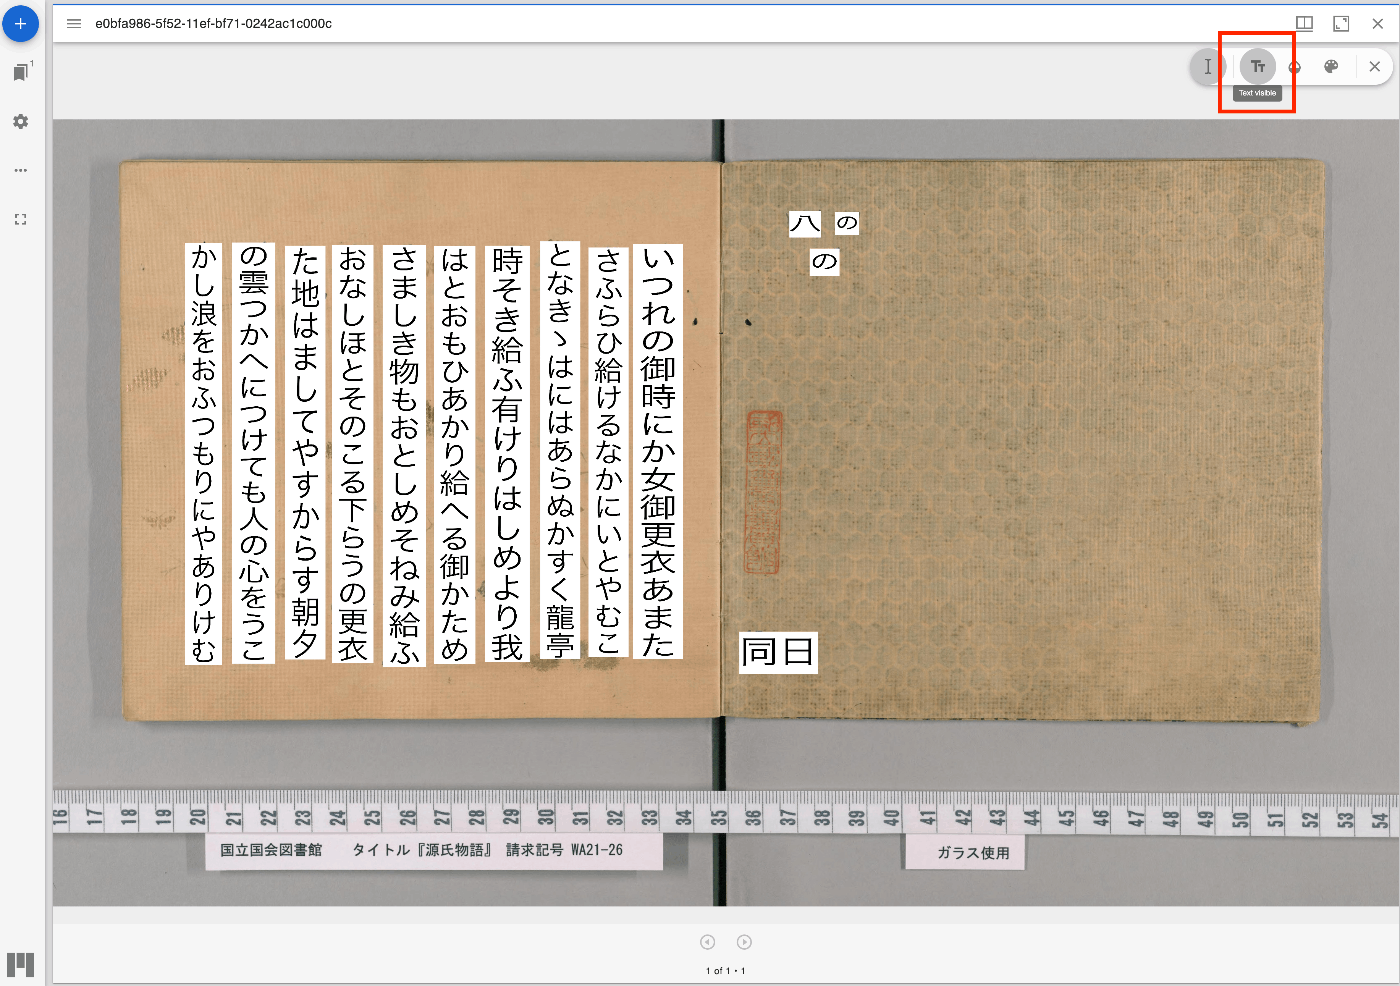
結果の確認 IIIF IIIFマニフェストファイルをMiradorで表示した例が以下です。
JSONファイルの内容は以下です。
{ "@context": "http://iiif.io/api/presentation/3/context.json", "id": "http://example.org/iiif/abc/manifest", "label": { "none": [ "Sample" ] }, "type": "Manifest", "items": [ { "id": "http://example.org/iiif/abc/canvas/p1", "type": "Canvas", "label": { "none": [ "[1]" ] }, "height": 1800, "width": 1200, "items": [ { "id": "http://example.org/iiif/abc/annotation/p0001-image", "type": "AnnotationPage", "items": [ { "body": { "id": "https://iiif.io/api/presentation/2.1/example/fixtures/resources/page1-full.png", "type": "Image", "format": "image/jpeg", "height": 1800, "width": 1200 }, "id": "http://example.org/iiif/abc/annotation/p0001-image/anno", "type": "Annotation", "motivation": "painting", "target": "http://example.org/iiif/abc/canvas/p1" } ] } ], "annotations": [ { "id": "http://example.org/iiif/abc/canvas/p1/curation", "type": "AnnotationPage", "items": [ { "body": { "type": "TextualBody", "value": "[00001] Top", "format": "text/plain" }, "id": "http://example.org/iiif/abc/canvas/p1#xywh=245/69/94/52", "type": "Annotation", "motivation": "commenting", "target": "http://example.org/iiif/abc/canvas/p1#xywh=245,69,94,52" }, { "body": { "type": "TextualBody", "value": "[00002] of", "format": "text/plain" }, "id": "http://example.org/iiif/abc/canvas/p1#xywh=355/69/49/52", "type": "Annotation", "motivation": "commenting", "target": "http://example.org/iiif/abc/canvas/p1#xywh=355,69,49,52" }, { "body": { "type": "TextualBody", "value": "[00003] First", "format": "text/plain" }, "id": "http://example.org/iiif/abc/canvas/p1#xywh=420/69/112/54", "type": "Annotation", "motivation": "commenting", "target": "http://example.org/iiif/abc/canvas/p1#xywh=420,69,112,54" }, { "body": { "type": "TextualBody", "value": "[00004] Page", "format": "text/plain" }, "id": "http://example.org/iiif/abc/canvas/p1#xywh=547/70/134/53", "type": "Annotation", "motivation": "commenting", "target": "http://example.org/iiif/abc/canvas/p1#xywh=547,70,134,53" }, { "body": { "type": "TextualBody", "value": "[00005] to", "format": "text/plain" }, "id": "http://example.org/iiif/abc/canvas/p1#xywh=697/71/50/52", "type": "Annotation", "motivation": "commenting", "target": "http://example.org/iiif/abc/canvas/p1#xywh=697,71,50,52" }, { "body": { "type": "TextualBody", "value": "[00006] Display", "format": "text/plain" }, "id": "http://example.org/iiif/abc/canvas/p1#xywh=763/71/189/54", "type": "Annotation", "motivation": "commenting", "target": "http://example.org/iiif/abc/canvas/p1#xywh=763,71,189,54" }, { "body": { "type": "TextualBody", "value": "[00007] Middle", "format": "text/plain" }, "id": "http://example.org/iiif/abc/canvas/p1#xywh=296/593/163/164", "type": "Annotation", "motivation": "commenting", "target": "http://example.org/iiif/abc/canvas/p1#xywh=296,593,163,164" }, { "body": { "type": "TextualBody", "value": "[00008] of", "format": "text/plain" }, "id": "http://example.org/iiif/abc/canvas/p1#xywh=433/733/76/76", "type": "Annotation", "motivation": "commenting", "target": "http://example.org/iiif/abc/canvas/p1#xywh=433,733,76,76" }, { "body": { "type": "TextualBody", "value": "[00009] First", "format": "text/plain" }, "id": "http://example.org/iiif/abc/canvas/p1#xywh=484/786/123/124", "type": "Annotation", "motivation": "commenting", "target": "http://example.org/iiif/abc/canvas/p1#xywh=484,786,123,124" }, { "body": { "type": "TextualBody", "value": "[00010] Page", "format": "text/plain" }, "id": "http://example.org/iiif/abc/canvas/p1#xywh=584/889/128/129", "type": "Annotation", "motivation": "commenting", "target": "http://example.org/iiif/abc/canvas/p1#xywh=584,889,128,129" }, { "body": { "type": "TextualBody", "value": "[00011] on", "format": "text/plain" }, "id": "http://example.org/iiif/abc/canvas/p1#xywh=691/998/80/80", "type": "Annotation", "motivation": "commenting", "target": "http://example.org/iiif/abc/canvas/p1#xywh=691,998,80,80" }, { "body": { "type": "TextualBody", "value": "[00012] Angle", "format": "text/plain" }, "id": "http://example.org/iiif/abc/canvas/p1#xywh=749/1057/148/149", "type": "Annotation", "motivation": "commenting", "target": "http://example.org/iiif/abc/canvas/p1#xywh=749,1057,148,149" }, { "body": { "type": "TextualBody", "value": "[00013] Bottom", "format": "text/plain" }, "id": "http://example.org/iiif/abc/canvas/p1#xywh=203/1686/175/55", "type": "Annotation", "motivation": "commenting", "target": "http://example.org/iiif/abc/canvas/p1#xywh=203,1686,175,55" }, { "body": { "type": "TextualBody", "value": "[00014] of", "format": "text/plain" }, "id": "http://example.org/iiif/abc/canvas/p1#xywh=398/1689/51/53", "type": "Annotation", "motivation": "commenting", "target": "http://example.org/iiif/abc/canvas/p1#xywh=398,1689,51,53" }, { "body": { "type": "TextualBody", "value": "[00015] First", "format": "text/plain" }, "id": "http://example.org/iiif/abc/canvas/p1#xywh=466/1689/109/54", "type": "Annotation", "motivation": "commenting", "target": "http://example.org/iiif/abc/canvas/p1#xywh=466,1689,109,54" }, { "body": { "type": "TextualBody", "value": "[00016] Page", "format": "text/plain" }, "id": "http://example.org/iiif/abc/canvas/p1#xywh=593/1690/130/54", "type": "Annotation", "motivation": "commenting", "target": "http://example.org/iiif/abc/canvas/p1#xywh=593,1690,130,54" }, { "body": { "type": "TextualBody", "value": "[00017] to", "format": "text/plain" }, "id": "http://example.org/iiif/abc/canvas/p1#xywh=740/1692/51/54", "type": "Annotation", "motivation": "commenting", "target": "http://example.org/iiif/abc/canvas/p1#xywh=740,1692,51,54" }, { "body": { "type": "TextualBody", "value": "[00018] Display", "format": "text/plain" }, "id": "http://example.org/iiif/abc/canvas/p1#xywh=808/1693/190/54", "type": "Annotation", "motivation": "commenting", "target": "http://example.org/iiif/abc/canvas/p1#xywh=808,1693,190,54" } ] } ] } ] } TEI また、TEI/XMLファイルをOxygen XML Editorで表示した例が以下です。
...
2024年8月8日 · 更新: 2024年8月8日 · 4 分 · Nakamura


![[2024年版] AWSサーバーレスアプリケーションによるIIIF Image Serverの構築](https://storage.googleapis.com/zenn-user-upload/d4b797ffe35d-20240909.png)


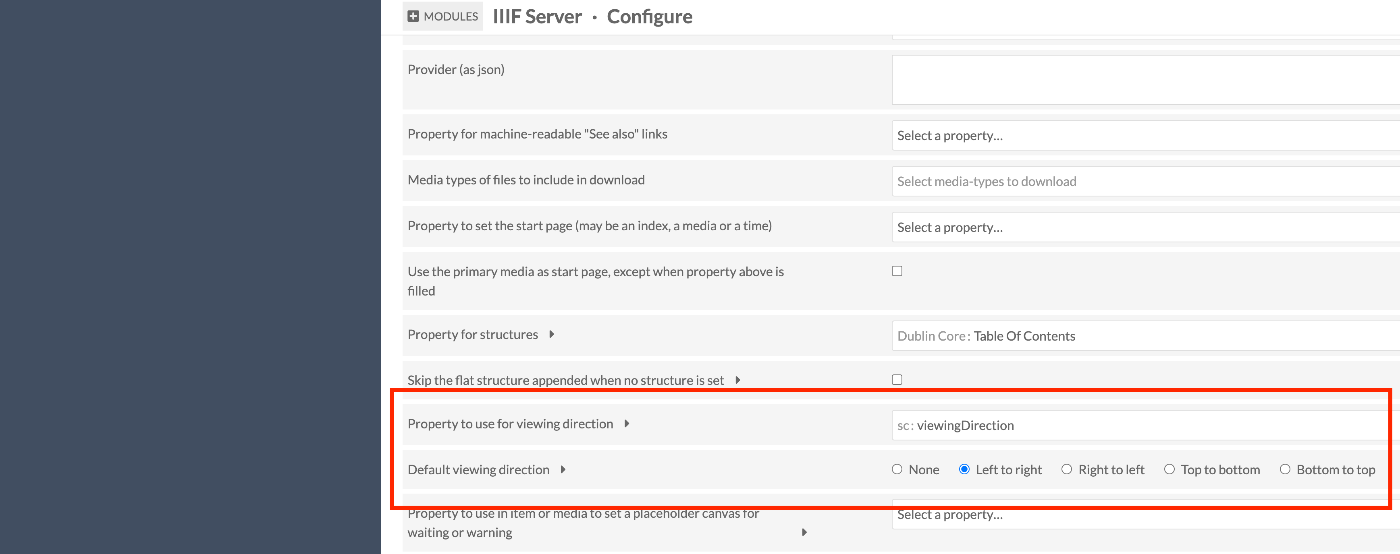
![Omeka S IIIF Serverモジュール[3.6.19, 3.6.20]の不具合](/images/articles/1b969d330ca8a9.png)