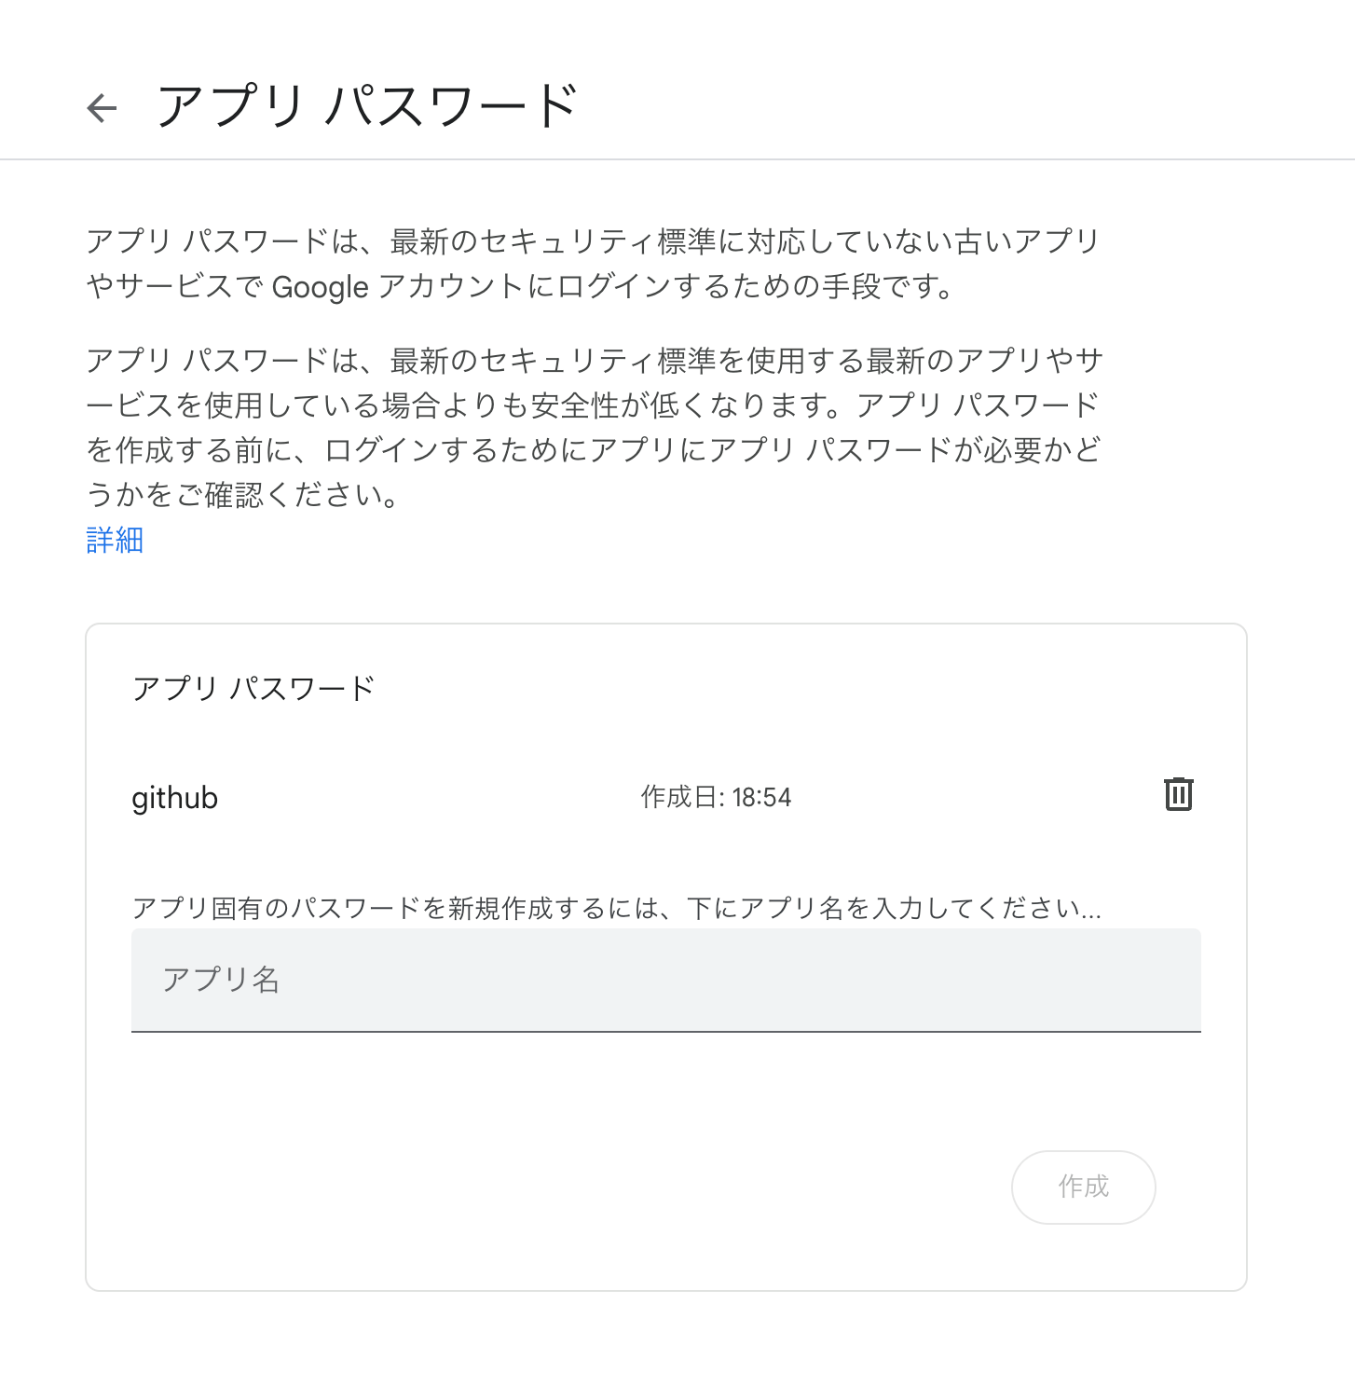
ArchivesSpaceのRESTful APIを試す
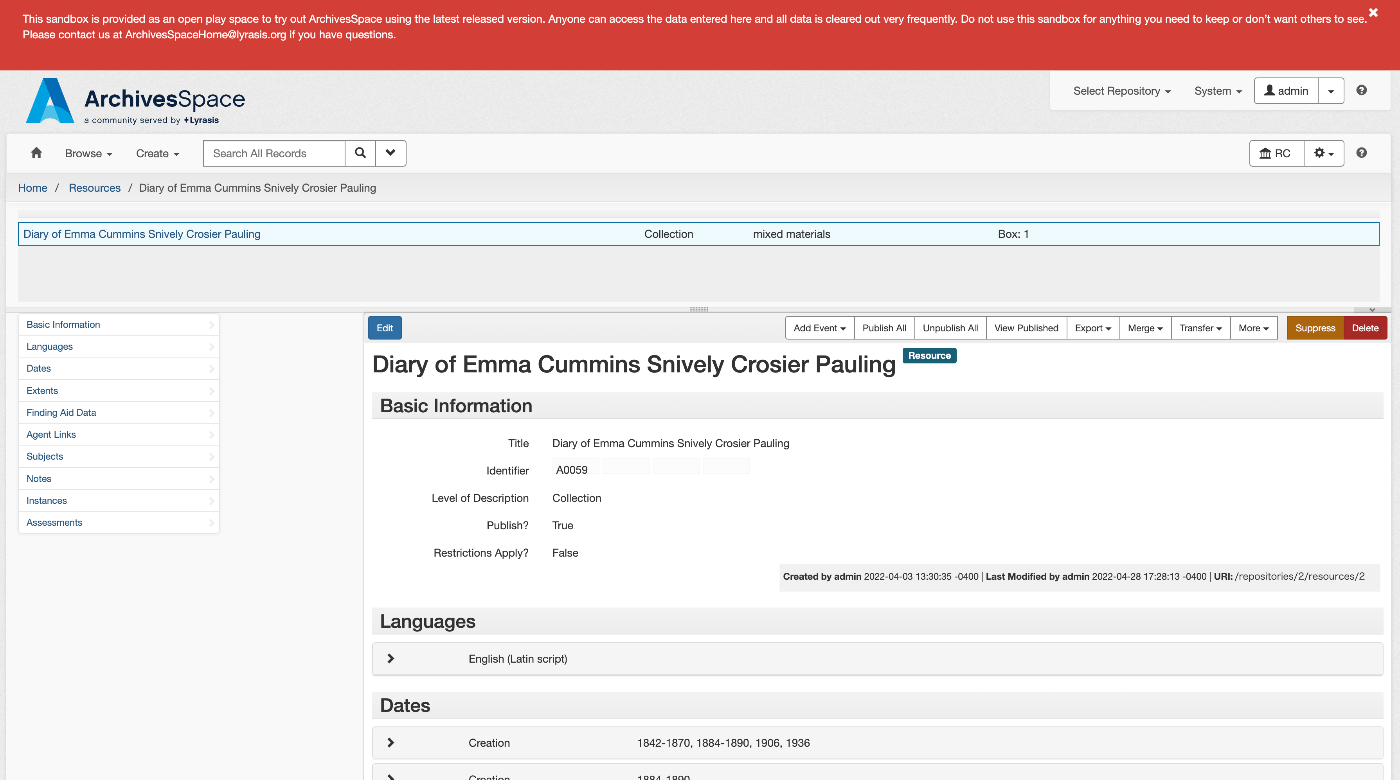
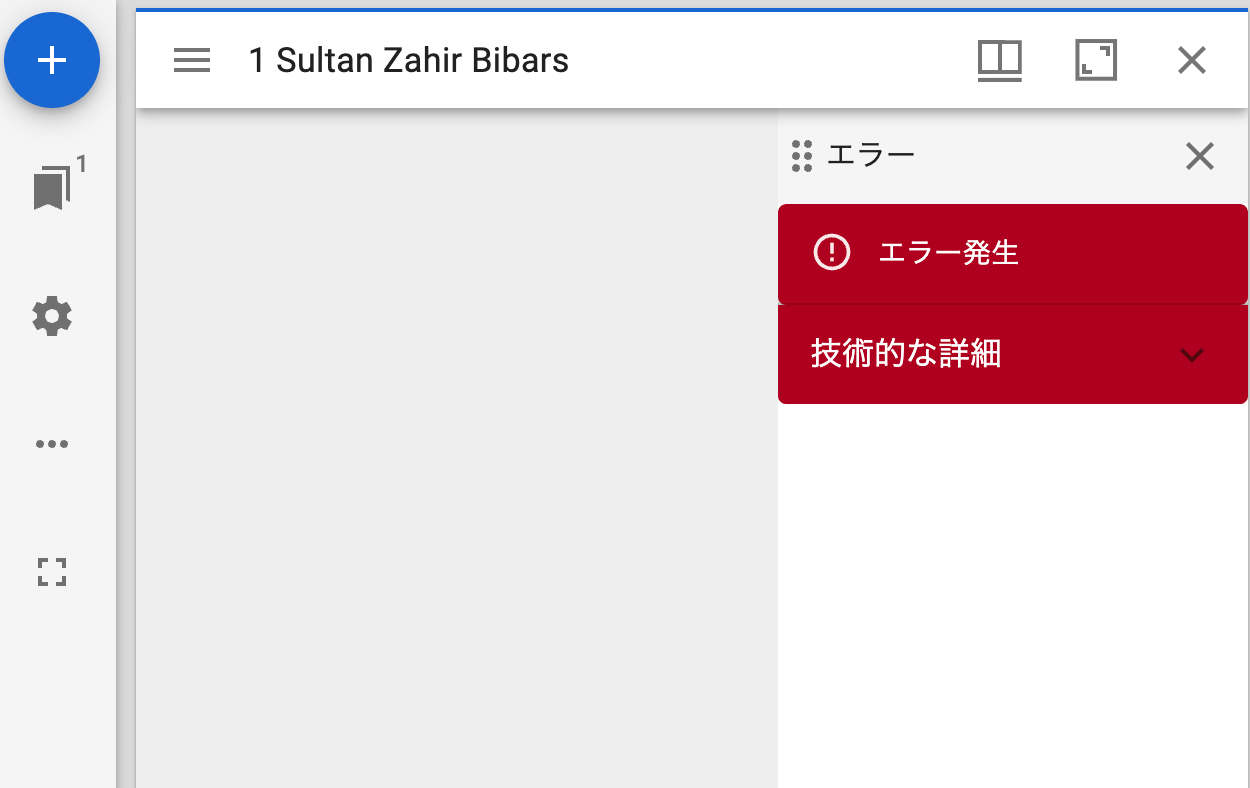
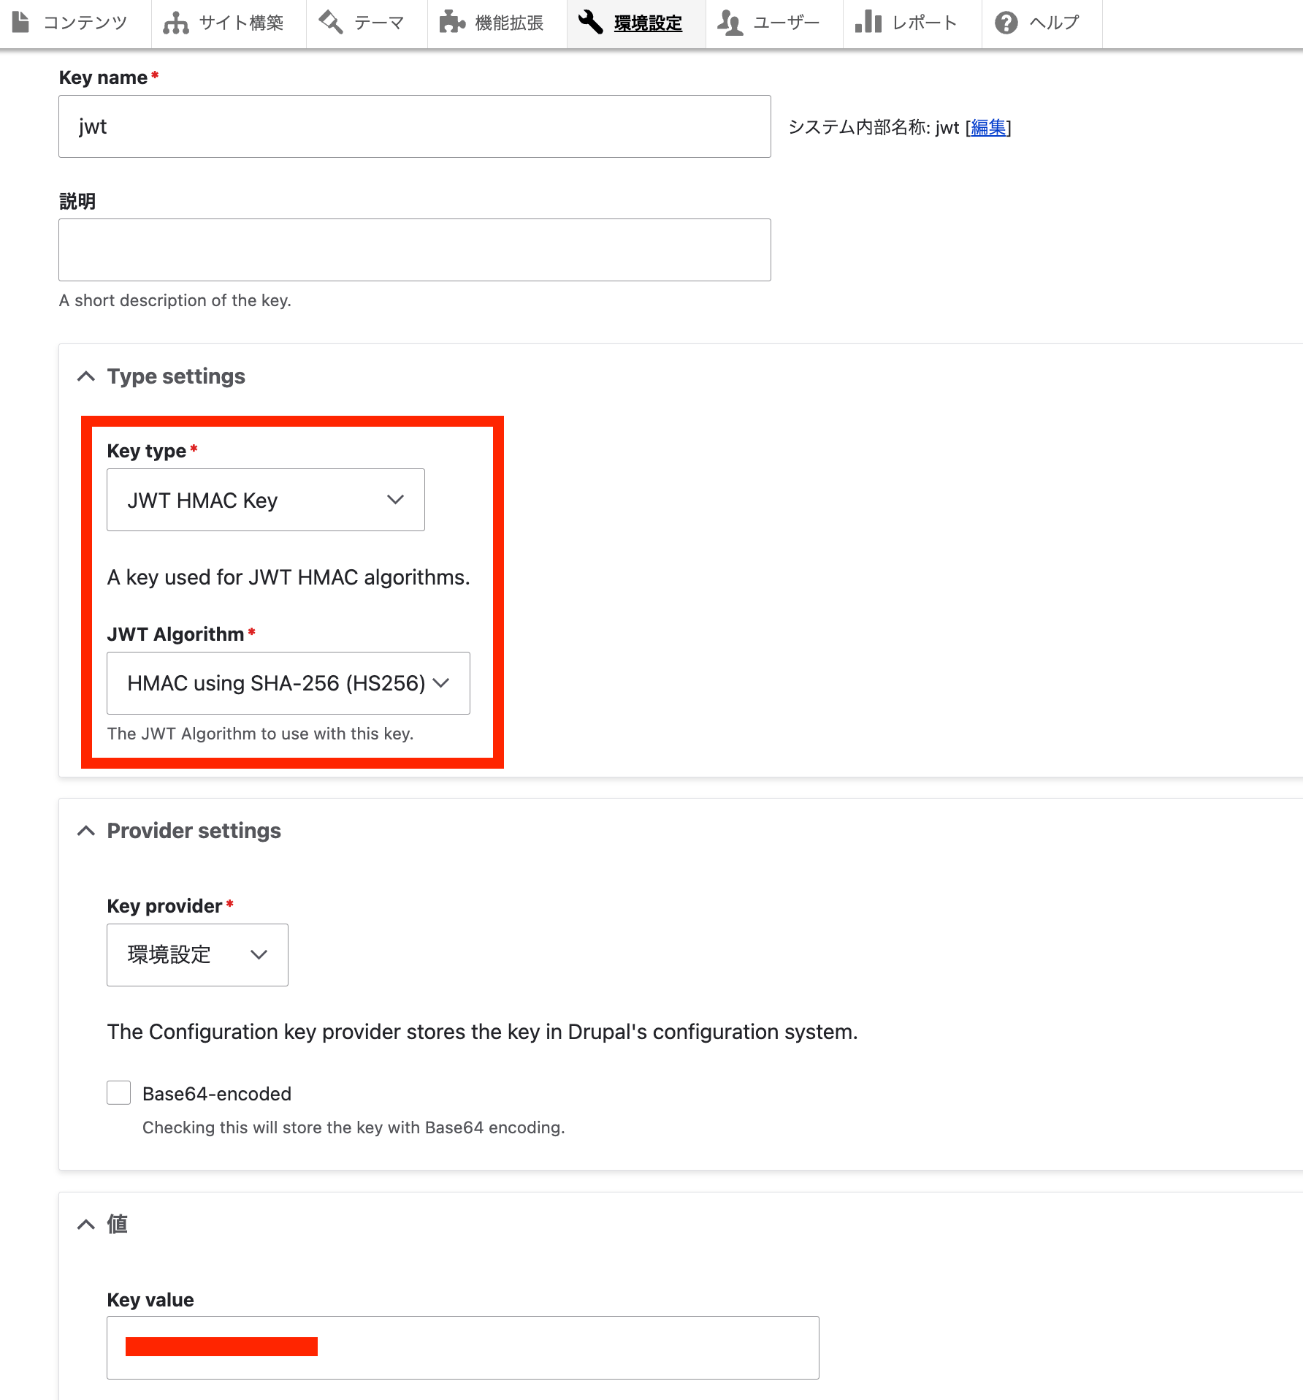
概要 ArchivesSpaceのRESTful APIの一例を試してみます。 以下が公式のドキュメントです。 https://archivesspace.github.io/archivesspace/api/#introduction List all corporate entity agents 以下に記載があります。 https://archivesspace.github.io/archivesspace/api/#list-all-corporate-entity-agents デモサイトを使用した場合、以下のURLでアクセスできます。 https://sandbox.archivesspace.org/staff/api/agents/corporate_entities?page=1 結果は以下です。 { "first_page": 1, "last_page": 3, "this_page": 1, "total": 27, "results": [ { "lock_version": 5, "publish": false, "created_by": "admin", "last_modified_by": "admin", "create_time": "2022-03-23T13:44:30Z", "system_mtime": "2024-02-25T06:02:12Z", "user_mtime": "2022-05-17T20:46:06Z", "is_slug_auto": false, "jsonmodel_type": "agent_corporate_entity", "agent_contacts": [ { "lock_version": 0, "name": "Manuscripts Repository", "created_by": "admin", "last_modified_by": "admin", "create_time": "2022-05-17T20:46:06Z", "system_mtime": "2022-05-17T20:46:06Z", "user_mtime": "2022-05-17T20:46:06Z", "is_representative": true, "jsonmodel_type": "agent_contact", "telephones": [ ], "notes": [ ] } ], "agent_record_controls": [ ], "agent_alternate_sets": [ ], "agent_conventions_declarations": [ ], "agent_other_agency_codes": [ ], "agent_maintenance_histories": [ ], "agent_record_identifiers": [ ], "agent_identifiers": [ ], "agent_sources": [ ], "agent_places": [ ], "agent_occupations": [ ], "agent_functions": [ ], "agent_topics": [ ], "agent_resources": [ ], "linked_agent_roles": [ ], "external_documents": [ ], "notes": [ ], "used_within_repositories": [ ], "used_within_published_repositories": [ ], "dates_of_existence": [ ], "used_languages": [ ], "metadata_rights_declarations": [ ], "names": [ { "lock_version": 0, "primary_name": "Allen Doe Research Center", "sort_name": "Allen Doe Research Center", "sort_name_auto_generate": true, "created_by": "admin", "last_modified_by": "admin", "create_time": "2022-05-17T20:46:06Z", "system_mtime": "2022-05-17T20:46:06Z", "user_mtime": "2022-05-17T20:46:06Z", "authorized": true, "is_display_name": true, "jurisdiction": false, "conference_meeting": false, "source": "local", "jsonmodel_type": "name_corporate_entity", "use_dates": [ ], "parallel_names": [ ] } ], "related_agents": [ ], "uri": "/agents/corporate_entities/1", "agent_type": "agent_corporate_entity", "is_linked_to_published_record": false, "display_name": { "lock_version": 0, "primary_name": "Allen Doe Research Center", "sort_name": "Allen Doe Research Center", "sort_name_auto_generate": true, "created_by": "admin", "last_modified_by": "admin", "create_time": "2022-05-17T20:46:06Z", "system_mtime": "2022-05-17T20:46:06Z", "user_mtime": "2022-05-17T20:46:06Z", "authorized": true, "is_display_name": true, "jurisdiction": false, "conference_meeting": false, "source": "local", "jsonmodel_type": "name_corporate_entity", "use_dates": [ ], "parallel_names": [ ] }, "title": "Allen Doe Research Center", "is_repo_agent": "Allen Doe Research Center" }, { ... GUIでは以下のページが該当しました。 ...