This guide explains how to add English subtitles (en.vtt) to a YouTube video that already has Japanese subtitles uploaded.
Related post: Auto-generating multilingual subtitles for videos with Claude Code and publishing via IIIF v3 manifests
Prerequisites
- Logged in to YouTube Studio
- Japanese subtitles (ja.vtt) already uploaded for the target video
- English subtitle file (en.vtt) ready
Steps
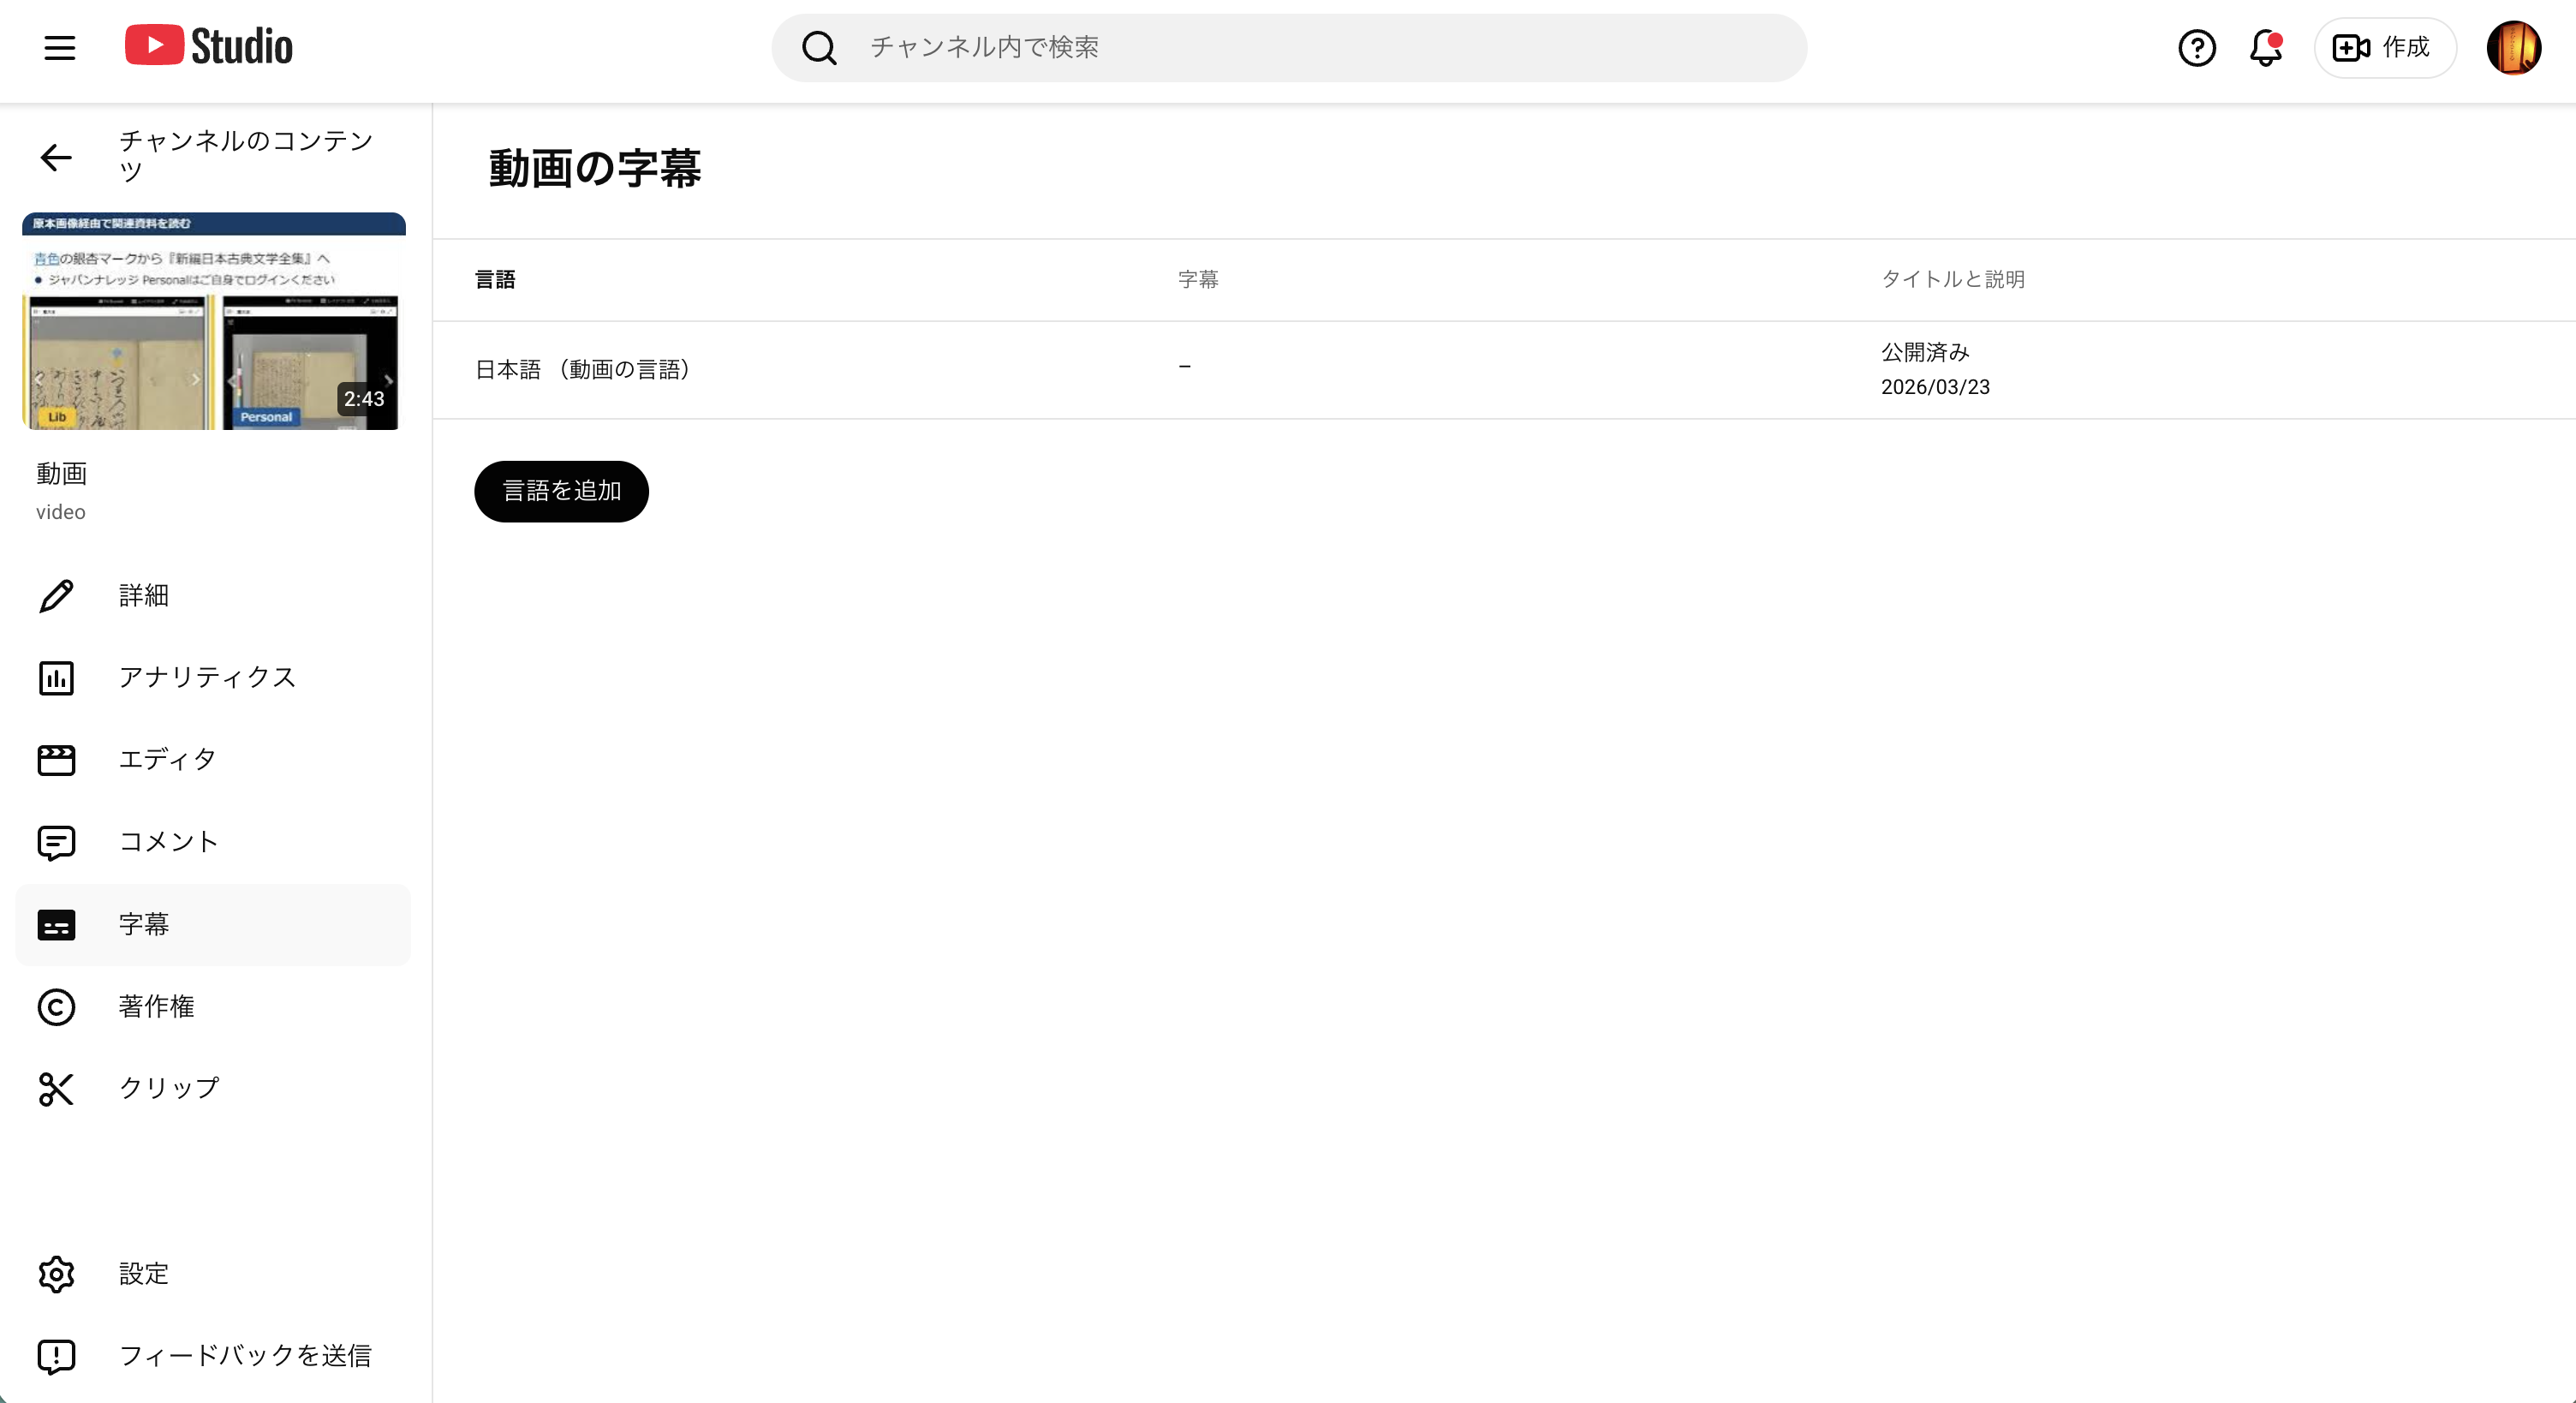
1. Open the subtitle management page
Go to YouTube Studio → select the target video → click “Subtitles” in the left menu.
Confirm that “Japanese (video language)” shows as “Published.”
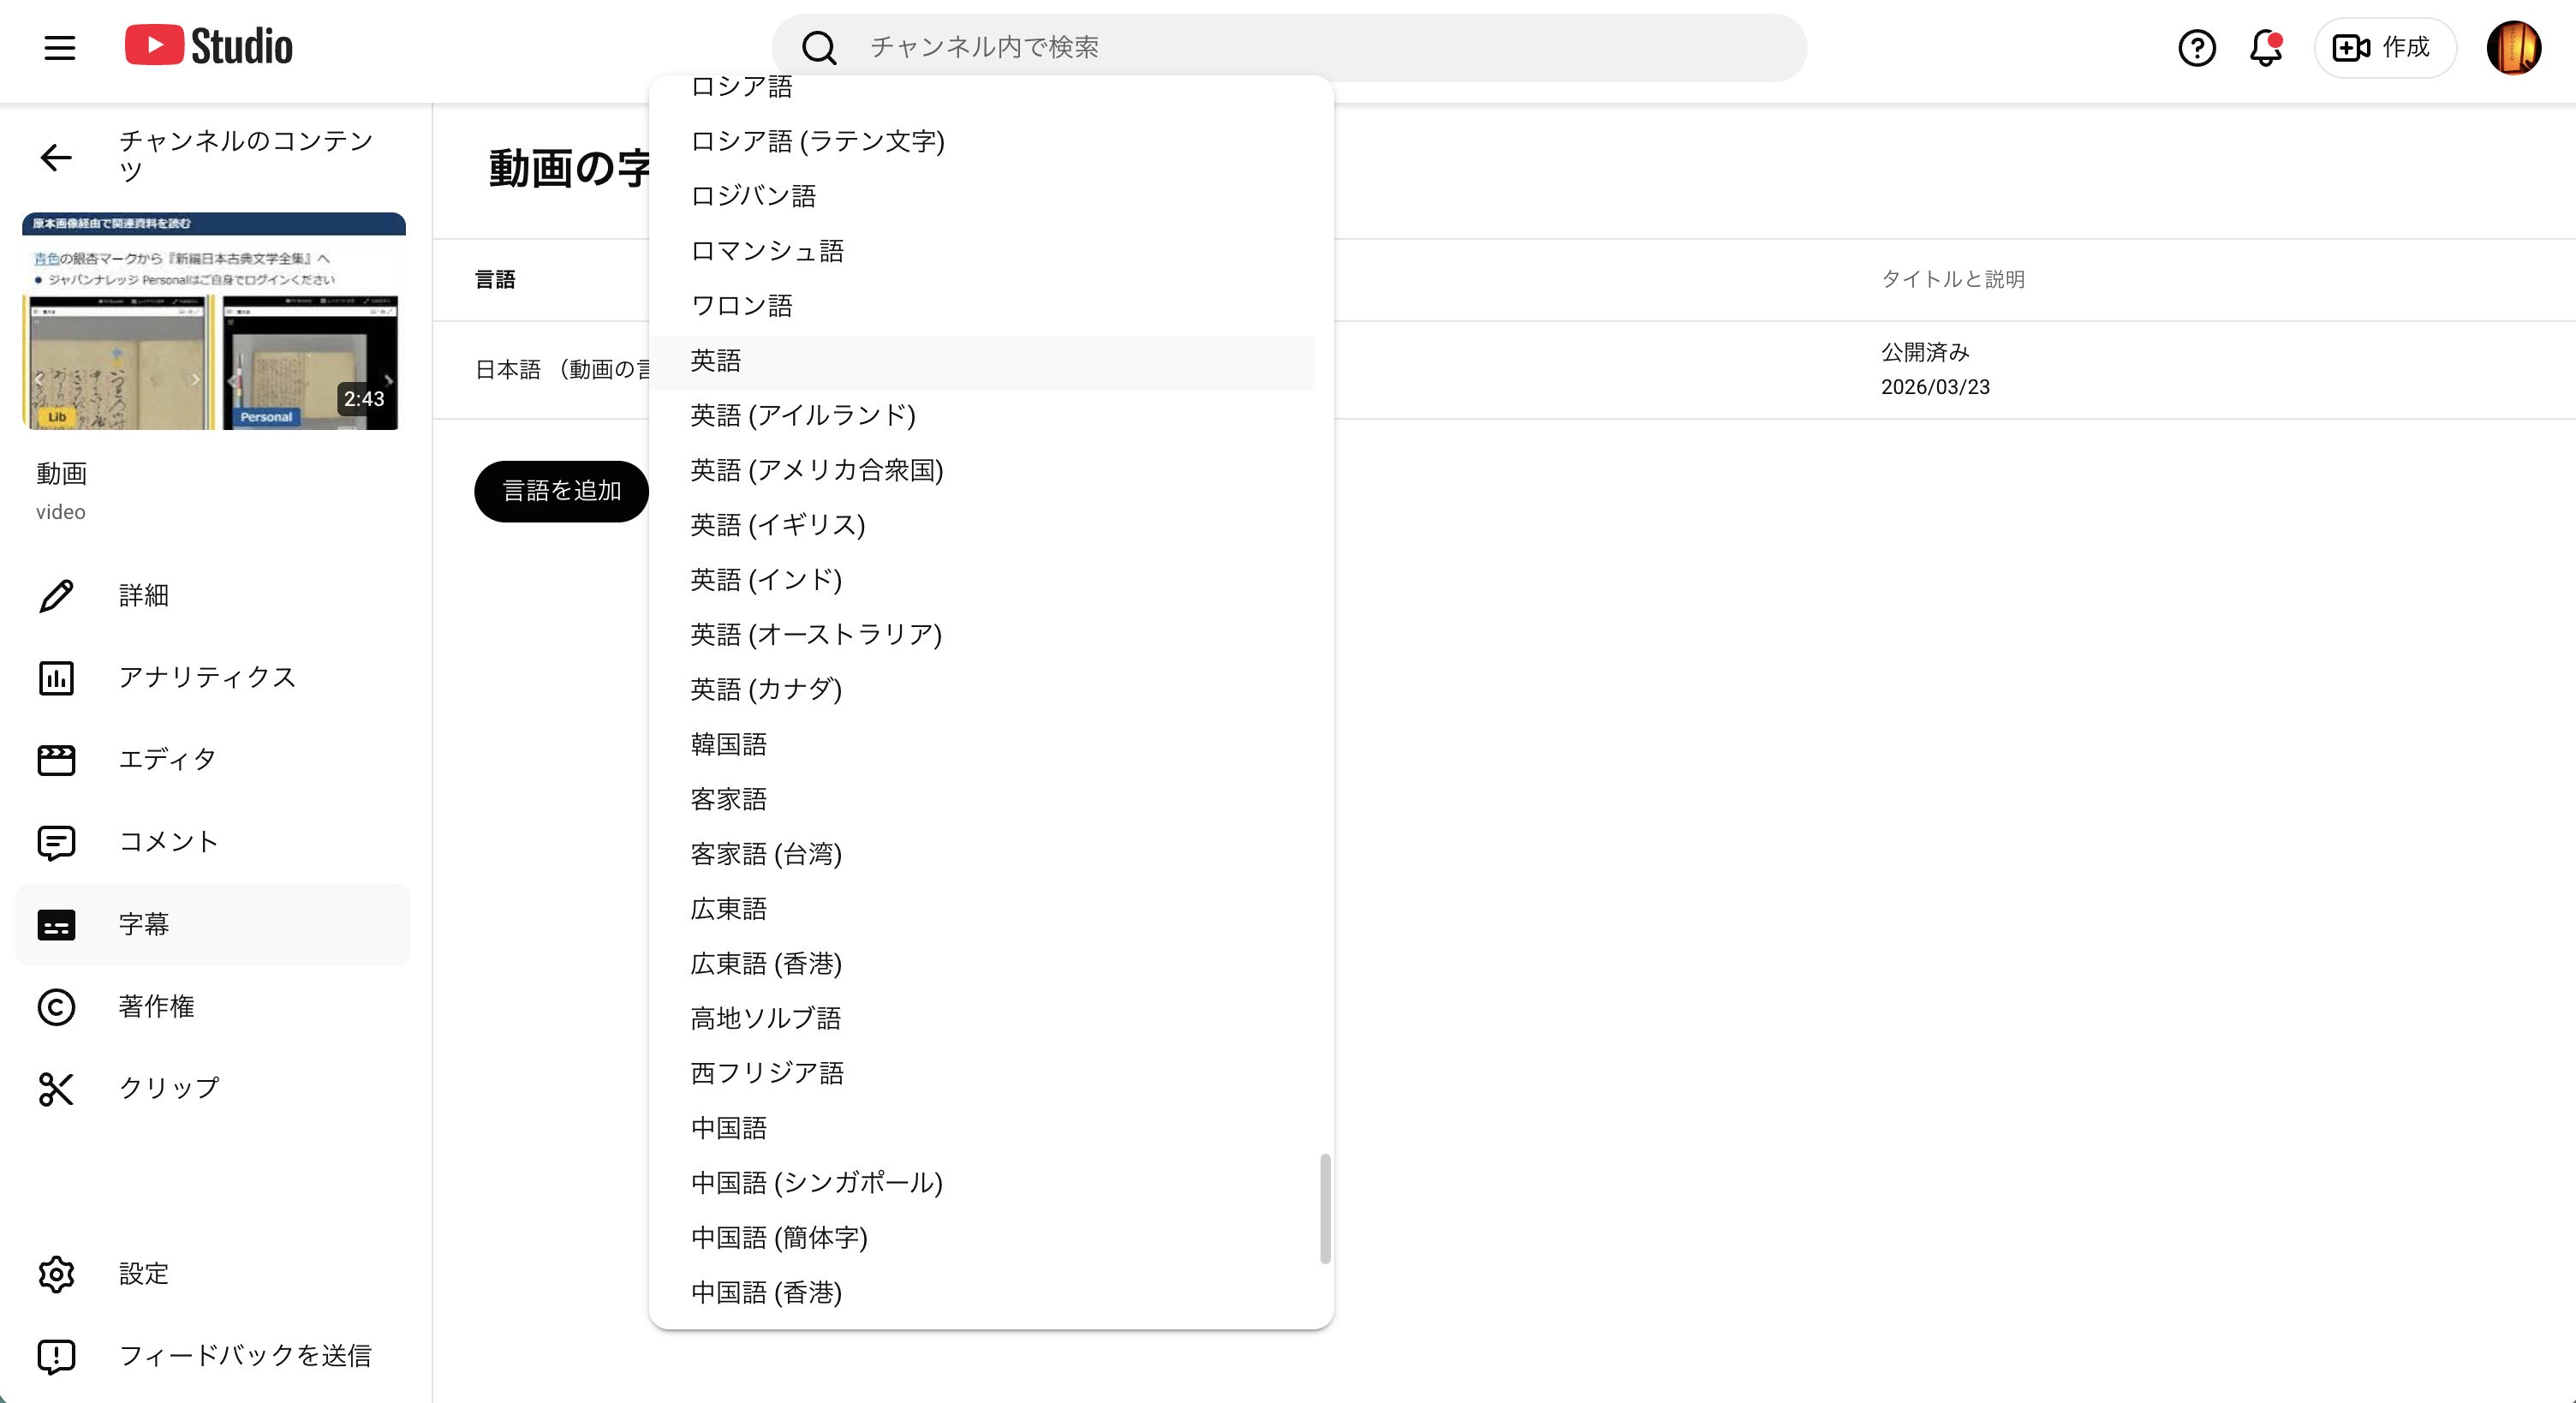
2. Click “Add language”
Click the “Add language” button and select “English” from the language list.
Multiple options such as “English (United States)” and “English (United Kingdom)” will appear. Selecting “English” is usually sufficient.
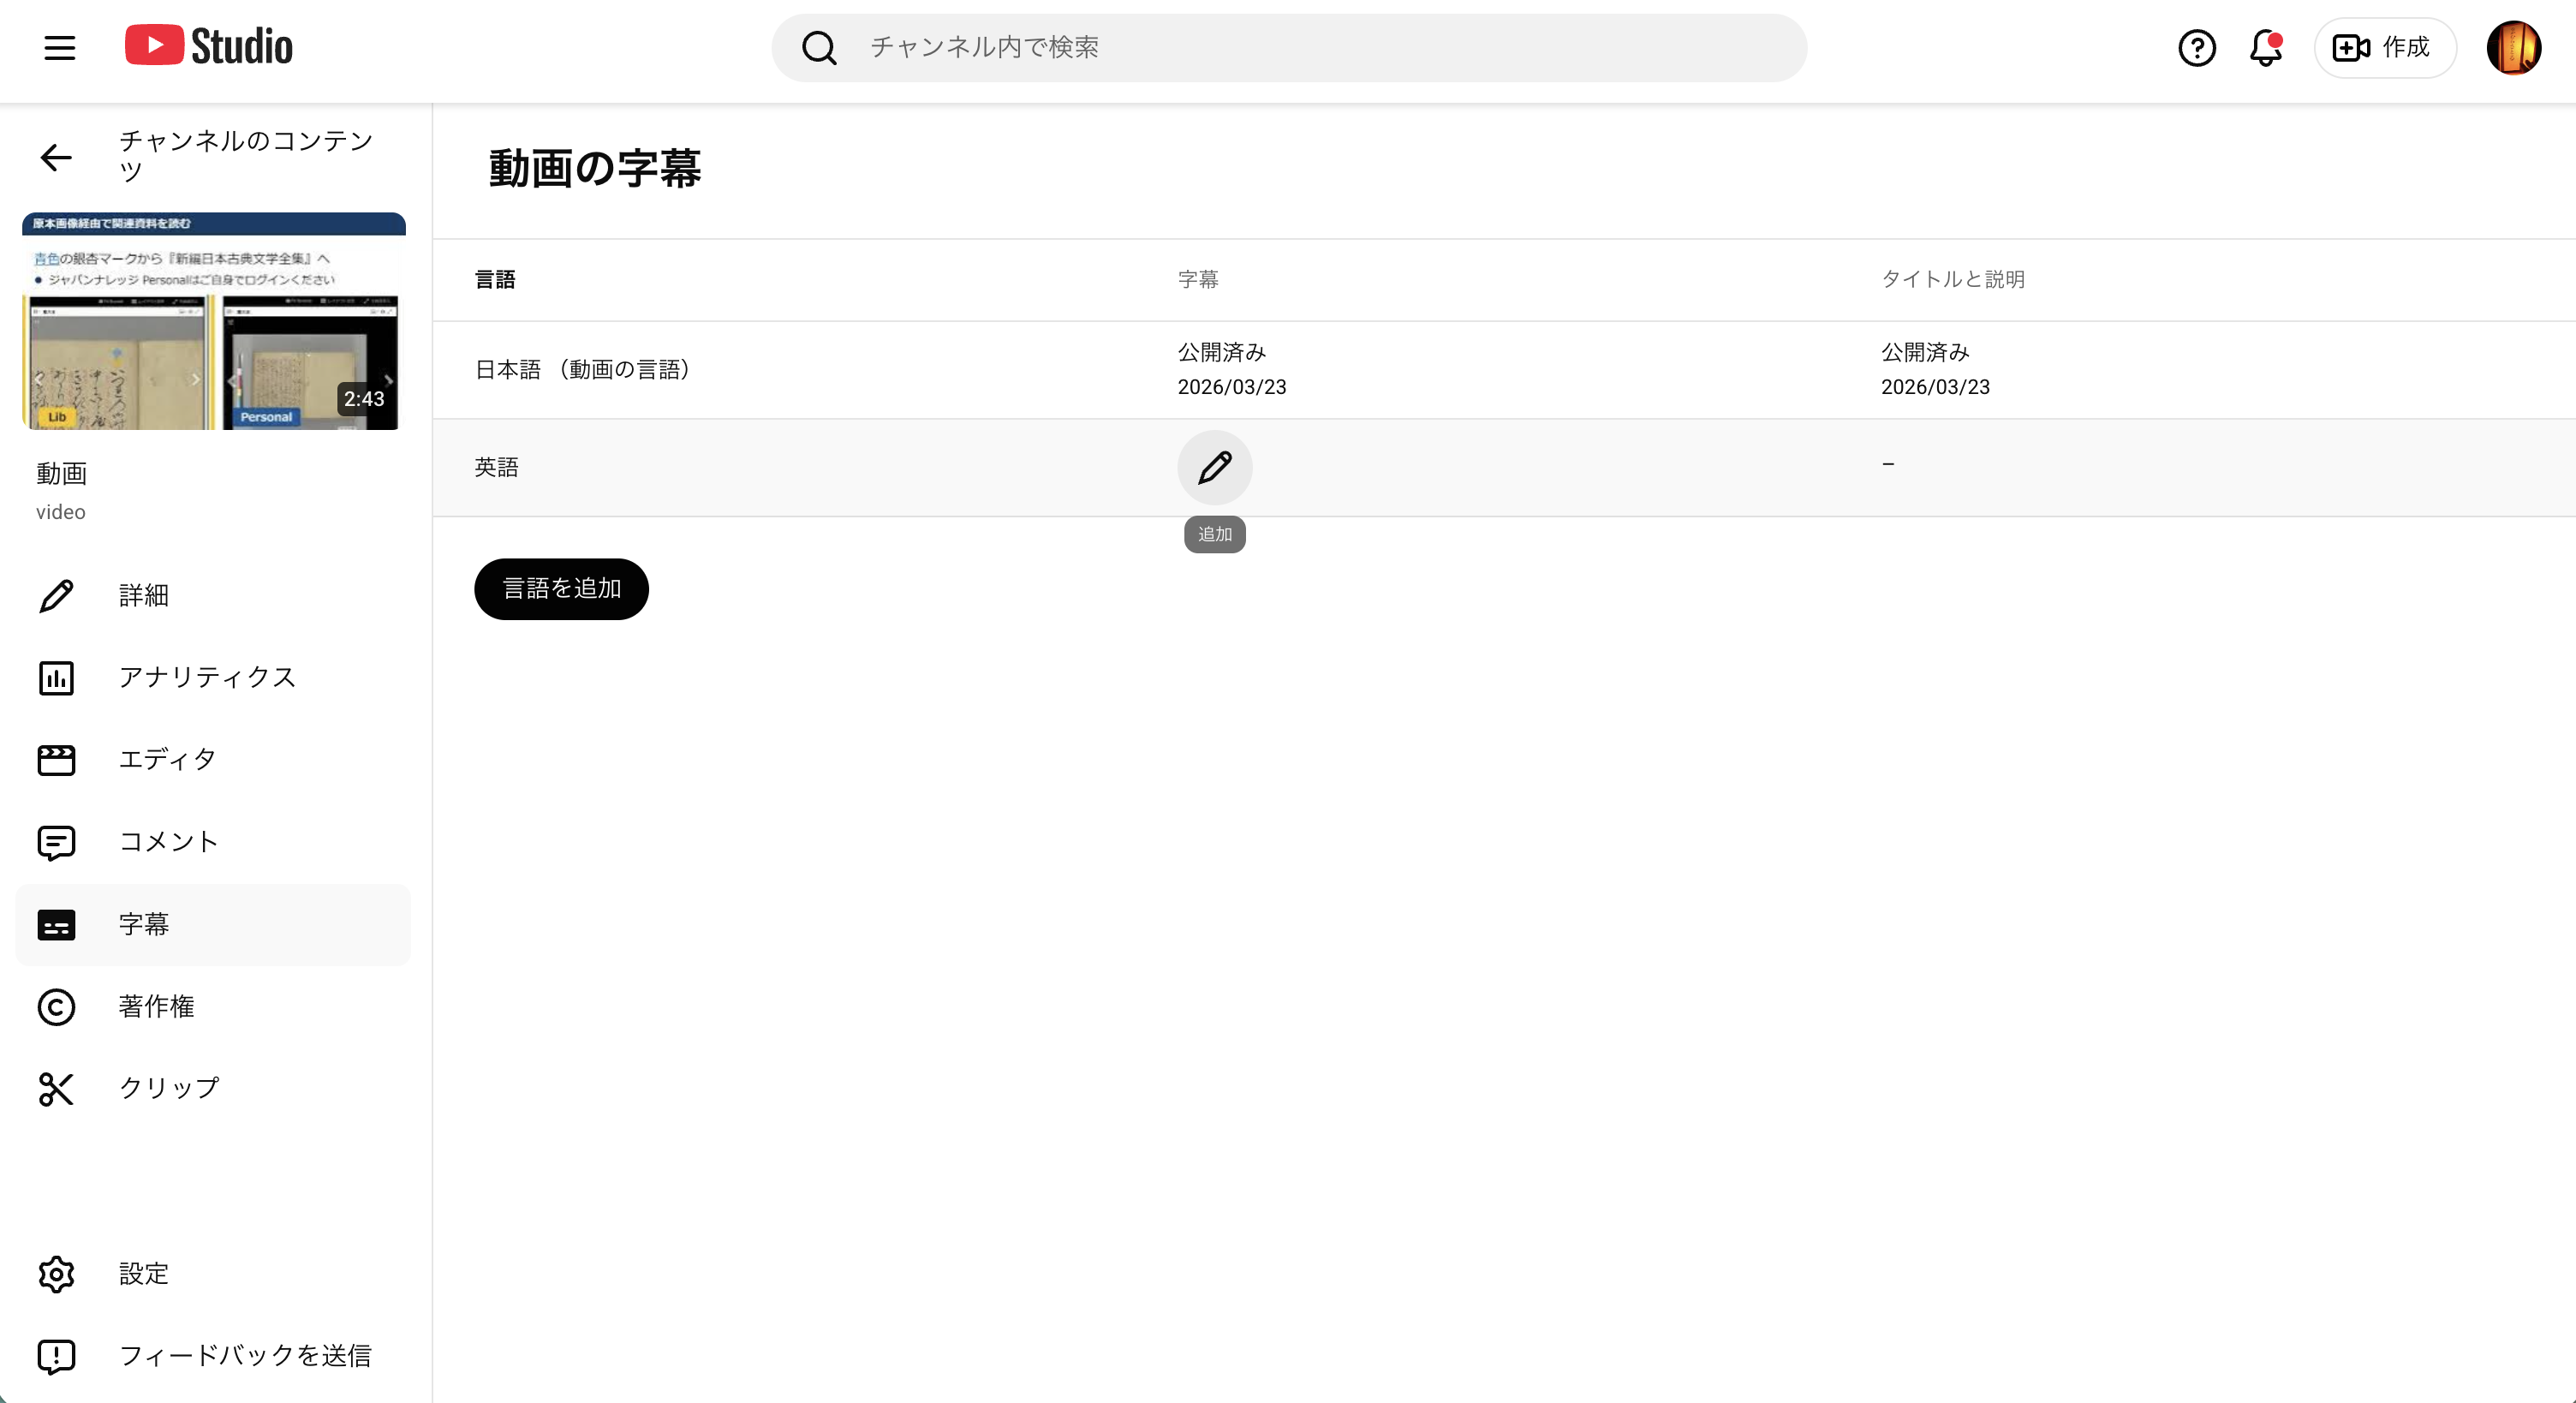
3. Click “Add” on the English row
An “English” row will appear in the subtitle list. Click the “Add” button on this row.
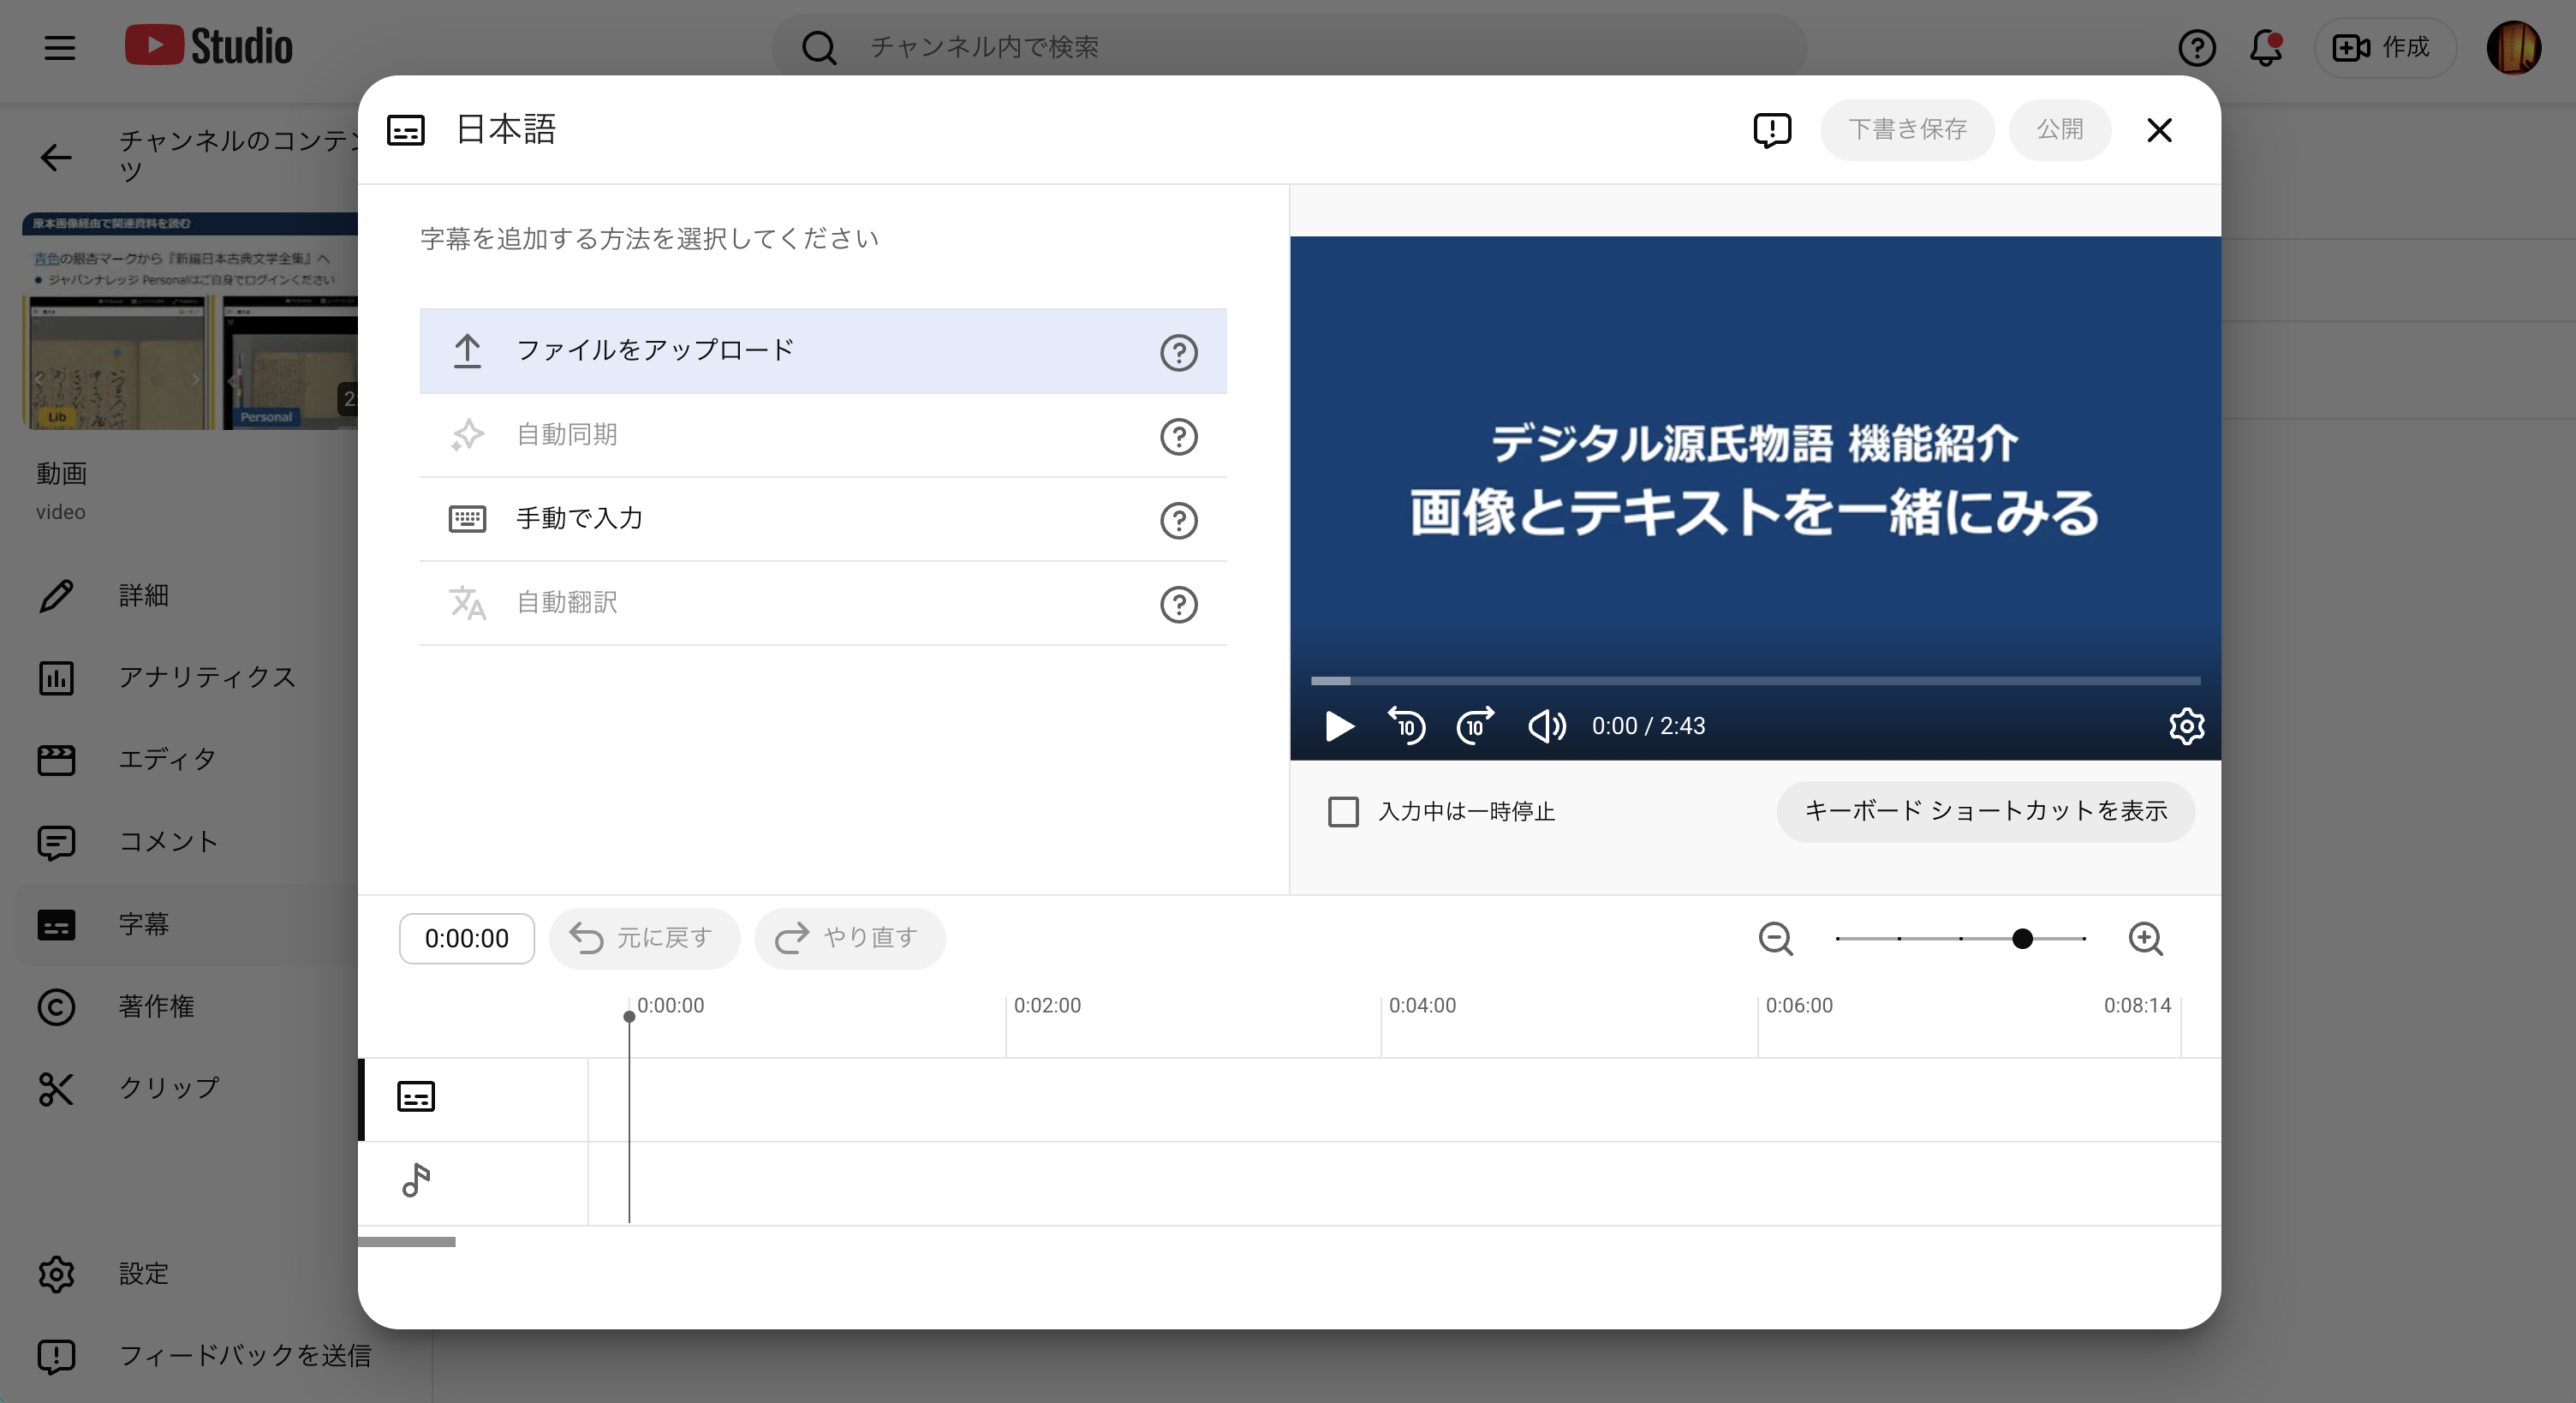
4. Select “Upload file”
A dialog for choosing the subtitle input method will appear. Select “Upload file.”
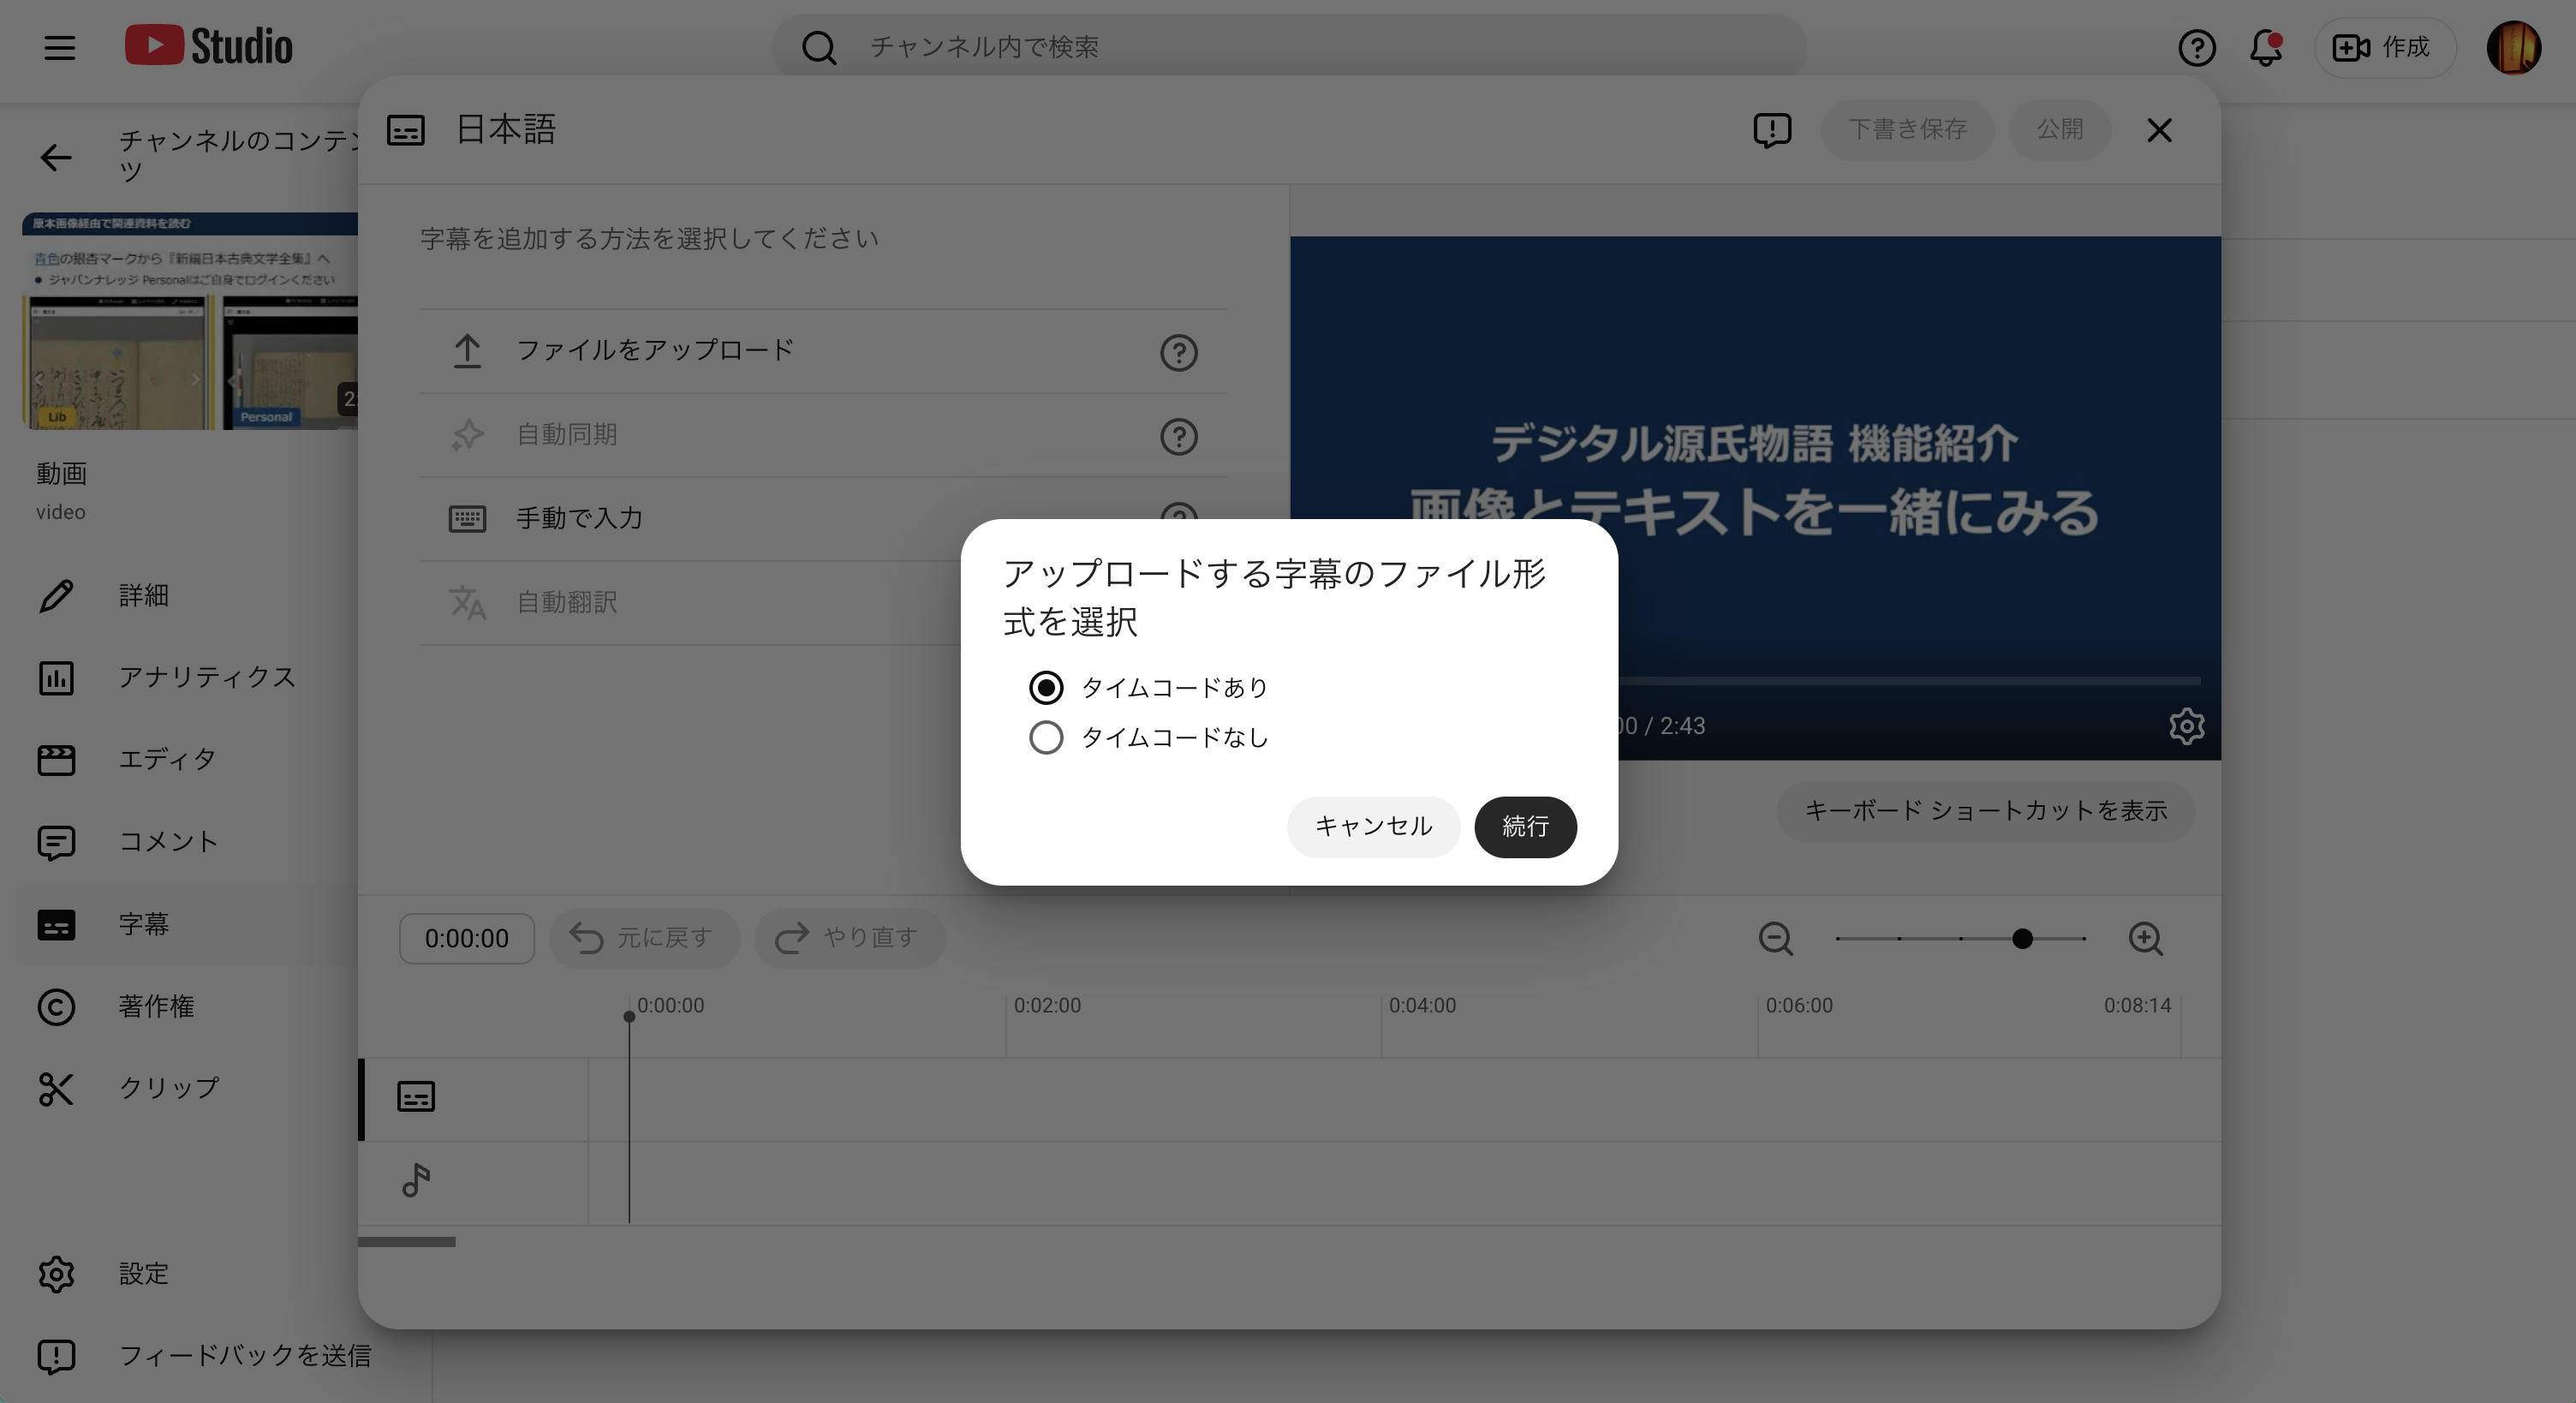
5. Select “With timing”
Since VTT files contain timecodes (timestamps), select “With timing” and click “Continue.”
6. Select and upload the en.vtt file
A file picker dialog will appear. Select your en.vtt file.
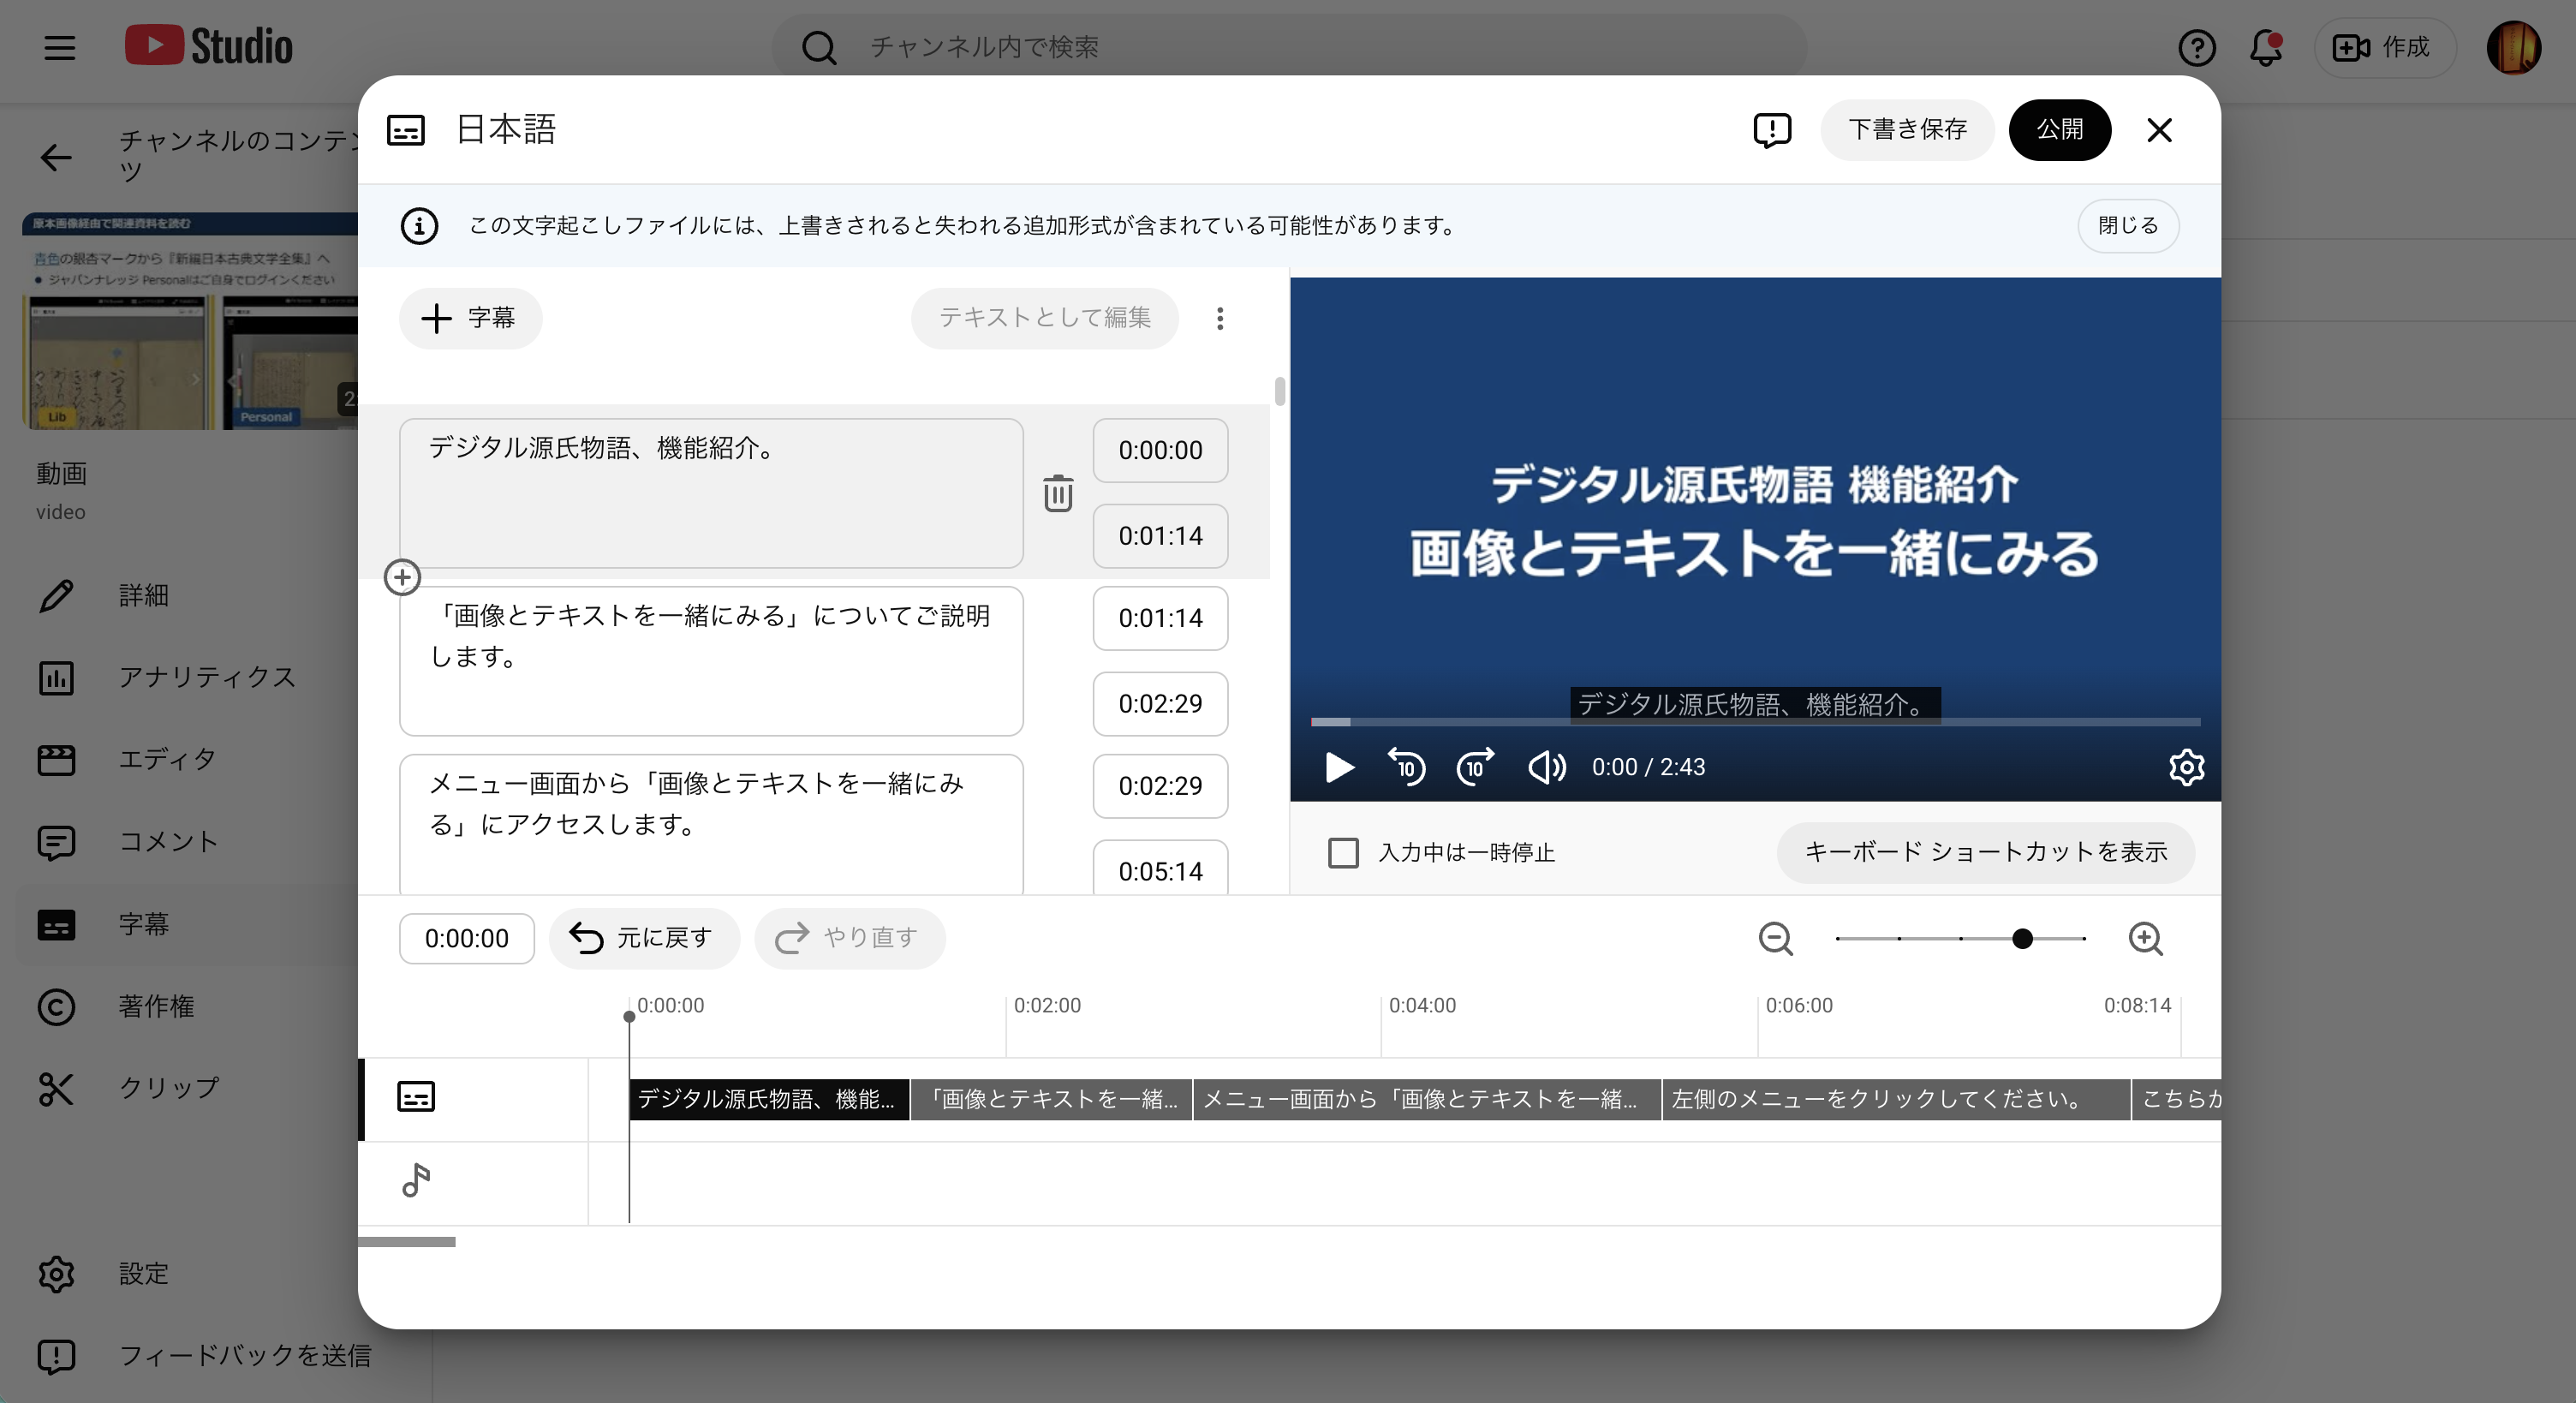
Once the upload is complete, a subtitle preview will be displayed. Review the content and click “Publish” in the upper right.
7. Verify
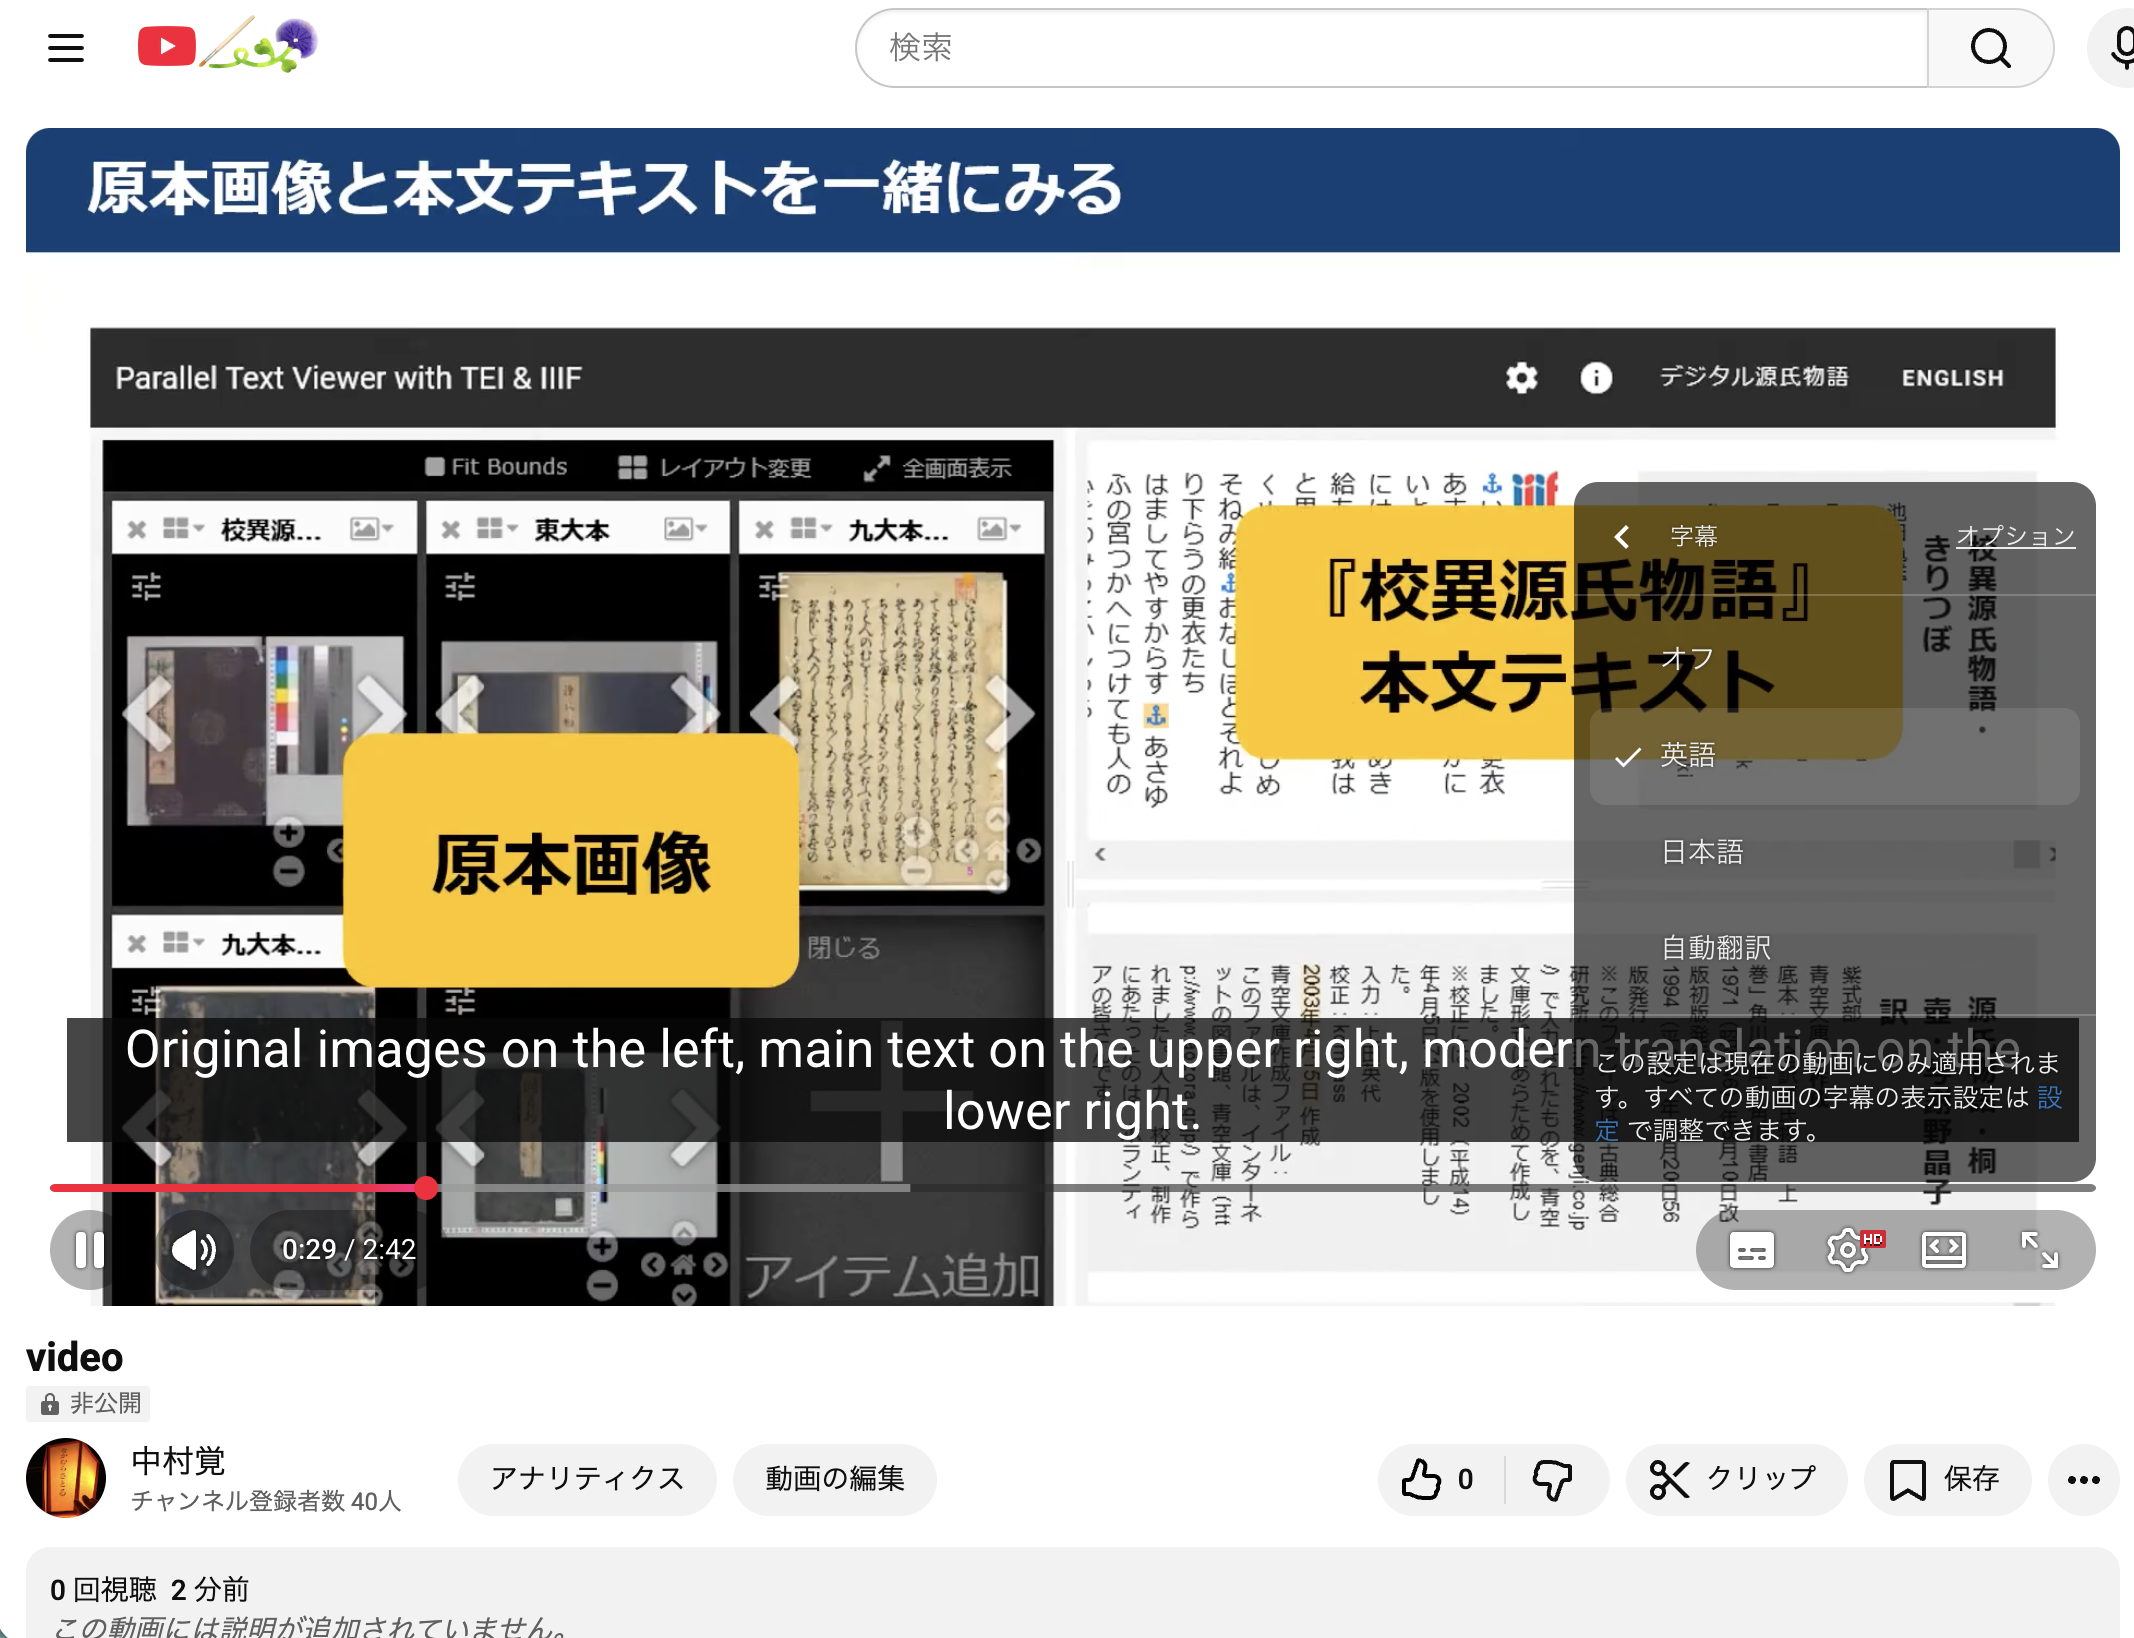
On the YouTube video, confirm that you can switch between “Japanese” and “English” via the subtitle menu (CC button or gear icon → Subtitles).
Notes
- VTT file contents can be viewed in any text editor. Timestamps and subtitle text alternate throughout the file
- To edit subtitles, either edit the text directly in YouTube Studio or re-upload a corrected VTT file
- If you have multiple videos, repeat the same steps to add English subtitles to each one