This guide assumes the use of Sakura Rental Server. If you are using a different server, please adapt the instructions accordingly.
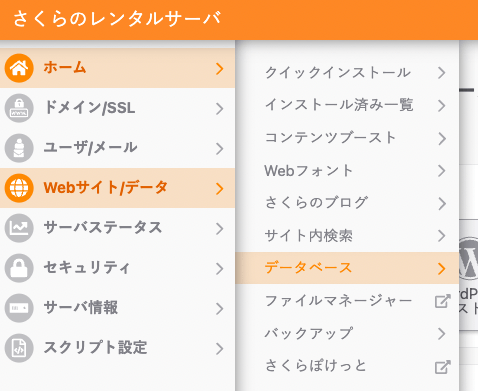
Creating a Database
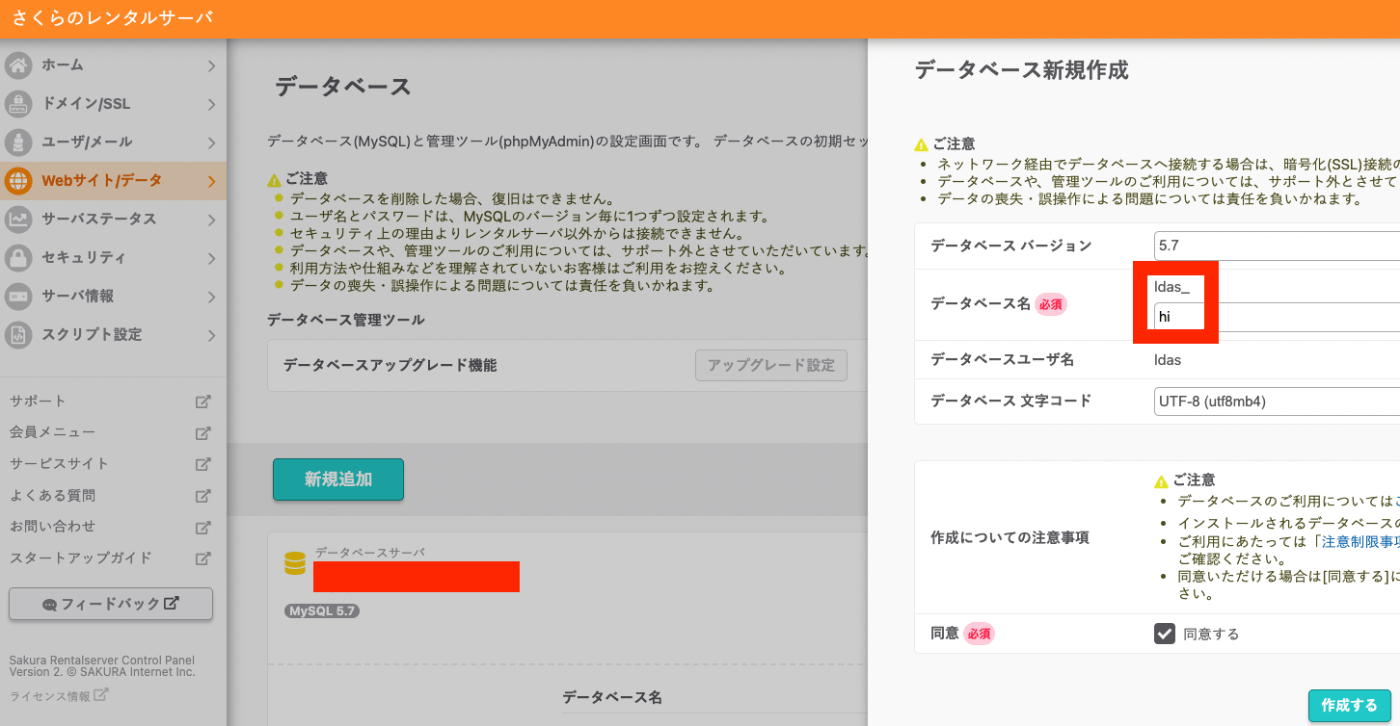
On Sakura Rental Server, create a new database as follows.
Installing Omeka Classic
Connect to Sakura Rental Server via SSH. The command looks like the following, where xxxx is your username.
ssh xxxx@xxxx.sakura.ne.jp
In this case, we will install a new Omeka Classic at the following path.
/home/xxxx/www/omeka
At the above path, download the files as follows. (This assumes version 3.0.2. Change as needed.)
wget https://github.com/omeka/Omeka/releases/download/v3.0.2/omeka-3.0.2.zip
A file named omeka-3.0.2.zip will be created in the current directory. Extract it with the following command.
unzip omeka-3.0.2.zip
A folder named omeka-3.0.2 will be created. Rename this folder to an appropriate name. Below is an example using “hi.”
mv omeka-3.0.2 hi
Next, edit the file /home/xxxx/www/omeka/hi/db.ini. For editing the file, you can use the vi command or the file manager provided by Sakura Rental Server.
https://secure.sakura.ad.jp/rscontrol/main/fileman2/
;;;;;;;;;;;;;;;;;;;;;;;;;;;;;;;
; Database Configuration File ;
;;;;;;;;;;;;;;;;;;;;;;;;;;;;;;;
;
; Omeka requires MySQL 5 or newer.
;
; To configure your database, replace the X's with your specific
; settings. If you're unsure about your database information, ask
; your server administrator, or consult the documentation at
; .

[database]
host = "mysql57.xxxx.sakura.ne.jp"
username = "xxxx"
password = "<password>"
dbname = "<database name created earlier. For Sakura Rental Server, in the format xxxx_abc>"
prefix = "omeka_"
charset = "utf8"
;port = ""
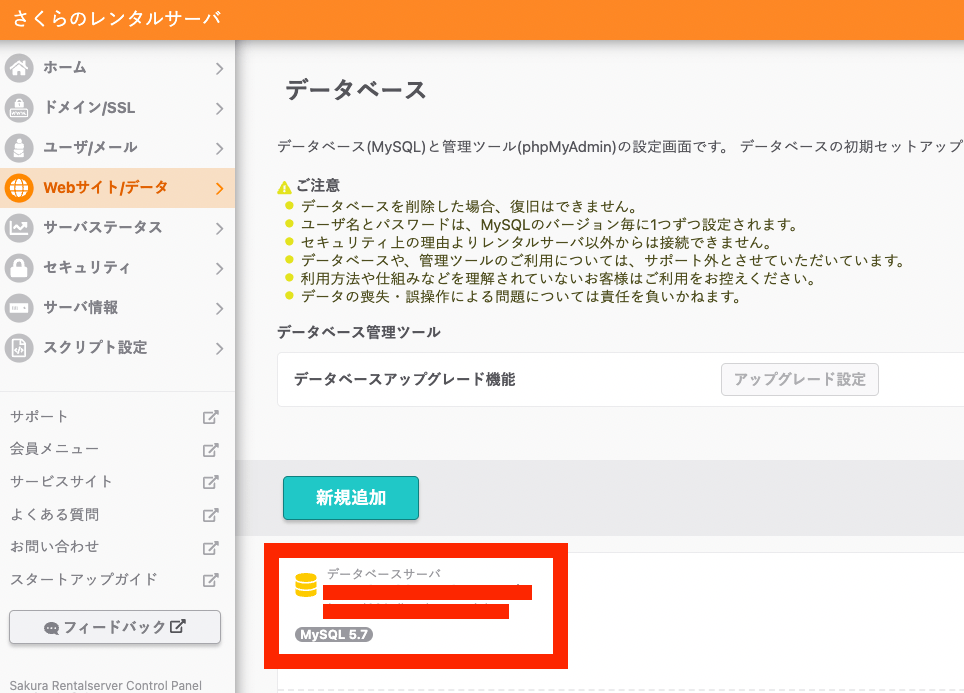
For the host value, use the value displayed on the database screen you created earlier.
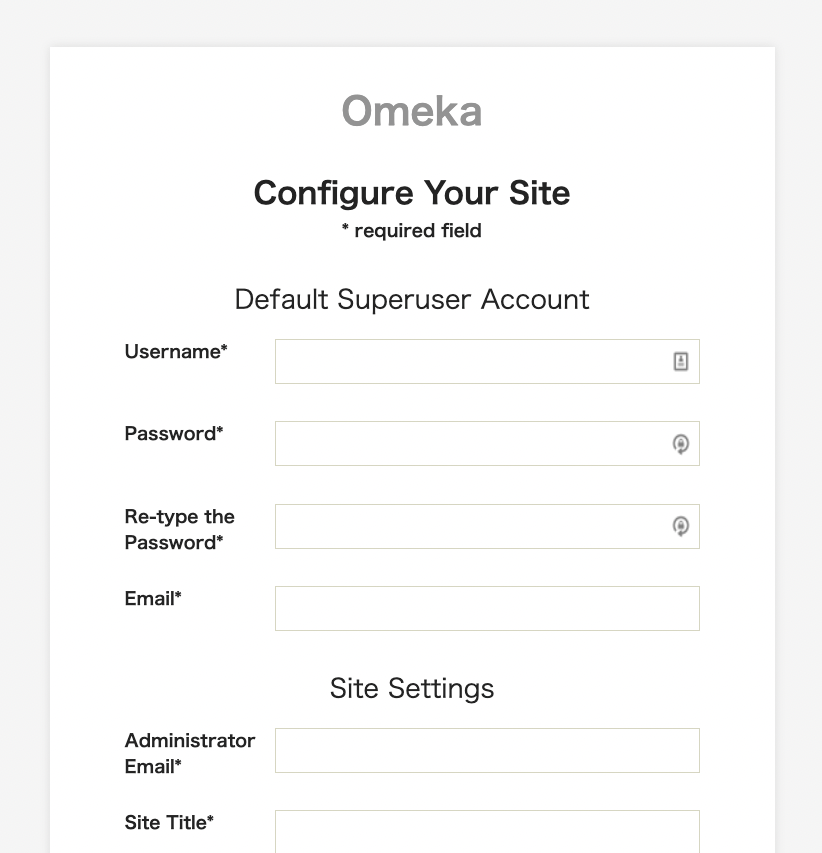
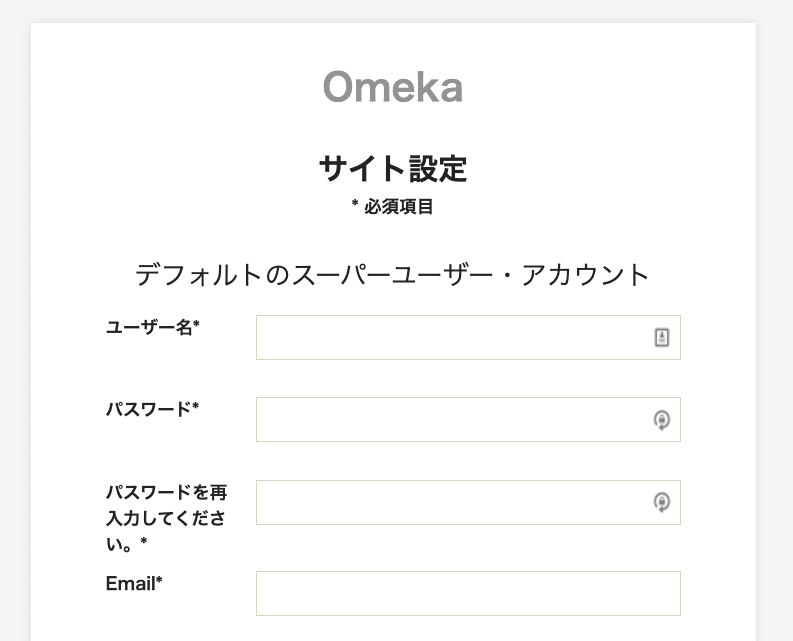
If configured correctly, accessing the page at https://xxxx.sakura.ne.jp/omeka/hi/ will display the following setup screen.
(Reference) Enabling Error Message Display
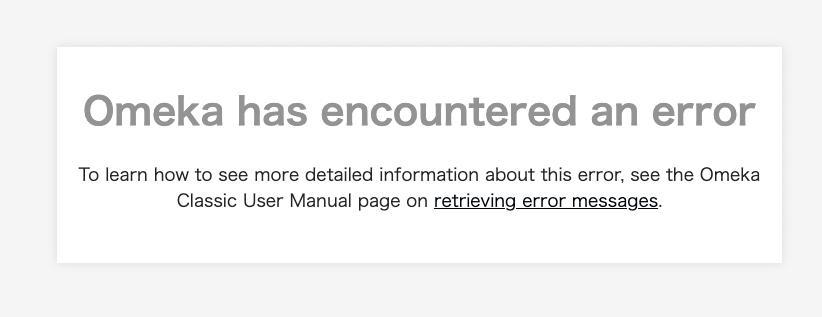
If there is an error in the above settings, a screen like the following will be displayed.
In that case, edit the /home/xxxx/www/omeka/hi/.htaccess file. As shown in the figure below, remove the # at the beginning of SetEnv APPLICATION_ENV development and save.
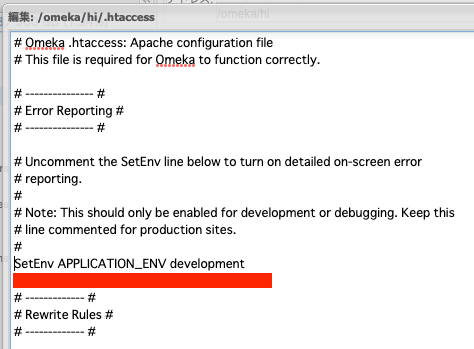
This will enable error message display.
(Reference) Changing to Japanese
As shown below, set ja for locale.name in /home/xxxx/www/omeka/hi/application/config/config.ini.
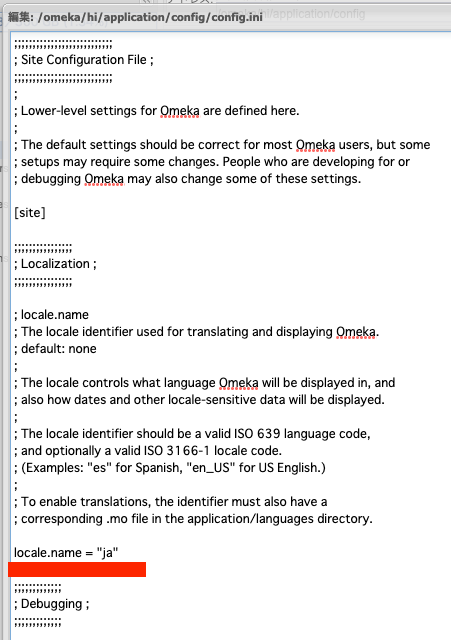
This will switch the interface to Japanese, as shown below.
Browser Configuration
From here, the work is done in the browser. On the site settings screen above, enter the required information such as username. Once the input is complete, you will be redirected to the following screen.
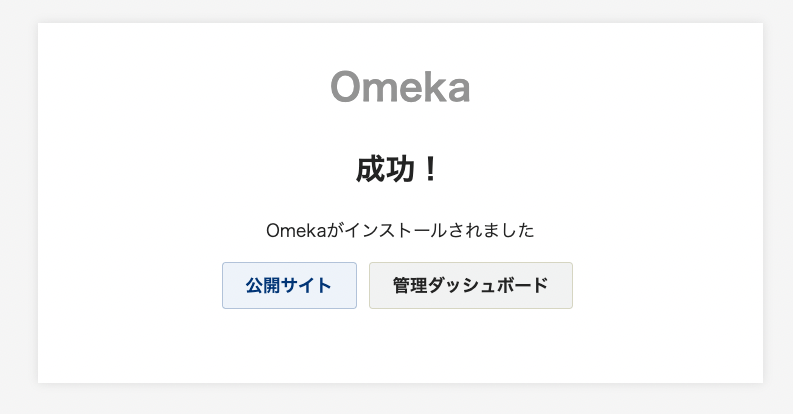
Clicking the “Admin Dashboard” button will navigate to the login screen shown below.
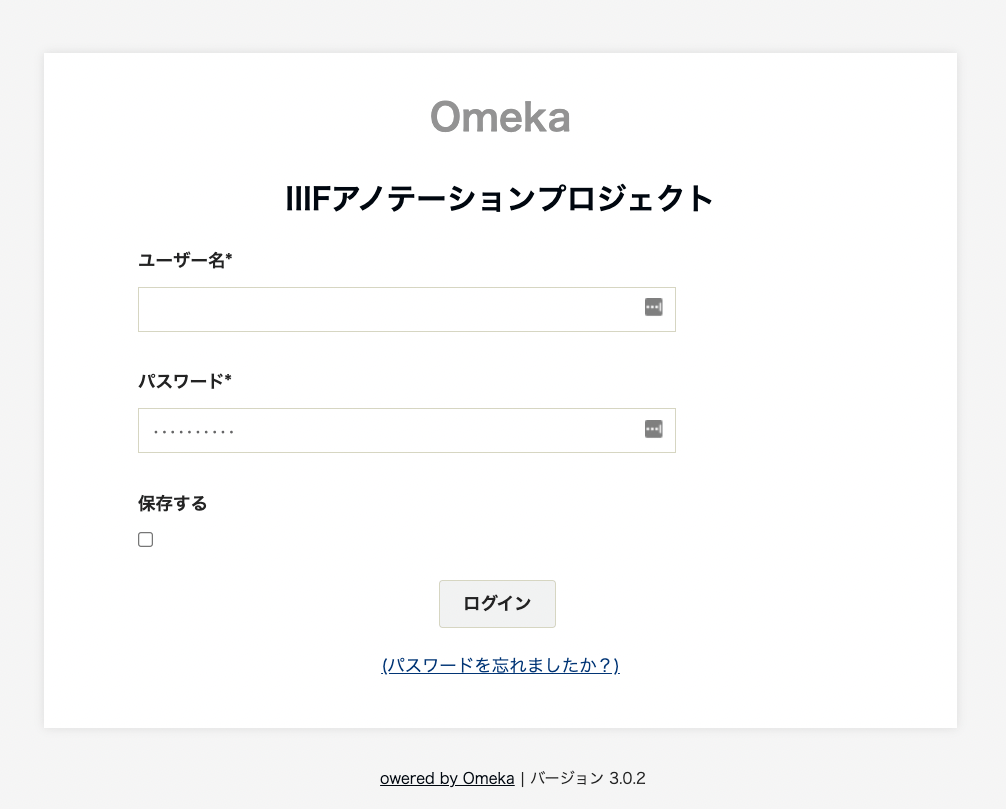
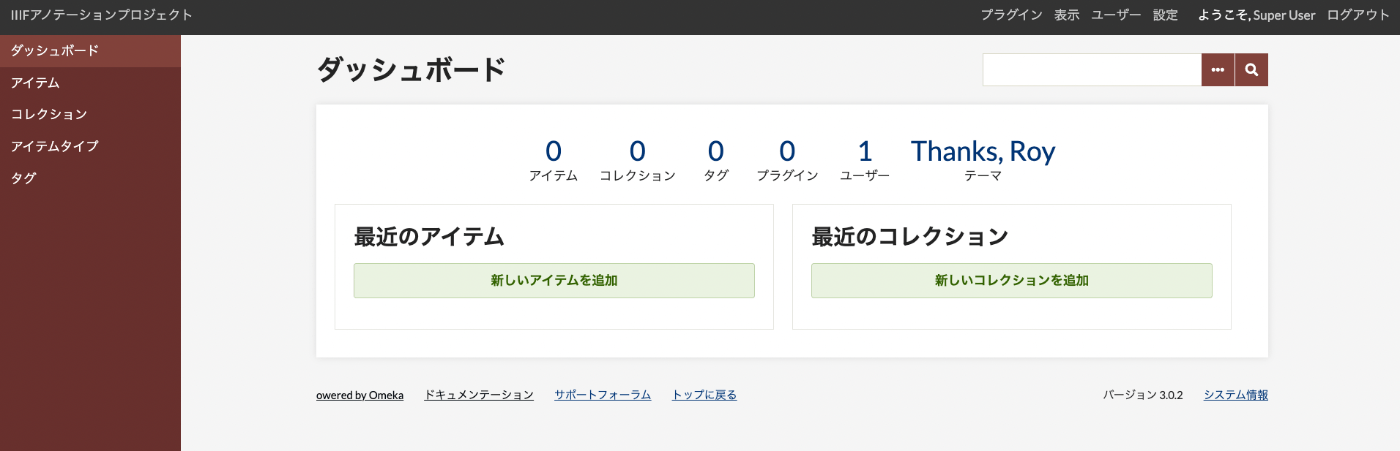
Entering the username and password you set earlier will navigate you to the “Admin Dashboard” as shown below.
Next Steps
This completes the installation of Omeka Classic. Basic usage of Omeka Classic is introduced at the following link. Please refer to Chapter 3 and beyond.
https://zenn.dev/nakamura196/books/a06c31c1cc3c37/viewer/97478a
Since the purpose of this book is to use the IIIF Toolkit below, the next chapter covers the installation of this module.