Overview
In the following article, I introduced a Gradio app using Azure virtual machines and NDLOCR.
This article provides notes on how to build this app.
Building the Virtual Machine
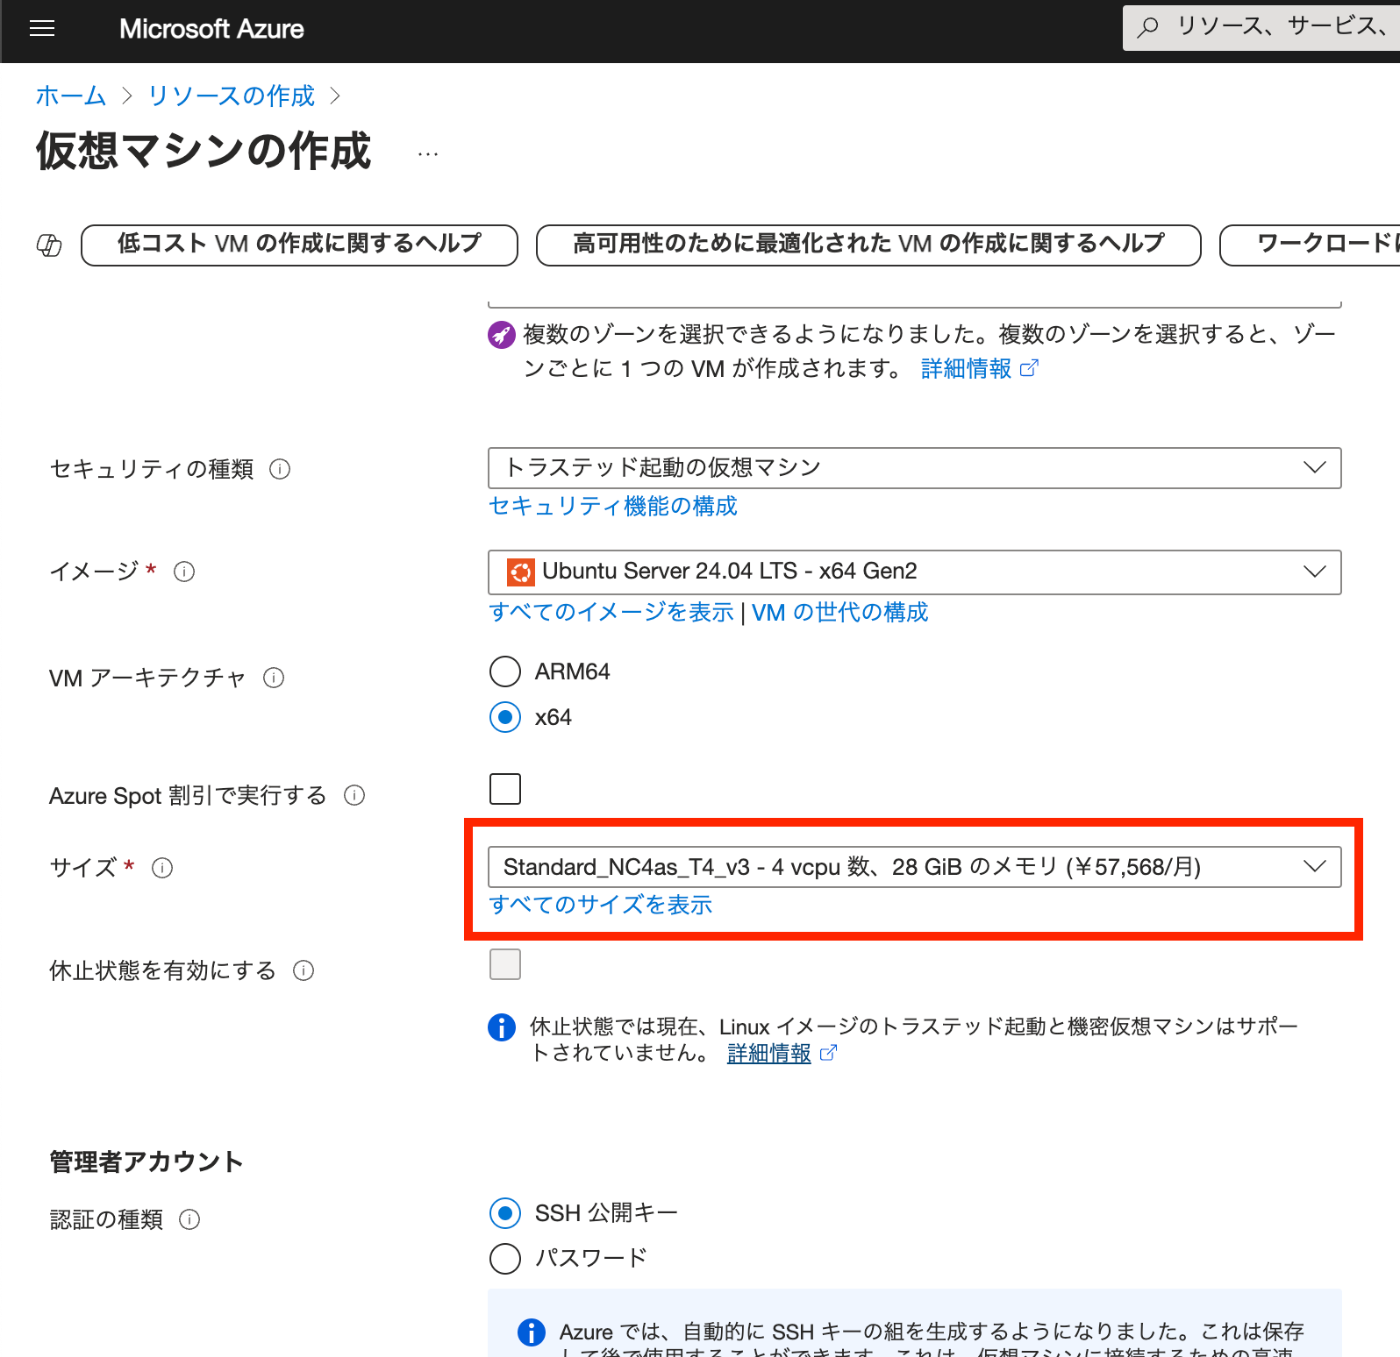
To use a GPU, it was necessary to request a quota.
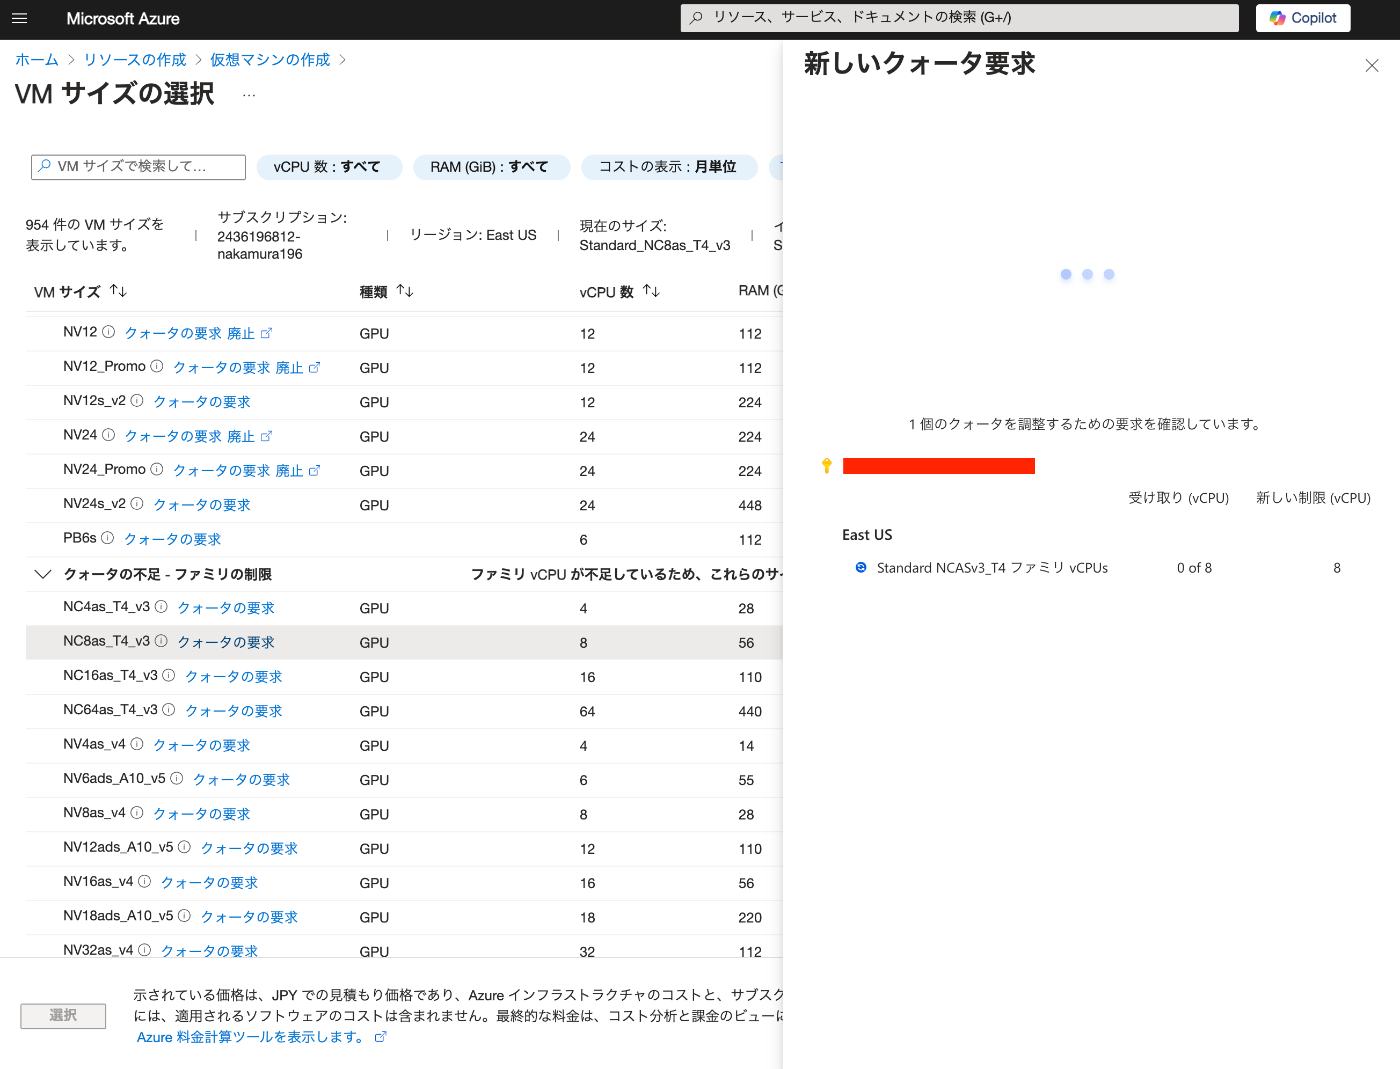
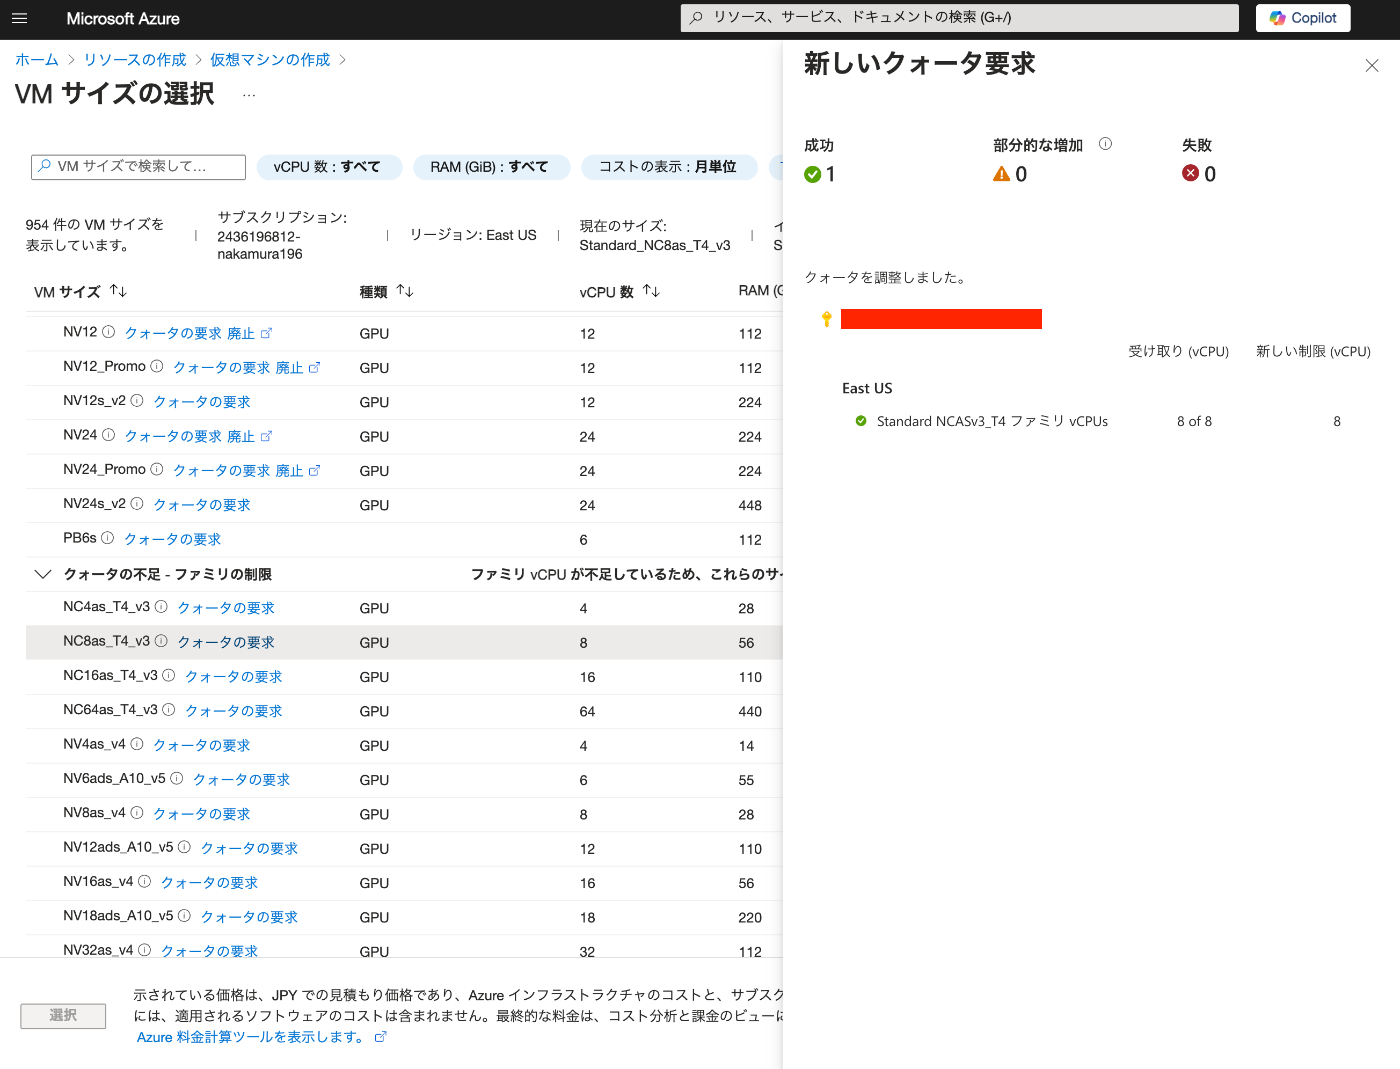
After the request, “NC8as_T4_v3” was used for this project.
Building the Docker Environment
The following article was used as a reference.
https://zenn.dev/koki_algebra/scraps/32ba86a3f867a4
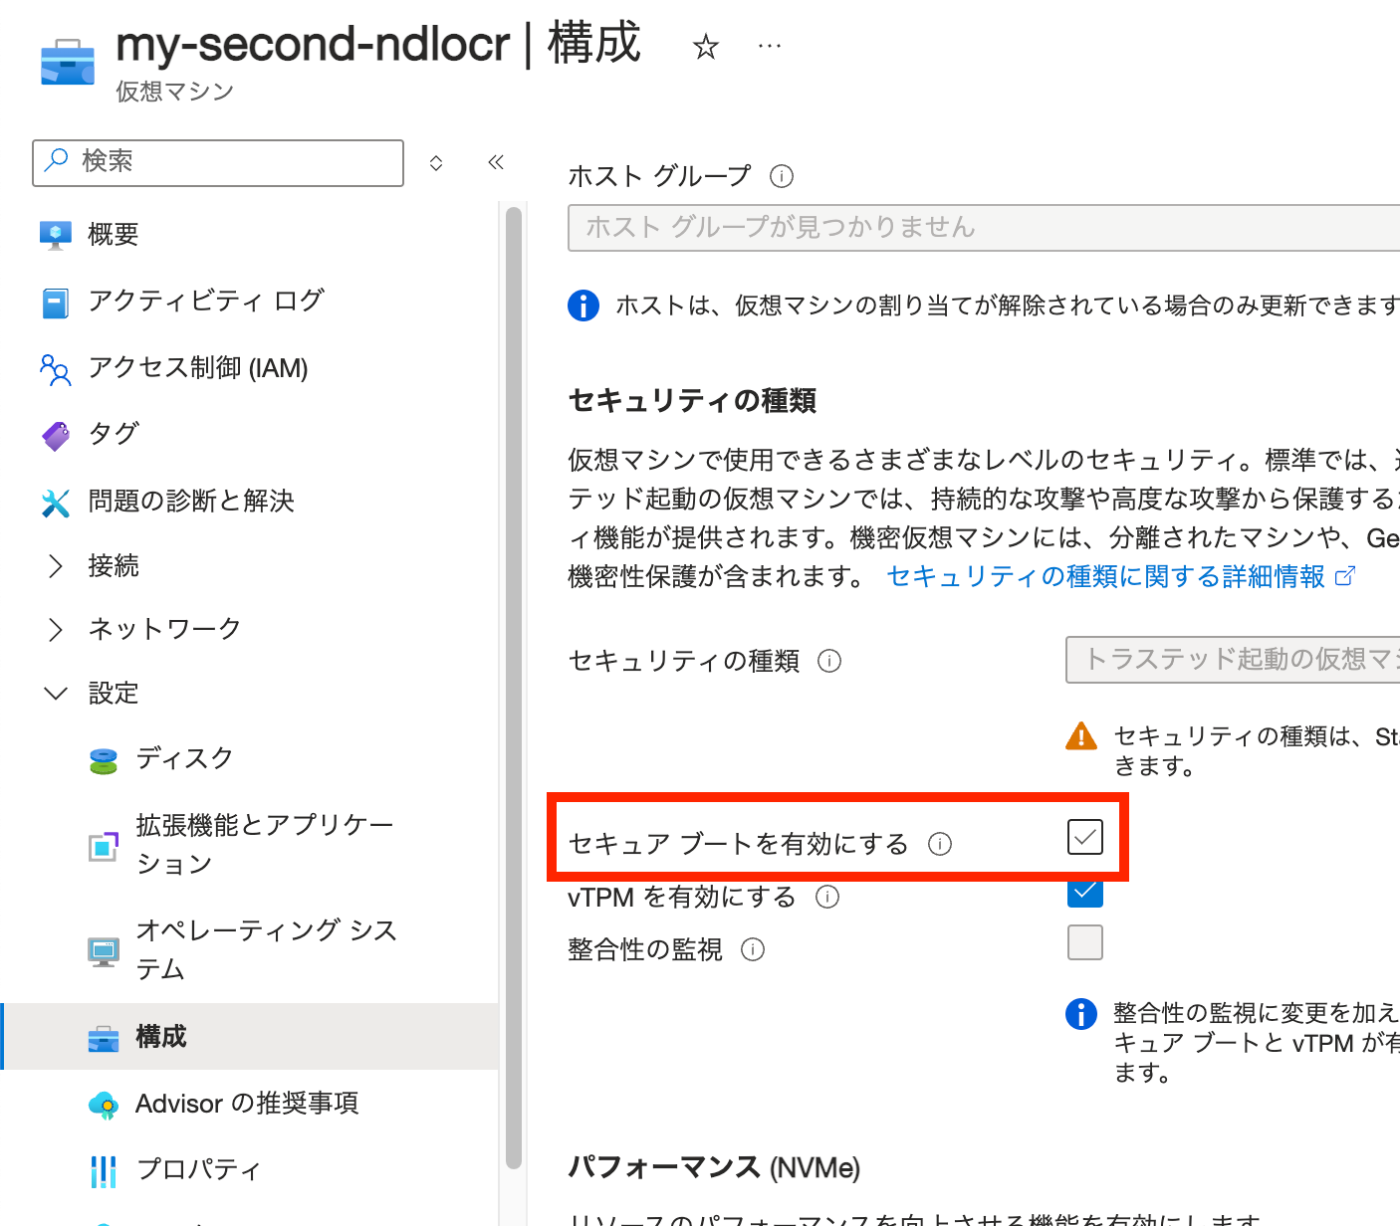
Disabling Secure Boot
The following is stated:
Secure Boot must be disabled for the NVIDIA Driver to be installed correctly.
Indeed, when it was not disabled, the following screen appeared and I could not proceed.

Secure Boot is disabled as follows.
Installing the NVIDIA Driver
Install the ubuntu-drivers command and check the available NVIDIA Drivers.
sudo apt-get update
sudo apt install ubuntu-drivers-common
ubuntu-drivers devices
The results are as follows.
vendor   : NVIDIA Corporation
model    : TU104GL [Tesla T4]
driver   : nvidia-driver-535 - distro non-free recommended
driver   : nvidia-driver-470-server - distro non-free
driver   : nvidia-driver-535-server - distro non-free
driver   : nvidia-driver-470 - distro non-free
driver   : xserver-xorg-video-nouveau - distro free builtin
Install the recommended driver.
sudo apt install nvidia-driver-535
After restarting, run the following to confirm the installation.
Sun Dec 22 23:10:42 2024
+---------------------------------------------------------------------------------------+
| NVIDIA-SMI 535.183.01             Driver Version: 535.183.01   CUDA Version: 12.2     |
|-----------------------------------------+----------------------+----------------------+
| GPU  Name                 Persistence-M | Bus-Id        Disp.A | Volatile Uncorr. ECC |
| Fan  Temp   Perf          Pwr:Usage/Cap |         Memory-Usage | GPU-Util  Compute M. |
|                                         |                      |               MIG M. |
|=========================================+======================+======================|
|   0  Tesla T4                       Off | 00000001:00:00.0 Off |                    0 |
| N/A   47C    P8              10W /  70W |      2MiB / 15360MiB |      0%      Default |
|                                         |                      |                  N/A |
+-----------------------------------------+----------------------+----------------------+

+---------------------------------------------------------------------------------------+
| Processes:                                                                            |
|  GPU   GI   CI        PID   Type   Process name                            GPU Memory |
|        ID   ID                                                             Usage      |
|=======================================================================================|
|  No running processes found                                                           |
+---------------------------------------------------------------------------------------+
Installing Docker
Install following the official documentation.
https://docs.docker.com/engine/install/ubuntu/
for pkg in docker.io docker-doc docker-compose docker-compose-v2 podman-docker containerd runc; do sudo apt-get remove $pkg; done

# Add Docker's official GPG key:
sudo apt-get update
sudo apt-get install ca-certificates curl
sudo install -m 0755 -d /etc/apt/keyrings
sudo curl -fsSL https://download.docker.com/linux/ubuntu/gpg -o /etc/apt/keyrings/docker.asc
sudo chmod a+r /etc/apt/keyrings/docker.asc

# Add the repository to Apt sources:
echo \
  "deb [arch=$(dpkg --print-architecture) signed-by=/etc/apt/keyrings/docker.asc] https://download.docker.com/linux/ubuntu \
  $(. /etc/os-release && echo "$VERSION_CODENAME") stable" | \
  sudo tee /etc/apt/sources.list.d/docker.list > /dev/null
sudo apt-get update

sudo apt-get install docker-ce docker-ce-cli containerd.io docker-buildx-plugin docker-compose-plugin

sudo docker run hello-world
Add azureuser to the Docker Group. Then restart Docker.
sudo usermod -aG docker $USER
newgrp docker
sudo systemctl restart docker
Reconnect via SSH.
Installing NVIDIA Container Toolkit
Install following the official documentation.
https://docs.nvidia.com/datacenter/cloud-native/container-toolkit/latest/install-guide.html
Configuring Docker
sudo nvidia-ctk runtime configure --runtime=docker
sudo systemctl restart docker

docker run --rm --gpus all nvidia/cuda:12.4.1-cudnn-runtime-ubuntu22.04 nvidia-smi

==========
== CUDA ==
==========

CUDA Version 12.4.1

Container image Copyright (c) 2016-2023, NVIDIA CORPORATION & AFFILIATES. All rights reserved.

This container image and its contents are governed by the NVIDIA Deep Learning Container License.
By pulling and using the container, you accept the terms and conditions of this license:
https://developer.nvidia.com/ngc/nvidia-deep-learning-container-license

A copy of this license is made available in this container at /NGC-DL-CONTAINER-LICENSE for your convenience.

Sun Dec 22 23:16:52 2024
+---------------------------------------------------------------------------------------+
| NVIDIA-SMI 535.183.01             Driver Version: 535.183.01   CUDA Version: 12.4     |
|-----------------------------------------+----------------------+----------------------+
| GPU  Name                 Persistence-M | Bus-Id        Disp.A | Volatile Uncorr. ECC |
| Fan  Temp   Perf          Pwr:Usage/Cap |         Memory-Usage | GPU-Util  Compute M. |
|                                         |                      |               MIG M. |
|=========================================+======================+======================|
|   0  Tesla T4                       Off | 00000001:00:00.0 Off |                    0 |
| N/A   33C    P8               9W /  70W |      2MiB / 15360MiB |      0%      Default |
|                                         |                      |                  N/A |
+-----------------------------------------+----------------------+----------------------+

+---------------------------------------------------------------------------------------+
| Processes:                                                                            |
|  GPU   GI   CI        PID   Type   Process name                            GPU Memory |
|        ID   ID                                                             Usage      |
|=======================================================================================|
|  No running processes found                                                           |
+---------------------------------------------------------------------------------------+
Domain Configuration
The Gradio app created this time is secured with HTTPS using Traefik.
Here, Route53 is used to assign a domain to the virtual machine’s IP address.
Starting the NDLOCR App
The above completes the environment setup. Now let’s start the NDLOCR app.
Download the source code with the following command.
git clone --recursive https://github.com/ndl-lab/ndlocr_cli
cd ndlocr_cli
Downloading the Gradio App Source Code
The Gradio app source code is published at the following URL.
https://github.com/nakamura196/ndlocr2_gradio
Download it and copy it to the appropriate location.
git clone https://github.com/nakamura196/ndlocr2_gradio
cp -rp ndlocr2_gradio/* .
chmod 600 ./traefik/acme.json
Then, modify the domain name and email address in ./traefik/traefik.yml and ./docker-compose.yml.
Then, run the following.
docker compose up
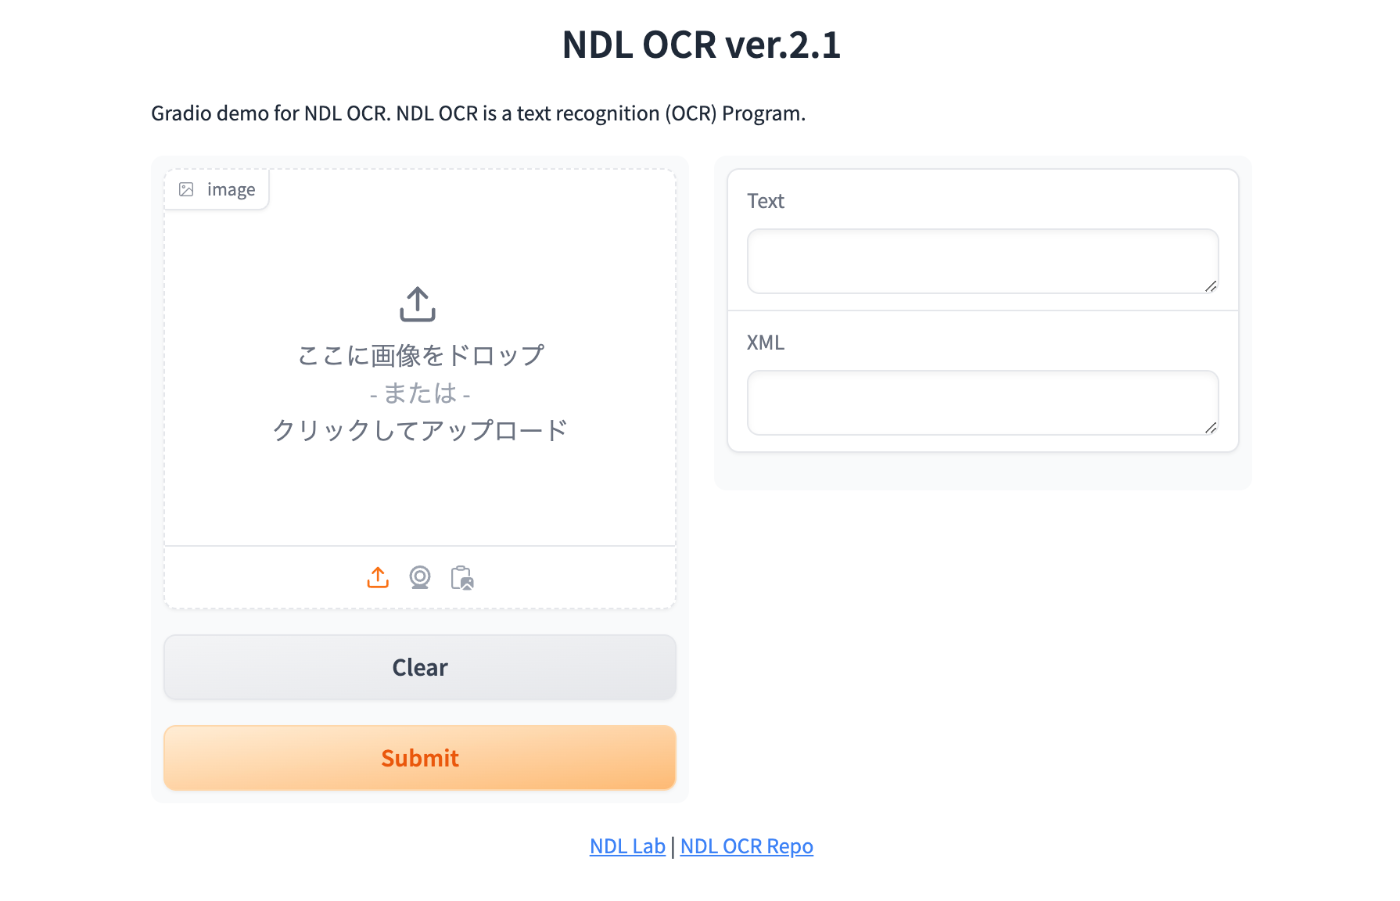
This will start the Gradio app at the configured URL. Here is an example.
Summary
There may be some incomplete parts, but I hope this serves as a useful reference for converting the NDLOCR app into a Gradio app.