Update History
- 2022/09/08 Updated the script descriptions to the latest version.
Overview
Amazon Lightsail is described as follows:
Amazon Lightsail is an easy-to-use virtual private server (VPS) that makes it easy to manage cloud resources such as containers at a predictable, low price.
This article introduces how to build Omeka S using Amazon Lightsail. It also covers the “custom domain” and “SSL” configuration that are generally required when making a database publicly available.
Amazon Lightsail
Creating an Instance
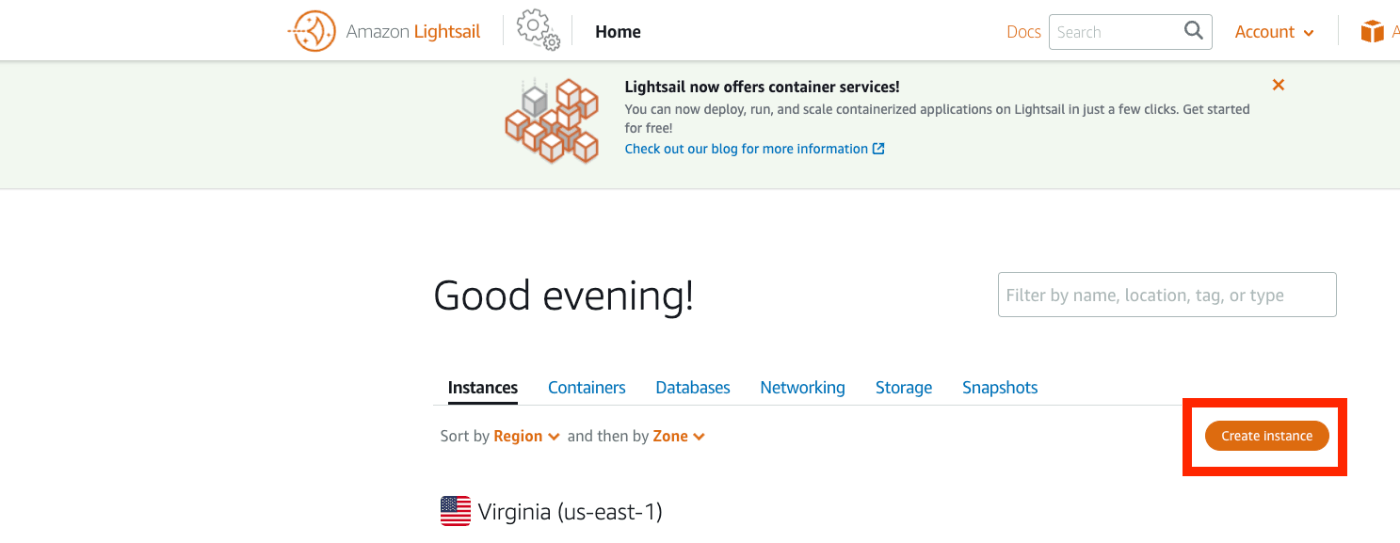
Access the following page:
https://lightsail.aws.amazon.com/ls/webapp/home/instances
Then click the “Create Instance” button shown below.
Under “Select a blueprint”, select “LAMP (PHP 7)”.

Under “Choose your instance plan”, select an instance plan. We chose the lowest-priced plan for this example.

Once launched, access the instance page and click the “Connect using SSH” button.
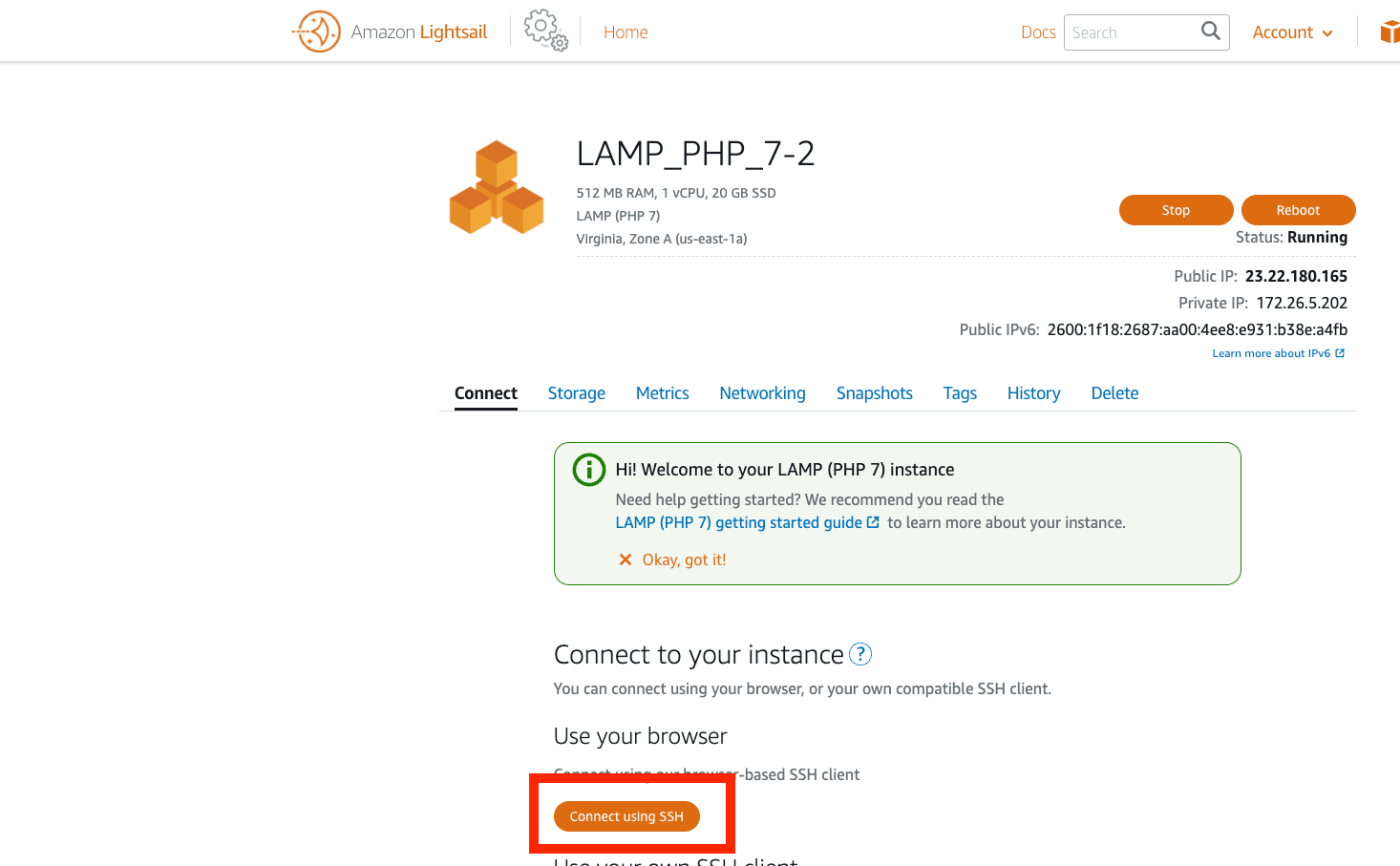
The following screen will appear.
Linux ip-172-26-5-202 4.19.0-19-cloud-amd64 #1 SMP Debian 4.19.232-1 (2022-03-07) x86_64

The programs included with the Debian GNU/Linux system are free software;
the exact distribution terms for each program are described in the
individual files in /usr/share/doc/*/copyright.

Debian GNU/Linux comes with ABSOLUTELY NO WARRANTY, to the extent
permitted by applicable law.
       ___ _ _                   _
      | _ |_) |_ _ _  __ _ _ __ (_)
      | _ \ |  _| ' \/ _` | '  \| |
      |___/_|\__|_|_|\__,_|_|_|_|_|

  *** Welcome to the LAMP packaged by Bitnami 7.4.28-14                 ***
  *** Documentation:  https://docs.bitnami.com/aws/infrastructure/lamp/ ***
  ***                 https://docs.bitnami.com/aws/                     ***
  *** Bitnami Forums: https://community.bitnami.com/                    ***
bitnami@ip-172-26-5-202:~$
Working Inside the Instance
Moving Files
First, download and move the necessary files.
cd .

# Specify the public path for omeka-s
# omeka_path=/home/bitnami/htdocs/omeka-s
omeka_path=/home/bitnami/htdocs

mkdir $omeka_path

# Download Omeka
wget https://github.com/omeka/omeka-s/releases/download/v3.2.3/omeka-s-3.2.3.zip
unzip omeka-s-3.2.3.zip

# Move files
mv omeka-s/* $omeka_path

# Move .htaccess
mv omeka-s/.htaccess $omeka_path

# Delete the original index.html (if it exists)
rm $omeka_path/index.html
Creating the Database
Next, create the database.
# Check the password (the password will be displayed)
cat /home/bitnami/bitnami_application_password

# Log in to mysql using the above password
mysql -u root -p

# Create the database (the name "omekas" can be changed)
MariaDB [(none)]> create database omekas;
Query OK, 1 row affected (0.002 sec)

MariaDB [(none)]> quit;
Configuring Omeka S
Next, edit the Omeka S configuration file.
vi $omeka_path/config/database.ini
Edit the file contents as follows:
user     = "root"
password = "(the password confirmed earlier)"
dbname   = "omekas" # the database name created earlier
host     = "localhost"
;port     =
;unix_socket =
;log_path =
Also, change the owner of the files folder.
sudo chown -R daemon:daemon $omeka_path/files
Additionally, install ImageMagick, which is required for generating thumbnail images.
sudo apt install imagemagick -y
Browser Configuration
On the Amazon Lightsail instance screen, access the IP address shown under “Public IP”.

The installation screen will appear as follows.

From here, the procedure is the same as standard Omeka S operations. Please refer to the following article for using Omeka S.
https://nakamura196.hatenablog.com/entry/2022/03/01/121931
Setting Up a Custom Domain
From here, we describe optional tasks: “custom domain setup”, “SSL configuration”, and “Basic authentication”.
Assigning a Static IP Address
To set up a custom domain, first assign a static IP address. Click the “+ Create static IP” link from the “Networking” tab.
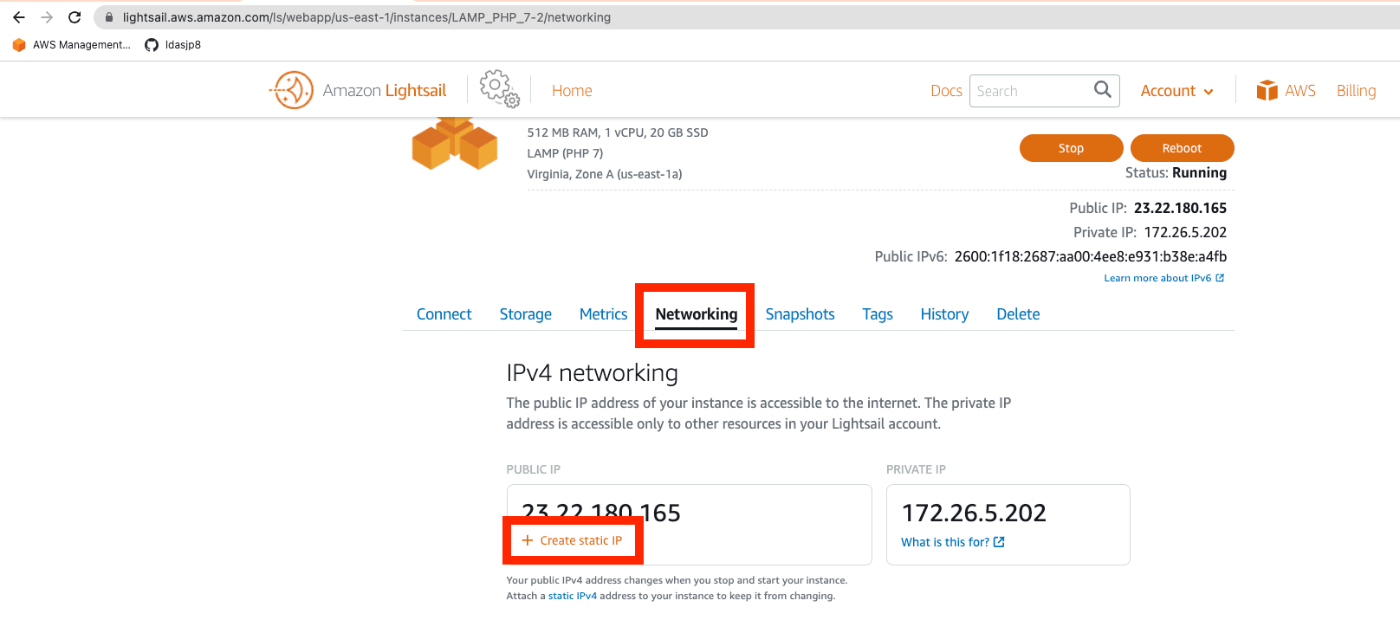
Click the “Create” button on the following screen.

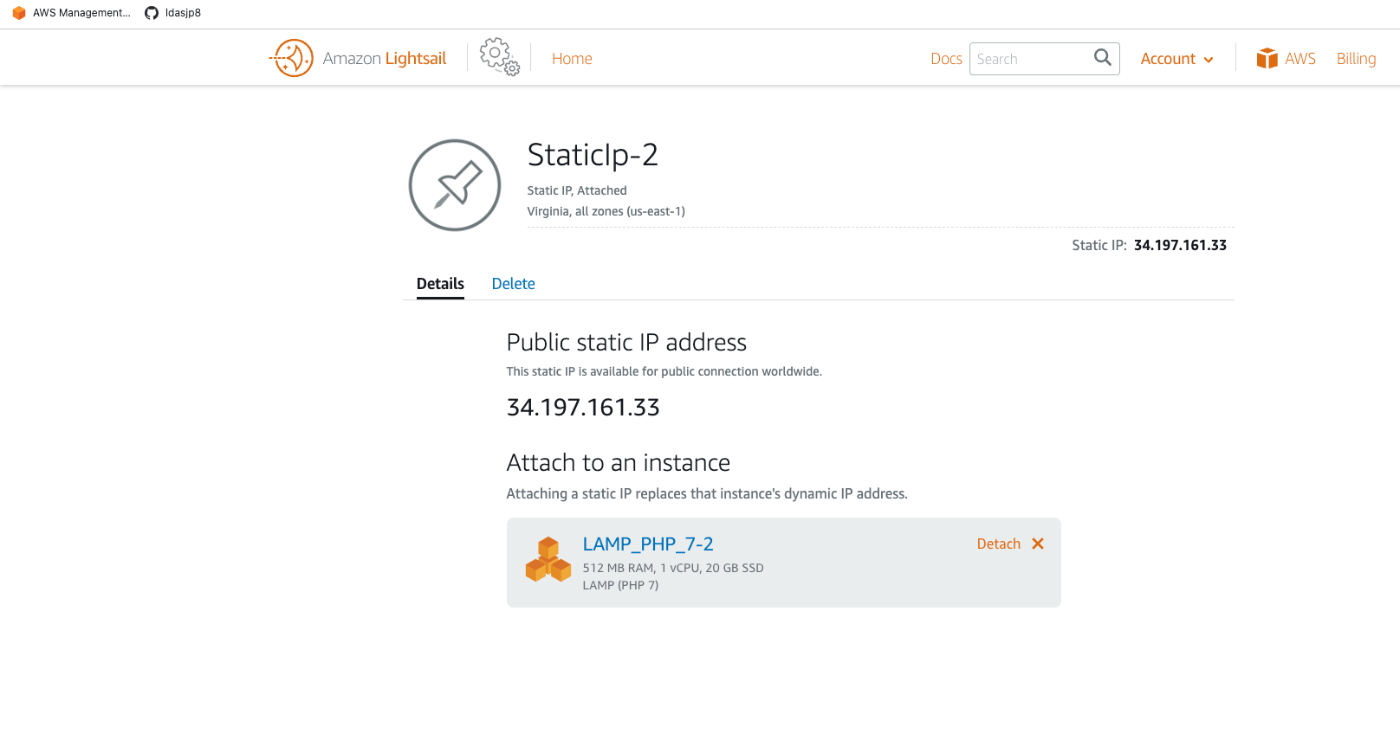
As a result, a static IP address has been assigned.
Route 53
Here, we set up a custom domain using Route 53. For example, configure it as follows:
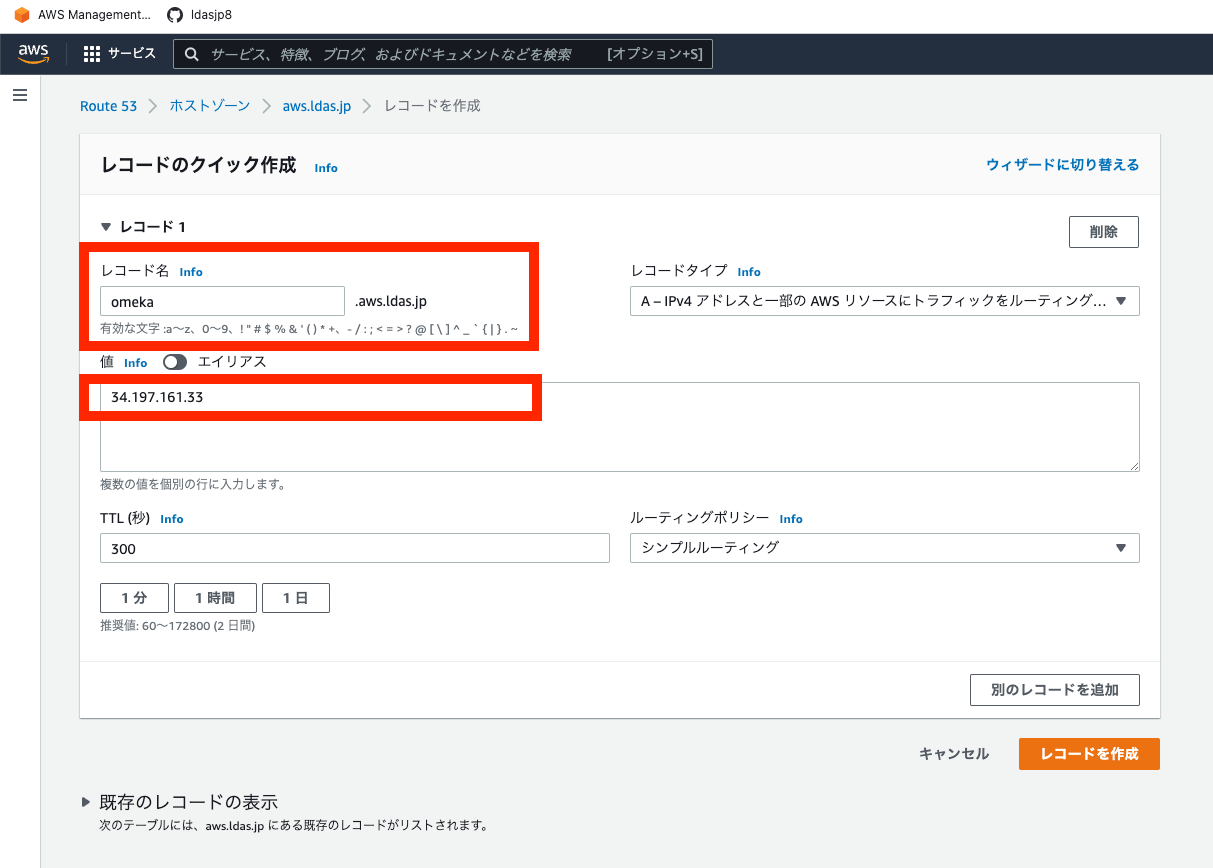
After a while, it will become accessible at an address like the following:
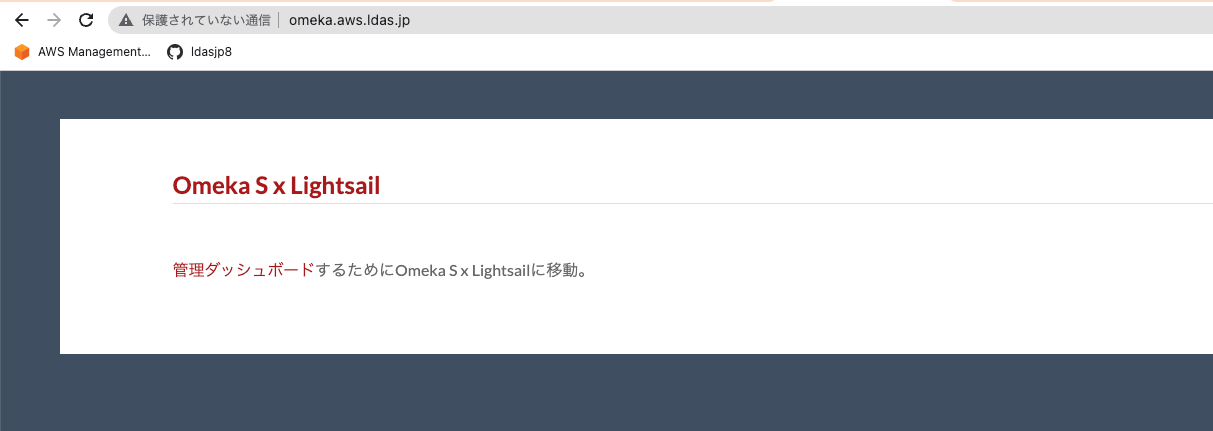
SSL Configuration
Next, configure SSL. SSH into the instance again and run the following:
bitnami@ip-172-26-5-202:~$ sudo /opt/bitnami/bncert-tool
Answer the questions as follows (partial excerpt below):
Domain list []: omeka.aws.ldas.jp

The following domains were not included: www.omeka.aws.ldas.jp. Do you want to add them? [Y/n]: n

Warning: No www domains (e.g. www.example.com) or non-www domains (e.g.
www.example.com) have been provided, so the following redirections will be
disabled: non-www to www, www to non-www.
Press [Enter] to continue: [Enter]

Do you agree to these changes? [Y/n]: Y
With this, accessing the URL will redirect to HTTPS.
With the work completed so far, a minimum publishing environment with a custom domain and SSL is ready.
(Reference) Basic Authentication
Since Basic authentication was needed in this case, this serves as a reference. First, create a user.
sudo htpasswd -c /opt/bitnami/apache2/.htpasswd username>
New password:
Re-type new password:
Adding password for user username>
Next, add the authentication information to the beginning of .htaccess.
vi /home/bitnami/htdocs/.htaccess
AuthType Basic
AuthName MyAuthName
AuthUserFile "/opt/bitnami/apache2/.htpasswd"
Require valid-user
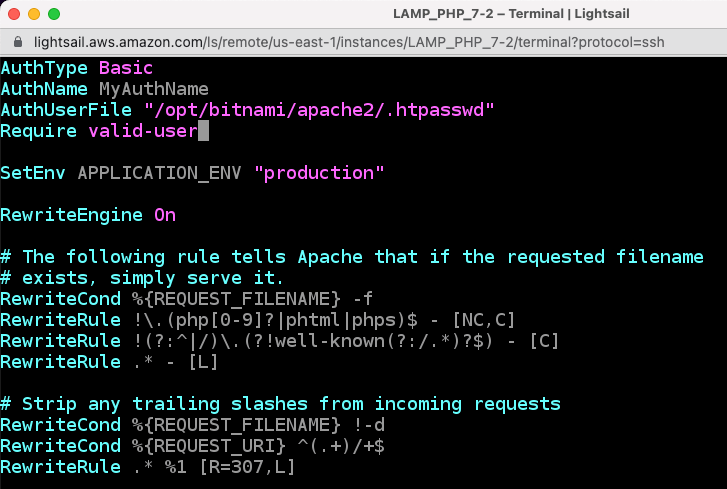
As a result, Basic authentication has been applied as follows.

Summary
The above covers the basic setup procedure for Omeka S using Amazon Lightsail, as well as optional tasks such as Basic authentication.
We hope this serves as a useful reference when building a digital archive system using Omeka S.