Nuxt3 x Vuetify x Cytoscape
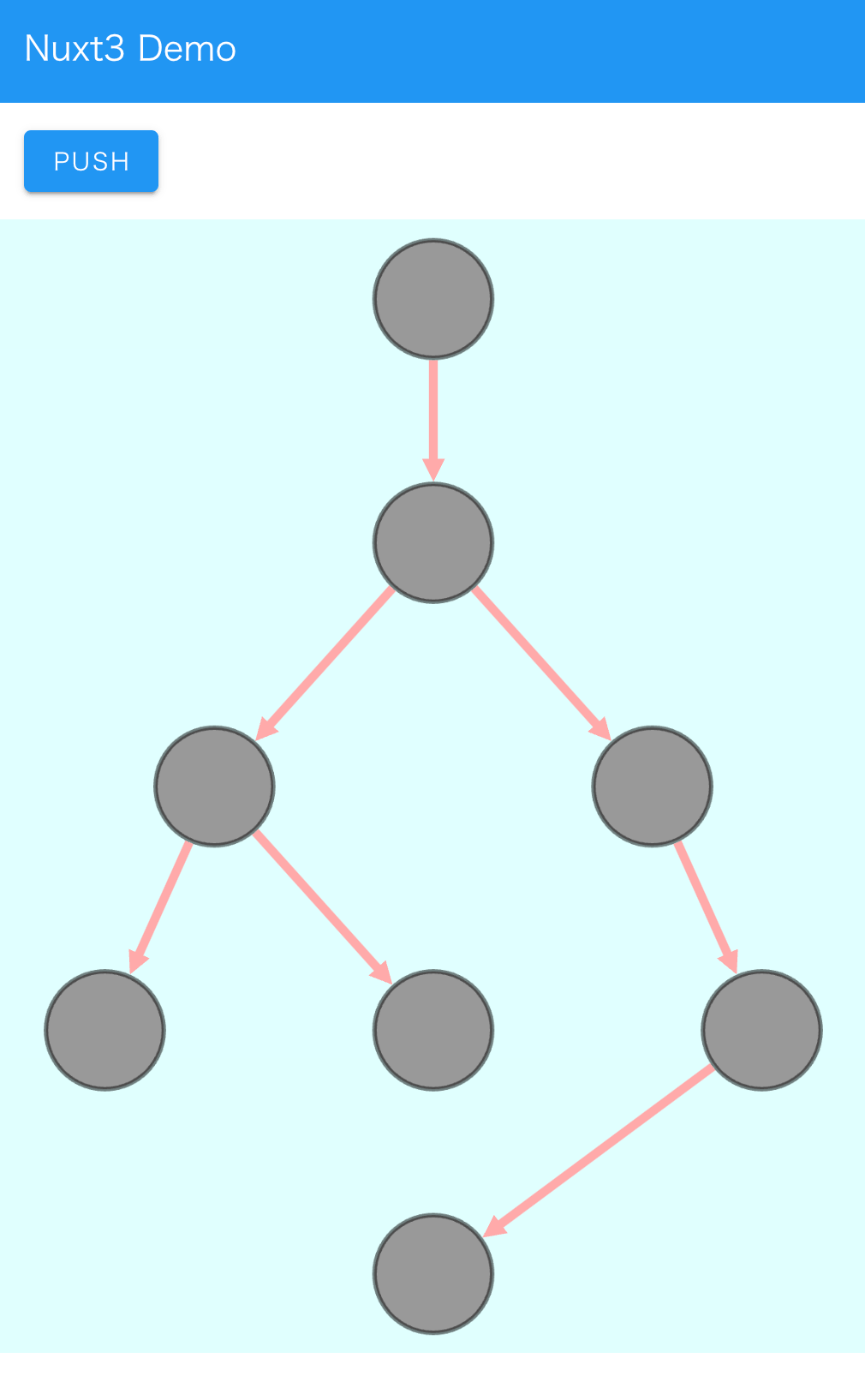
Overview I added a Cytoscape demo to a sample repository using Nuxt3 and Vuetify.
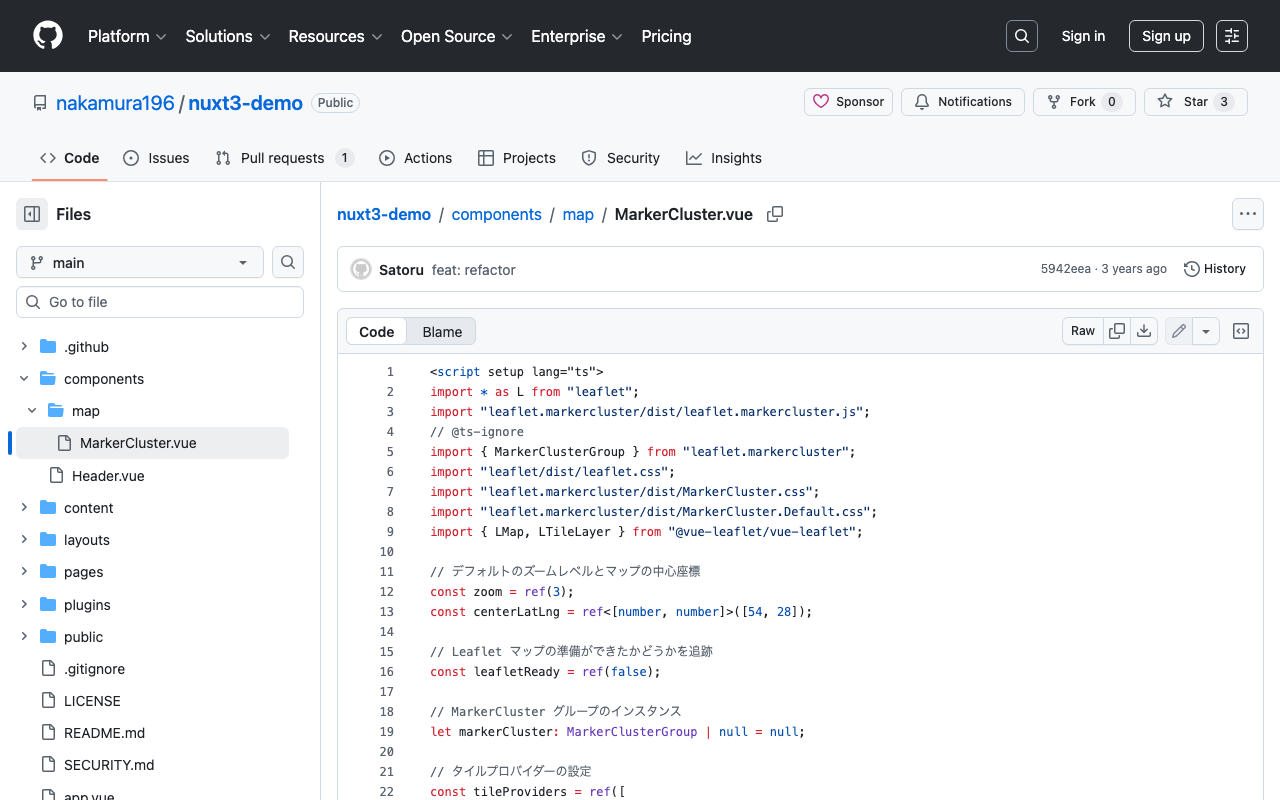
https://github.com/nakamura196/nuxt3-demo
You can check it working on the following page.
https://nakamura196.github.io/nuxt3-demo/
Installation I ran the following.
npm i cytoscape npm i @types/cytoscape Source Code <template> <div id="view"> <v-btn class="ma-4" color="primary" v-on:click="addNode">push</v-btn> <div id="cy"></div> </div> </template> <script setup lang="ts"> import cytoscape from "cytoscape"; let cy: any = null; // = ref(null); //reactive({}); //: any const count: number = 0; // = ref(0); //reactive(0); const addNode = () => { cy.add([ { group: "nodes", data: { id: "node" + count }, position: { x: 300, y: 200 }, }, { group: "edges", data: { id: "edge" + count, source: "node" + count, target: "cat" }, }, ]); }; onMounted(() => { cy = cytoscape({ container: document.getElementById("cy"), boxSelectionEnabled: false, autounselectify: true, style: cytoscape .stylesheet() .selector("node") .css({ height: 80, width: 80, "background-fit": "cover", "border-color": "#000", "border-width": 3, "border-opacity": 0.5, content: "data(name)", "text-valign": "center", }) .selector("edge") .css({ width: 6, "target-arrow-shape": "triangle", "line-color": "#ffaaaa", "target-arrow-color": "#ffaaaa", "curve-style": "bezier", }), elements: { nodes: [ { data: { id: "cat" } }, { data: { id: "bird" } }, { data: { id: "ladybug" } }, { data: { id: "aphid" } }, { data: { id: "rose" } }, { data: { id: "grasshopper" } }, { data: { id: "plant" } }, { data: { id: "wheat" } }, ], edges: [ { data: { source: "cat", target: "bird" } }, { data: { source: "bird", target: "ladybug" } }, { data: { source: "bird", target: "grasshopper" } }, { data: { source: "grasshopper", target: "plant" } }, { data: { source: "grasshopper", target: "wheat" } }, { data: { source: "ladybug", target: "aphid" } }, { data: { source: "aphid", target: "rose" } }, ], }, layout: { name: "breadthfirst", directed: true, padding: 10, }, }); }); </script> <style scoped> #cy { width: 100%; height: 80%; position: absolute; background-color: lightcyan; } </style> Summary I hope this is helpful.
...
November 18, 2023 · Updated: November 18, 2023 · 2 min · Nakamura