Home Articles Books Search About
日本語
Training YOLOv11 Classification (Kuzushiji Recognition) Using mdx.jp

Training YOLOv11 Classification (Kuzushiji Recognition) Using mdx.jp

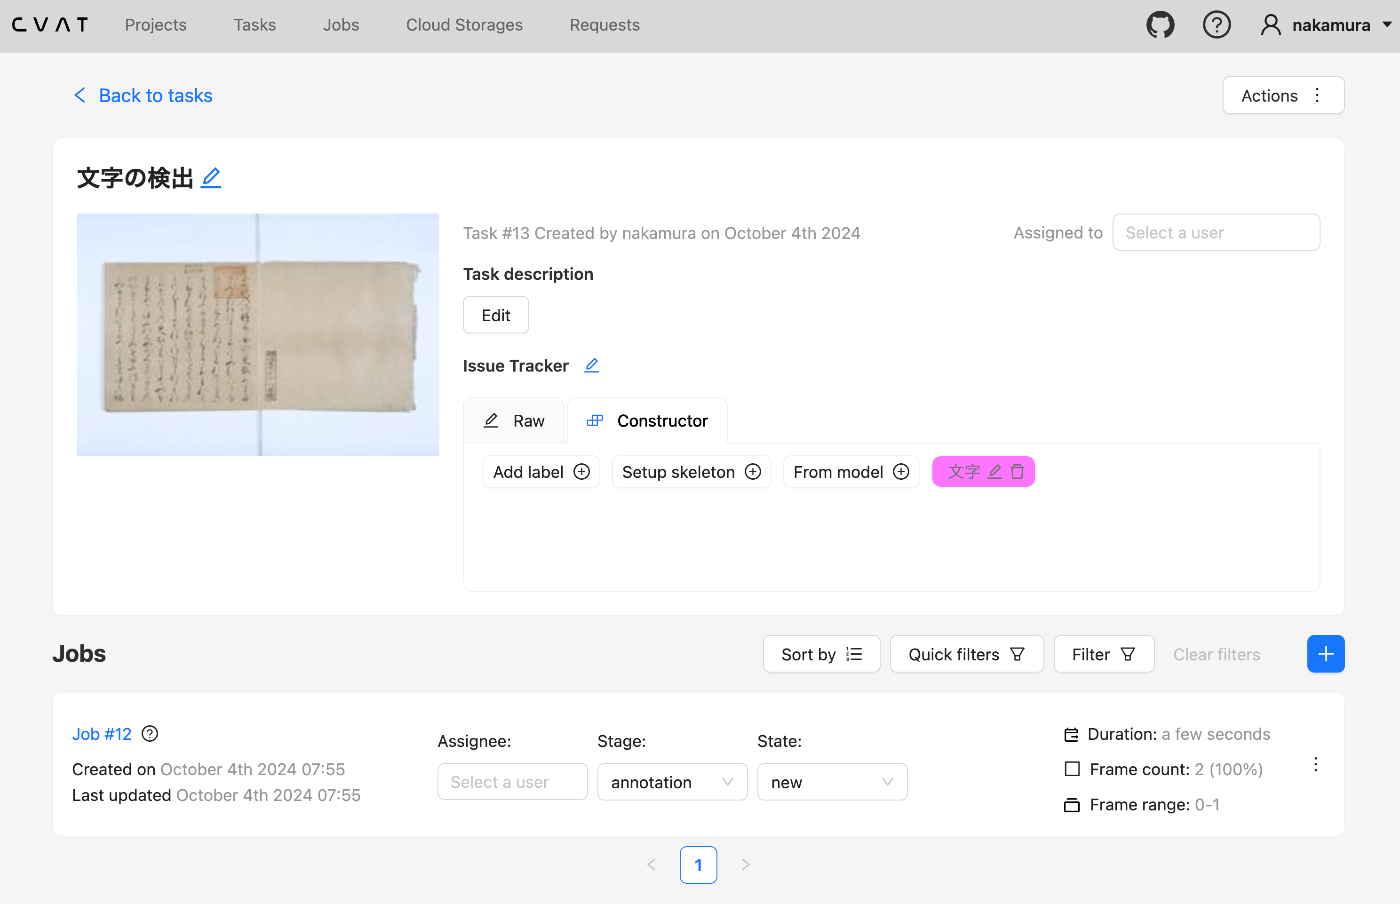
Overview We had the opportunity to train a YOLOv11 classification model (for kuzushiji/classical Japanese character recognition) using mdx.jp, so this article serves as a reference. Dataset We target the following “Kuzushiji Dataset”: http://codh.rois.ac.jp/char-shape/book/ Creating the Dataset We format the dataset to match the YOLO format. First, we merge the data, which is separated by book title, into a flat structure. #| export class Classification: def create_dataset(self, input_file_path, output_dir): # "../data/*/characters/*/*.jpg" files = glob(input_file_path) # output_dir = "../data/dataset" for file in tqdm(files): cls = file.split("/")[-2] output_file = f"{output_dir}/{cls}/{file.split('/')[-1]}" if os.path.exists(output_file): continue # print(f"Copying {file} to {output_file}") os.makedirs(f"{output_dir}/{cls}", exist_ok=True) shutil.copy(file, output_file) Next, we split the dataset using the following script: ...

Running a Local LLM Using mdx.jp 1GPU Pack and Ollama

Running a Local LLM Using mdx.jp 1GPU Pack and Ollama

Overview I had the opportunity to run a local LLM using mdx.jp’s 1GPU pack and Ollama, so this is a memo of the process. https://mdx.jp/mdx1/p/guide/charge References I referred to the following article. https://highreso.jp/edgehub/machinelearning/ollamainference.html Downloading the Model Here, we target llama3.1:70b. After the download is complete, it becomes selectable as shown below. Usage Example We use the following “Shibusawa Eiichi Biographical Materials.” https://github.com/shibusawa-dlab/lab1 Using the API Documentation was found at the following location. ...

Creating a Transparent Text PDF from a Single Page Using Google Cloud Vision API

Creating a Transparent Text PDF from a Single Page Using Google Cloud Vision API

Overview I had the opportunity to create a transparent text PDF from a PDF using Google Cloud Vision API, so this is a personal note for future reference. Below is an example of searching for simple. Background This time, we target PDFs consisting of a single page. Procedure Creating the Image Create an image to be used as the OCR target. With the default settings, the resulting image was blurry, so I set the resolution to 2x and performed position alignment considering the resolution in the process described below. ...

Using the Zotero API from Next.js

Using the Zotero API from Next.js

Overview I looked into how to use the Zotero API from Next.js, so this is a memo. As a result, I created the following application. https://zotero-rouge.vercel.app/ Library I used the following library. https://github.com/tnajdek/zotero-api-client Getting the API Key and Other Information Please refer to the following article. Usage Collection List // app/api/zotero/collections/route.js import { NextResponse } from "next/server"; import api from "zotero-api-client"; import { prisma } from "@/lib/prisma"; import { decrypt } from "../../posts/encryption"; import { getSession } from "@auth0/nextjs-auth0"; async function fetchZoteroCollections( zoteroApiKey: string, zoteroUserId: string ) { const myapi = api(zoteroApiKey).library("user", zoteroUserId); const collectionsResponse = await myapi.collections().get(); return collectionsResponse.raw; } Specific Collection // app/api/zotero/collection/[id]/route.ts import { NextResponse } from "next/server"; import api from "zotero-api-client"; import { prisma } from "@/lib/prisma"; import { decrypt } from "@/app/api/posts/encryption"; import { getSession } from "@auth0/nextjs-auth0"; async function fetchZoteroCollection( zoteroApiKey: string, zoteroUserId: string, collectionId: string ) { const myapi = api(zoteroApiKey).library("user", zoteroUserId); const collectionResponse = await myapi.collections(collectionId).get(); return collectionResponse.raw; } List of Items in a Specific Collection // app/api/zotero/collection/[id]/items/route.ts import { NextResponse, NextRequest } from "next/server"; import api from "zotero-api-client"; import { prisma } from "@/lib/prisma"; import { decrypt } from "@/app/api/posts/encryption"; import { getSession } from "@auth0/nextjs-auth0"; async function fetchZoteroCollection( zoteroApiKey: string, zoteroUserId: string, collectionId: string ) { const myapi = api(zoteroApiKey).library("user", zoteroUserId); const collectionResponse = await myapi .collections(collectionId) .items() .get(); return collectionResponse.raw; References The application is hosted on Vercel, using Vercel Postgres for the database and Prisma as the ORM. The UI was built with Tailwind CSS, using design suggestions from ChatGPT. Auth0 was adopted for authentication. ...

Customizing the LEAF Writer Editor Toolbar

Customizing the LEAF Writer Editor Toolbar

Overview LEAF Writer provides buttons at the top of the screen to support tag insertion. This article introduces how to customize them. As a result, I added functionality to insert <app><lem>aaa</lem><rdg>bbb</rdg></app>. https://youtu.be/XMnRP7s2atw Editing Edit the following file: packages/cwrc-leafwriter/src/components/editorToolbar/index.tsx Features for supporting tags such as person names and place names are configured as follows. For example, the description for organization has been commented out: ... const items: (MenuItem | Item)[] = [ { group: 'action', hide: isReadonly, icon: 'insertTag', onClick: () => { if (!container.current) return; const rect = container.current.getBoundingClientRect(); const posX = rect.left; const posY = rect.top + 34; showContextMenu({ // anchorEl: container.current, eventSource: 'ribbon', position: { posX, posY }, useSelection: true, }); }, title: 'Tag', tooltip: 'Add Tag', type: 'button', }, { group: 'action', type: 'divider', hide: isReadonly }, { color: entity.person.color.main, group: 'action', disabled: !isSupported('person'), hide: isReadonly, icon: entity.person.icon, onClick: () => window.writer.tagger.addEntityDialog('person'), title: 'Tag Person', type: 'iconButton', }, { color: entity.place.color.main, group: 'action', disabled: !isSupported('place'), hide: isReadonly, icon: entity.place.icon, onClick: () => window.writer.tagger.addEntityDialog('place'), title: 'Tag Place', type: 'iconButton', }, /* { color: entity.organization.color.main, group: 'action', disabled: !isSupported('organization'), hide: isReadonly, icon: entity.organization.icon, onClick: () => window.writer.tagger.addEntityDialog('organization'), title: 'Tag Organization', type: 'iconButton', }, ... As a result, the choices are limited as follows: ...

Using the GakuNin RDM API

Using the GakuNin RDM API

Overview GakuNin RDM provides an API at the following link. These are notes on usage examples of this API. https://api.rdm.nii.ac.jp/v2/ Reference GakuNin RDM is built on OSF (Open Science Framework), and API documentation can be found at the following link. It conforms to OpenAPI. https://developer.osf.io/ Obtaining a PAT Obtain a PAT (Personal Access Token). After logging in, you can create one from the following URL. https://rdm.nii.ac.jp/settings/tokens/ Usage You can also access it programmatically with the following script. ...

Differences Between ShExC and ShExJ

Differences Between ShExC and ShExJ

Overview This is a ChatGPT-generated answer about the differences between ShExC (ShEx Compact Syntax) and ShExJ (ShEx JSON Syntax). There may be some inaccuracies, but I hope it serves as a useful reference. Answer ShExC (ShEx Compact Syntax) and ShExJ (ShEx JSON Syntax) are both representation formats for ShEx (Shape Expressions) schemas, but they differ in notation format and use cases. The differences are explained below. 1. Notation Format ShExC (ShEx Compact Syntax): ...

Differences Between ShEx and SHACL

Differences Between ShEx and SHACL

Overview This is a ChatGPT-generated answer about the differences between ShEx (Shape Expressions) Schema and SHACL (Shapes Constraint Language). There may be some inaccuracies, but I hope it serves as a useful reference. Answer ShEx (Shape Expressions) Schema and SHACL (Shapes Constraint Language) are both languages for defining validation and constraints on RDF data. While they share the same purpose, they differ in syntax and approach. The differences are explained below. ...

How to Use the Files/Markers Tabs in the @samvera/ramp Viewer

How to Use the Files/Markers Tabs in the @samvera/ramp Viewer

Overview I looked into how to use the Files/Markers tabs of the @samvera/ramp viewer, one of the viewers compatible with IIIF Audio/Visual, so this is a personal note for future reference. Documentation For Files, documentation was found at the following. https://samvera-labs.github.io/ramp/#supplementalfiles For Markers, documentation is found at the following. https://samvera-labs.github.io/ramp/#markersdisplay Data Used “Kensei News Volume 1” (Nagano Prefectural Library) is used. https://www.ro-da.jp/shinshu-dcommons/library/02FT0102974177 Files Tab It is documented that it reads the rendering property. The rendering property is also featured in the following Cookbook. ...

Addressing the resumptionToken Bug in Omeka S OAI-PMH Repository

Addressing the resumptionToken Bug in Omeka S OAI-PMH Repository

Overview I encountered an issue where the Omeka S OAI-PMH repository’s resumptionToken was outputting a [badResumptionToken] error even though the token was still within its expiration period. Here are my notes on how to address this bug. Solution By adding a comparison between $currentTime and $expirationTime to the following file, tokens within their expiration period are now properly retained. ... private function resumeListResponse($token): void { $api = $this->serviceLocator->get('ControllerPluginManager')->get('api'); $expiredTokens = $api->search('oaipmh_repository_tokens', [ 'expired' => true, ])->getContent(); foreach ($expiredTokens as $expiredToken) { $currentTime = new \DateTime(); // Added $expirationTime = $expiredToken->expiration(); // Added if (!$expiredToken || $currentTime > $expirationTime) { // Added $api->delete('oaipmh_repository_tokens', $expiredToken->id()); } // Added } There were cases where things worked without this fix, so there may be differences depending on the PHP version, etc. ...

(Non-Standard) Outputting Delete Records with the Omeka S OAI-PMH Repository Module

(Non-Standard) Outputting Delete Records with the Omeka S OAI-PMH Repository Module

Overview I tried outputting Delete records with the Omeka S OAI-PMH Repository module, so this is a personal note for future reference. Background By using the following module, you can build OAI-PMH repository functionality. https://omeka.org/s/modules/OaiPmhRepository/ However, as far as I could confirm, there did not appear to be a feature for outputting Delete records. Related Module Omeka’s standard features do not seem to include functionality for storing deleted resources. On the other hand, the following module adds functionality to retain deleted resources. ...

Adding a Table of Contents to Videos Using iiif-prezi3

Adding a Table of Contents to Videos Using iiif-prezi3

Overview This is a memo on how to add a table of contents to videos using iiif-prezi3. Segment Detection We use Amazon Rekognition’s video segment detection. https://docs.aws.amazon.com/ja_jp/rekognition/latest/dg/segments.html Sample code is available at the following link. https://docs.aws.amazon.com/ja_jp/rekognition/latest/dg/segment-example.html Data Used We use “Prefectural News Volume 1” (Nagano Prefectural Library). https://www.ro-da.jp/shinshu-dcommons/library/02FT0102974177 Reflecting in the Manifest File We assume that a manifest file has already been created by referring to the following article. The following script adds a VTT file to the manifest file. ...

Setting Subtitles on Videos Using iiif-prezi3

Setting Subtitles on Videos Using iiif-prezi3

Overview This is a memo on how to set subtitles on videos using iiif-prezi3. Creating Subtitles Subtitle files were created using the OpenAI API. The video file is converted to an audio file. from openai import OpenAI from pydub import AudioSegment from dotenv import load_dotenv class VideoClient: def __init__(self): load_dotenv(verbose=True) api_key = os.getenv("OPENAI_API_KEY") self.client = OpenAI(api_key=api_key) def get_transcriptions(self, input_movie_path): audio = AudioSegment.from_file(input_movie_path) # Write audio to a temporary file with tempfile.NamedTemporaryFile(suffix=".mp3") as temp_audio_file: audio.export(temp_audio_file.name, format="mp3") # Export in MP3 format temp_audio_file.seek(0) # Reset file pointer to the beginning # Get transcript with Whisper API with open(temp_audio_file.name, "rb") as audio_file: # Get transcript with Whisper API transcript = self.client.audio.transcriptions.create( model="whisper-1", file=audio_file, response_format="vtt" ) return transcript Data Used “Kensei News Volume 1” (Nagano Prefectural Library) is used. ...

Adding Annotations to Videos Using iiif-prezi3

Adding Annotations to Videos Using iiif-prezi3

Overview This is a note on how to add annotations to videos using iiif-prezi3. Adding Annotations Amazon Rekognition’s label detection is used. https://docs.aws.amazon.com/rekognition/latest/dg/labels.html?pg=ln&sec=ft Sample code is available at the following link. https://docs.aws.amazon.com/ja_jp/rekognition/latest/dg/labels-detecting-labels-video.html In particular, by setting the aggregation in GetLabelDetection to SEGMENTS, you can obtain StartTimestampMillis and EndTimestampMillis. However, please note the following. When aggregated by SEGMENTS, information about detected instances with bounding boxes is not returned. Data Used The video “Prefectural News Vol. 1” (Nagano Prefectural Library) is used. ...

Using URL Segments Starting with Underscores in Next.js

Using URL Segments Starting with Underscores in Next.js

Overview When creating an API like </api/_search>, I looked into how to create URL segments starting with underscores, so this is a personal note for future reference. Method The information was found in the following documentation. https://nextjs.org/docs/app/building-your-application/routing/colocation#:~:text=js file conventions.-,Good to know,-While not a The key point is: To create URL segments that start with an underscore, prefix the folder name with %5F (the URL-encoded form of an underscore). Example: %5FfolderName. ...

Addressing a Bug in setFilter of @elastic/search-ui

Addressing a Bug in setFilter of @elastic/search-ui

Overview A bug has been reported regarding setFilter in @elastic/search-ui. https://github.com/elastic/search-ui/issues/1057 This bug has already been fixed in the following commit. https://github.com/elastic/search-ui/pull/1058 However, as of October 7, 2024, the latest version incorporating this fix has not been released. Therefore, I attempted to build and release it independently, and this is a memo of that procedure. Fix First, I fetched the repository. https://github.com/nakamura196/search-ui Then, I made the following modifications. https://github.com/nakamura196/search-ui/commit/f7c7dc332086ca77a2c488f3de8780bbeb683324 Specifically, changes were made to package.json and .npmrc. ...

Trying Out rico-converter

Trying Out rico-converter

Overview I had the opportunity to try rico-converter, so here are my notes. https://github.com/ArchivesNationalesFR/rico-converter It is described as follows. A tool to convert EAC-CPF and EAD 2002 XML files to RDF datasets conforming to Records in Contexts Ontology (RiC-O) Conversion Instructions are available at the following link. https://archivesnationalesfr.github.io/rico-converter/en/GettingStarted.html First, download the latest zip file from the following link and extract it. https://github.com/ArchivesNationalesFR/rico-converter/releases/latest Sample data includes input-eac and input-ead, which we will convert to RDF. ...

Building an Inference App Using Hugging Face Spaces and YOLOv5 Model (Trained on KaoKore Dataset)

Building an Inference App Using Hugging Face Spaces and YOLOv5 Model (Trained on KaoKore Dataset)

Overview I created an inference app using Hugging Face Spaces and a YOLOv5 model trained on the KaoKore dataset. The KaoKore dataset published by the Center for Open Data in the Humanities (CODH) is as follows: Yingtao Tian, Chikahiko Suzuki, Tarin Clanuwat, Mikel Bober-Irizar, Alex Lamb, Asanobu Kitamoto, “KaoKore: A Pre-modern Japanese Art Facial Expression Dataset”, arXiv:2002.08595. http://codh.rois.ac.jp/face/dataset/ You can try the inference app at the following URL: https://huggingface.co/spaces/nakamura196/yolov5-face The source code and trained model can be downloaded from the following URL. I hope it serves as a reference when developing similar applications. ...

Resolving ModuleNotFoundError: No module named 'huggingface_hub.utils._errors'

Resolving ModuleNotFoundError: No module named 'huggingface_hub.utils._errors'

Overview When deploying an app to Hugging Face Spaces, the following error occurred. This is a memo about that error. Creating new Ultralytics Settings v0.0.6 file ✅ View Ultralytics Settings with 'yolo settings' or at '/home/user/.config/Ultralytics/settings.json' Update Settings with 'yolo settings key=value', i.e. 'yolo settings runs_dir=path/to/dir'. For help see https://docs.ultralytics.com/quickstart/#ultralytics-settings. WARNING ⚠️ DetectMultiBackend failed: No module named 'huggingface_hub.utils._errors' Traceback (most recent call last): File "/usr/local/lib/python3.10/site-packages/yolov5/helpers.py", line 38, in load_model model = DetectMultiBackend( File "/usr/local/lib/python3.10/site-packages/yolov5/models/common.py", line 338, in __init__ result = attempt_download_from_hub(w, hf_token=hf_token) File "/usr/local/lib/python3.10/site-packages/yolov5/utils/downloads.py", line 150, in attempt_download_from_hub from huggingface_hub.utils._errors import RepositoryNotFoundError ModuleNotFoundError: No module named 'huggingface_hub.utils._errors' During handling of the above exception, another exception occurred: Reference The following article was helpful. ...

Manipulating CVAT Data Using Python

Manipulating CVAT Data Using Python

Overview This is a memo from an opportunity to manipulate CVAT data using Python. Setup We use Docker to start CVAT. git clone https://github.com/cvat-ai/cvat --depth 1 cd cvat docker compose up -d Creating an Account Access http://localhost:8080 and create an account. Operations with Python First, install the following library. pip install cvat-sdk Write the account information in .env. host=http://localhost:8080 username= password= Creating an Instance import os from dotenv import load_dotenv import json from cvat_sdk.api_client import Configuration, ApiClient, models, apis, exceptions from cvat_sdk.api_client.models import PatchedLabeledDataRequest import requests from io import BytesIO load_dotenv(verbose=True) host = os.environ.get("host") username = os.environ.get("username") password = os.environ.get("password") configuration = Configuration( host=host, username=username, password=password ) api_client = ApiClient(configuration) Creating a Task task_spec = { 'name': '文字の検出', "labels": [{ "name": "文字", "color": "#ff00ff", "attributes": [ { "name": "score", "mutable": True, "input_type": "text", "values": [""] } ] }], } try: # Apis can be accessed as ApiClient class members # We use different models for input and output data. For input data, # models are typically called like "*Request". Output data models have # no suffix. (task, response) = api_client.tasks_api.create(task_spec) except exceptions.ApiException as e: # We can catch the basic exception type, or a derived type print("Exception when trying to create a task: %s\n" % e) print(task) The following result is obtained: ...